Hello everyone!
In this opportunity I am going to show you the initial implementation of the virtual storage appliance from the company Object First. I will also show you how to access the Web management portal.
This OOTBI appliance provides secure storage for the Veeam Backup & Replication backup application. Here is the Object First web link:
According to Object First the OOTBI offers:
Ransomware-proof and immutable out-of-the-box storage,
OOTBIoffers secure, simple and powerful backup storage.
Benefits:
- A storage 100% developed for Veeam.
Zero Trust Data Resilience (ZTDR)Architecture.- S3 native object locking. Secure, resilient and purpose-built: data is isolated and untouchable.
- Object-based systems anticipate horizontal scalability, which never sacrifices performance for capacity.
- Bugs, quirks, or limitations of a traditional file system are absent in object-based architectures.
- Secure and seamless on-premises-to-cloud data copy in S3 format with no overhead.
- The S3 protocol has guaranteed data delivery (unlike SMB or NFS), so businesses get end-to-end data reliability.
- Natively solves many of the availability needs organizations consider when considering backup storage and the 3-2-1 backup rule.
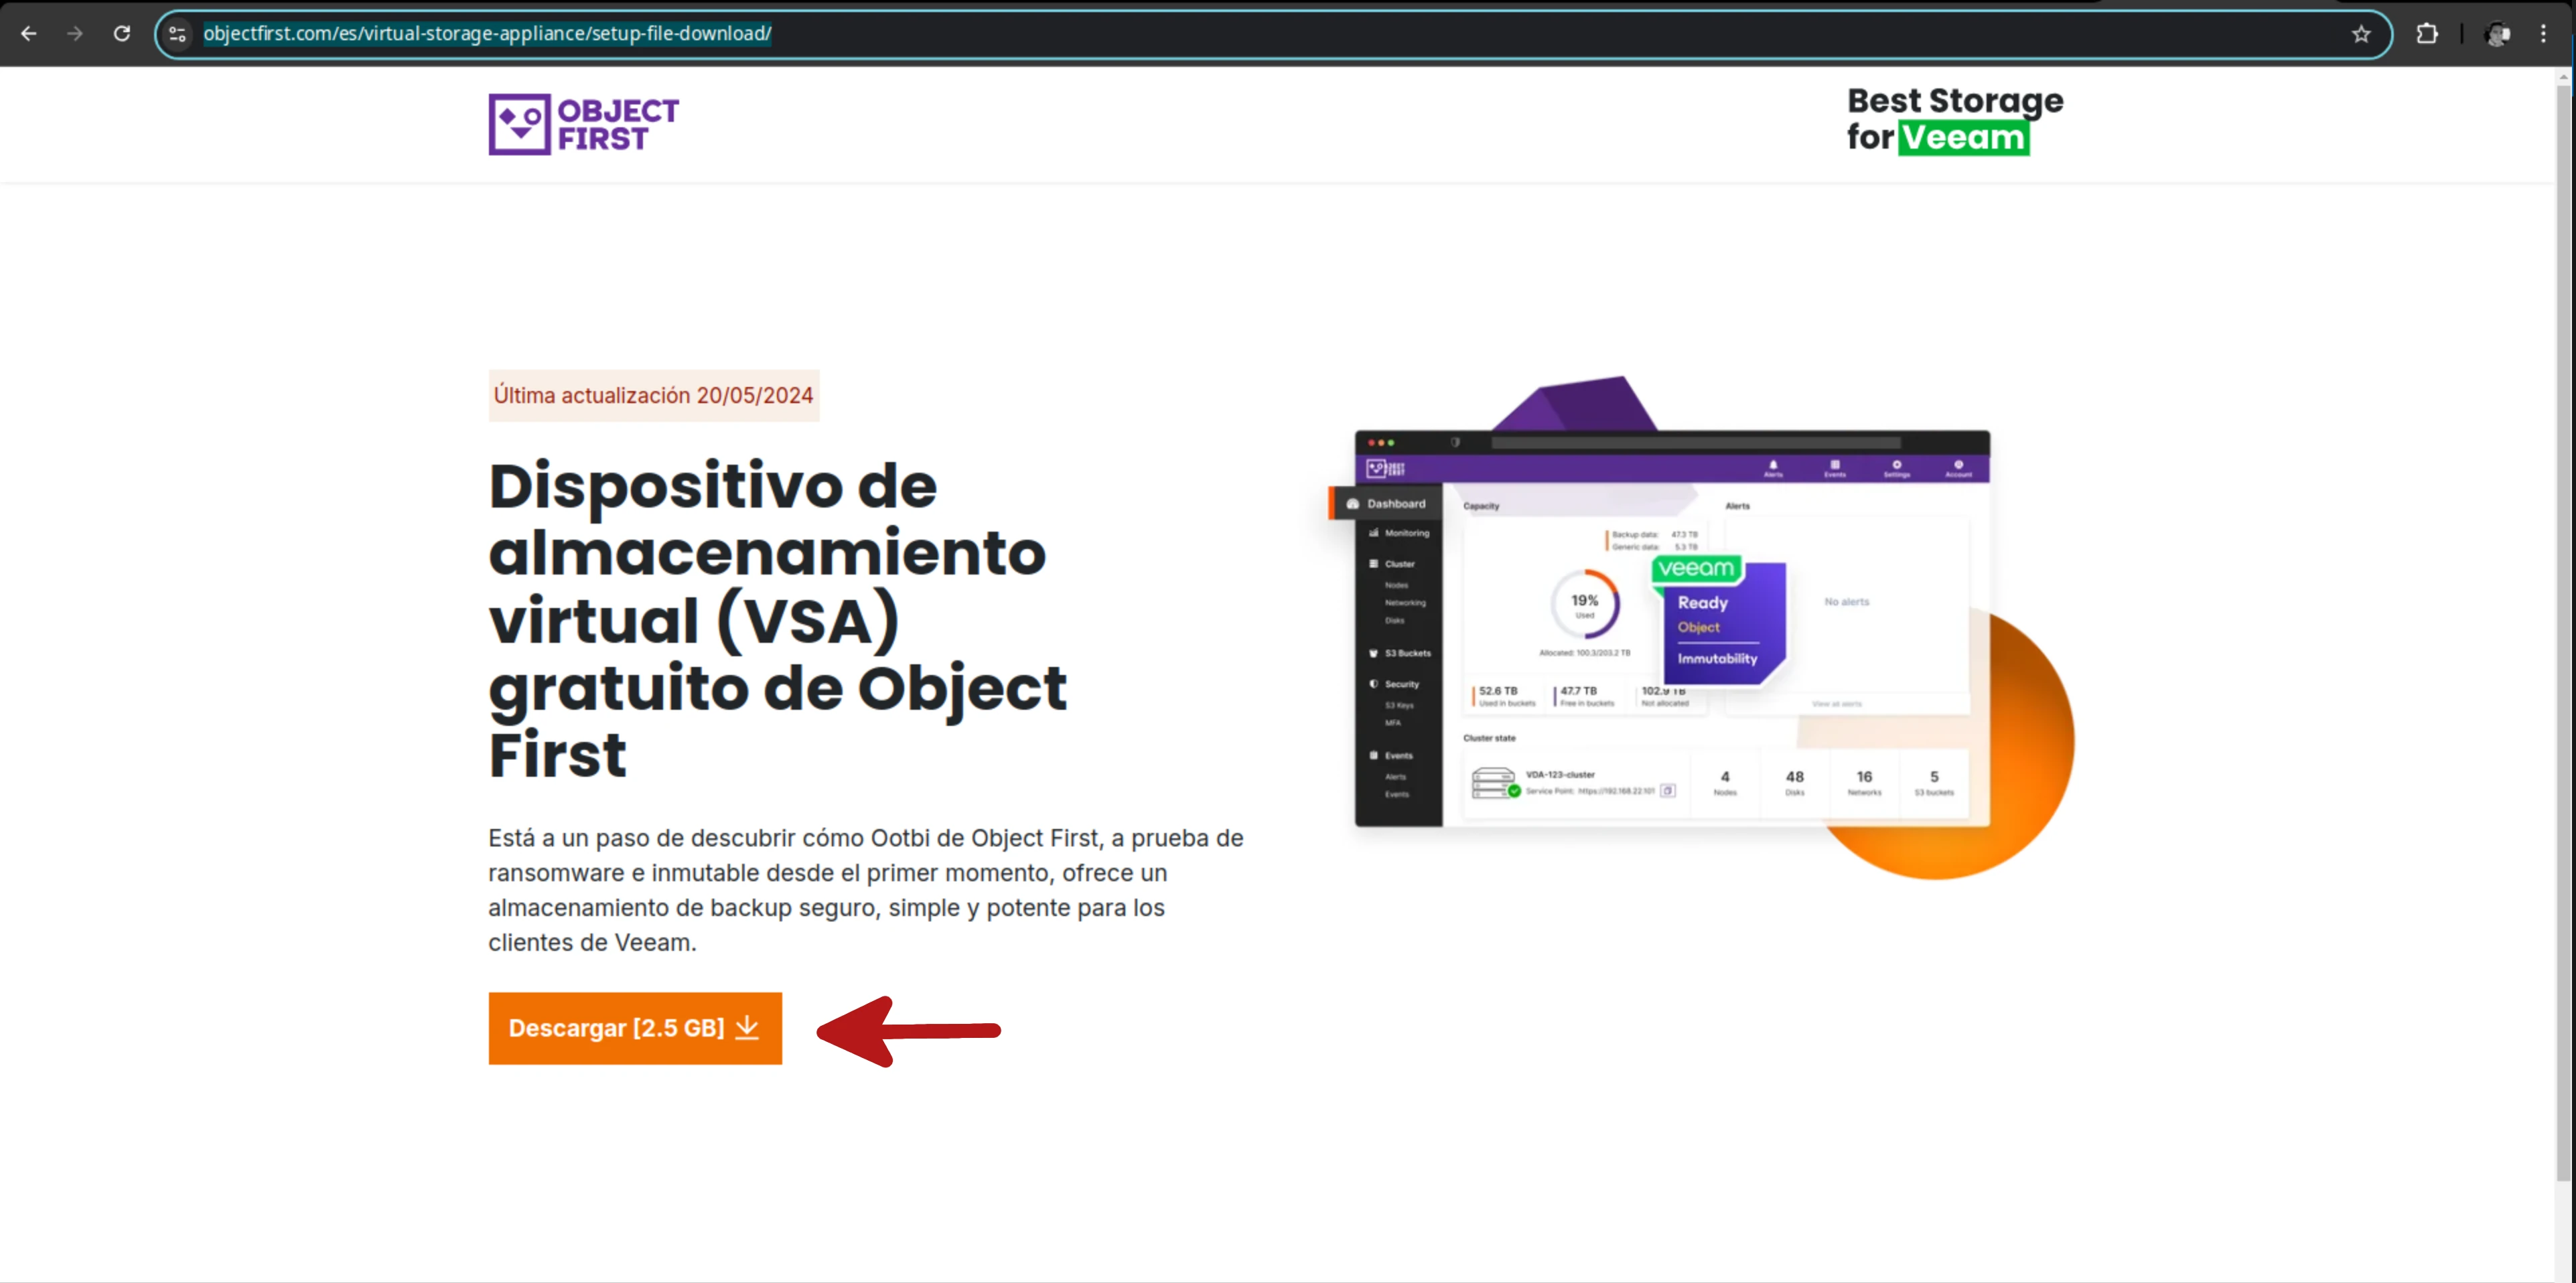
To start download the OVA file from the following link:
https://objectfirst.com/virtual-storage-appliance/setup-file-download/
Below is the process of creating the VM using the template downloaded from the Object First website.
Deploying OOTBI through VMware vCenter
In this section a DNS record is created that will be used to do the name resolution of the storage appliance.
Creating a type A DNS resources record with Powershell
Windows PowerShell
Copyright (C) Microsoft Corporation. All rights reserved.

PS C:\Users\Administrator> Add-DnsServerResourceRecordA -Name veeam-ootbi-00v -IPv4Address 192.168.5.51 -ZoneName pharmax.local -CreatePtr -AllowUpdateAny

PS C:\Users\Administrator> Get-DnsServerResourceRecord -Name veeam-ootbi-00v -ZoneName pharmax.local

HostName                  RecordType Type       Timestamp            TimeToLive      RecordData
--------                  ---------- ----       ---------            ----------      ----------
veeam-ootbi-00v           A          1          0                    01:00:00        192.168.5.50

PS C:\Users\Administrator> Add-DnsServerResourceRecordA -Name veeam-ootbi-01v -IPv4Address 192.168.5.51 -ZoneName pharmax.local -CreatePtr -AllowUpdateAny

PS C:\Users\Administrator> Get-DnsServerResourceRecord -Name veeam-ootbi-01v -ZoneName pharmax.local

HostName                  RecordType Type       Timestamp            TimeToLive      RecordData
--------                  ---------- ----       ---------            ----------      ----------
veeam-ootbi-01v           A          1          0                    01:00:00        192.168.5.51

PS C:\Users\Administrator>
Validating DNS host names with Powershell
Windows PowerShell
Copyright (C) Microsoft Corporation. All rights reserved.

Try the new cross-platform PowerShell https://aka.ms/pscore6

PS C:\Users\jocolon> Resolve-DnsName -Name 192.168.5.50

Name                           Type   TTL   Section    NameHost
----                           ----   ---   -------    --------
50.5.168.192.in-addr.arpa      PTR    3600  Answer     VEEAM-OOTBI-00V.pharmax.local


PS C:\Users\jocolon> Resolve-DnsName -Name 192.168.5.51

Name                           Type   TTL   Section    NameHost
----                           ----   ---   -------    --------
51.5.168.192.in-addr.arpa      PTR    3600  Answer     VEEAM-OOTBI-01V.pharmax.local


PS C:\Users\jocolon>
Now that everything is done with the DNS name we can move on to deploy the appliance. In this case log in to vCenter to deploy the OVA file.
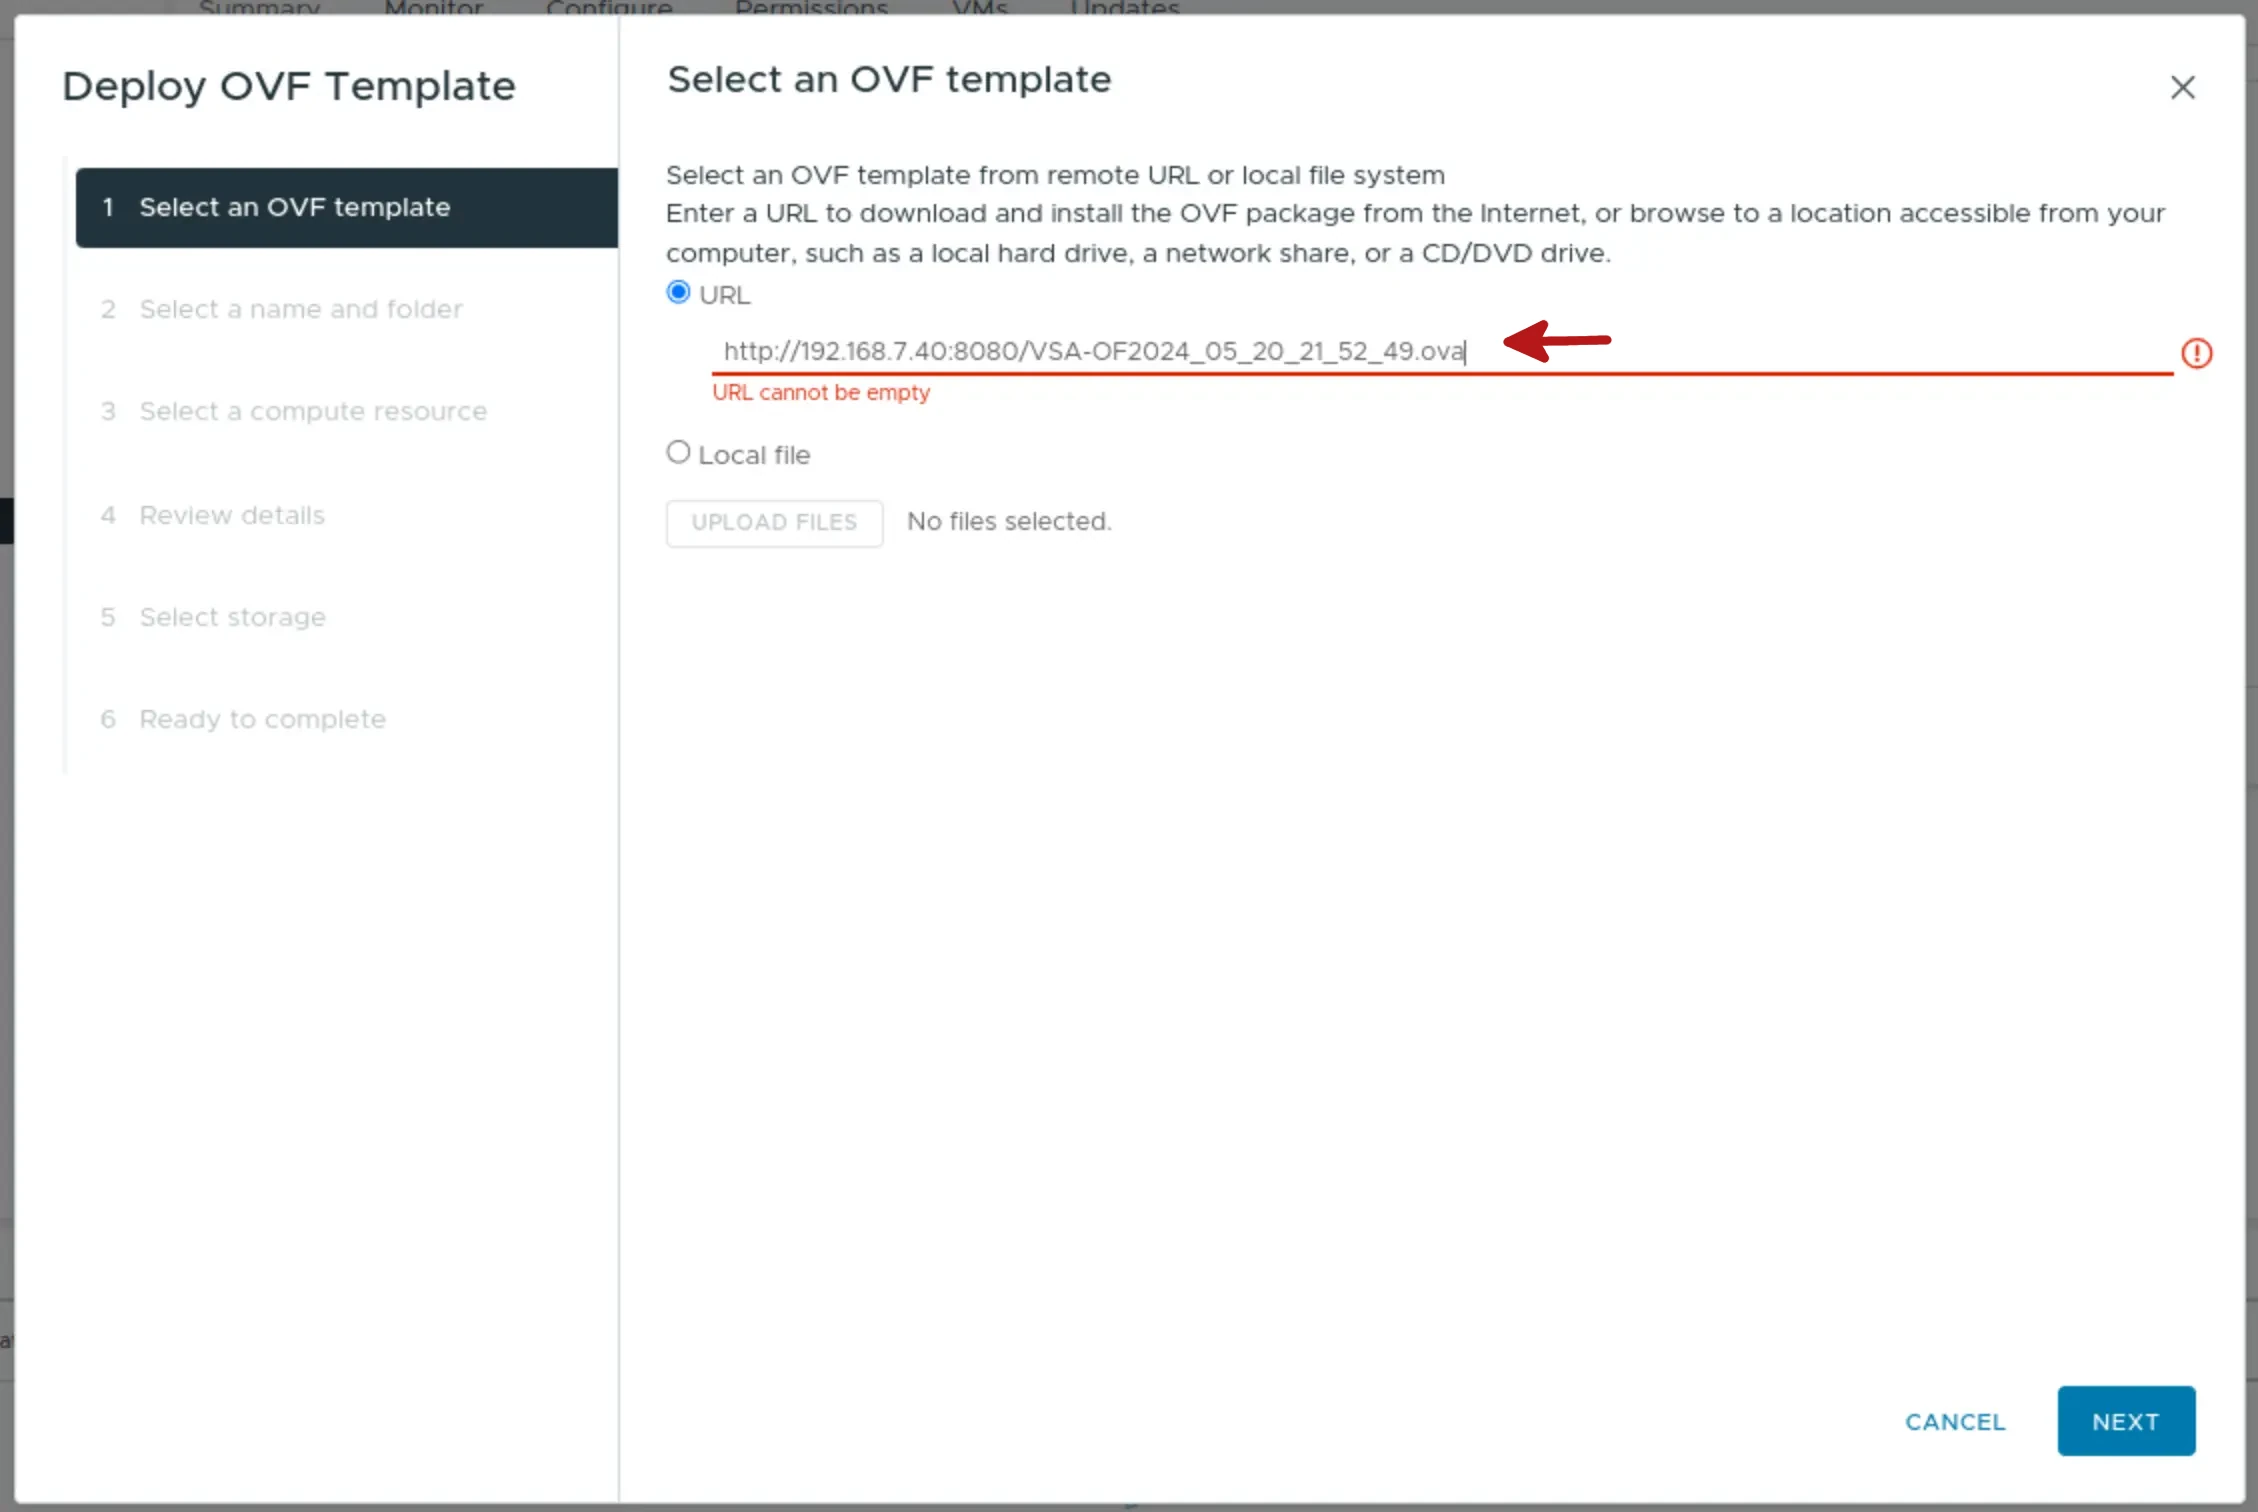
Step 1: OVF template deployment

Step 2: Select the OVA file location
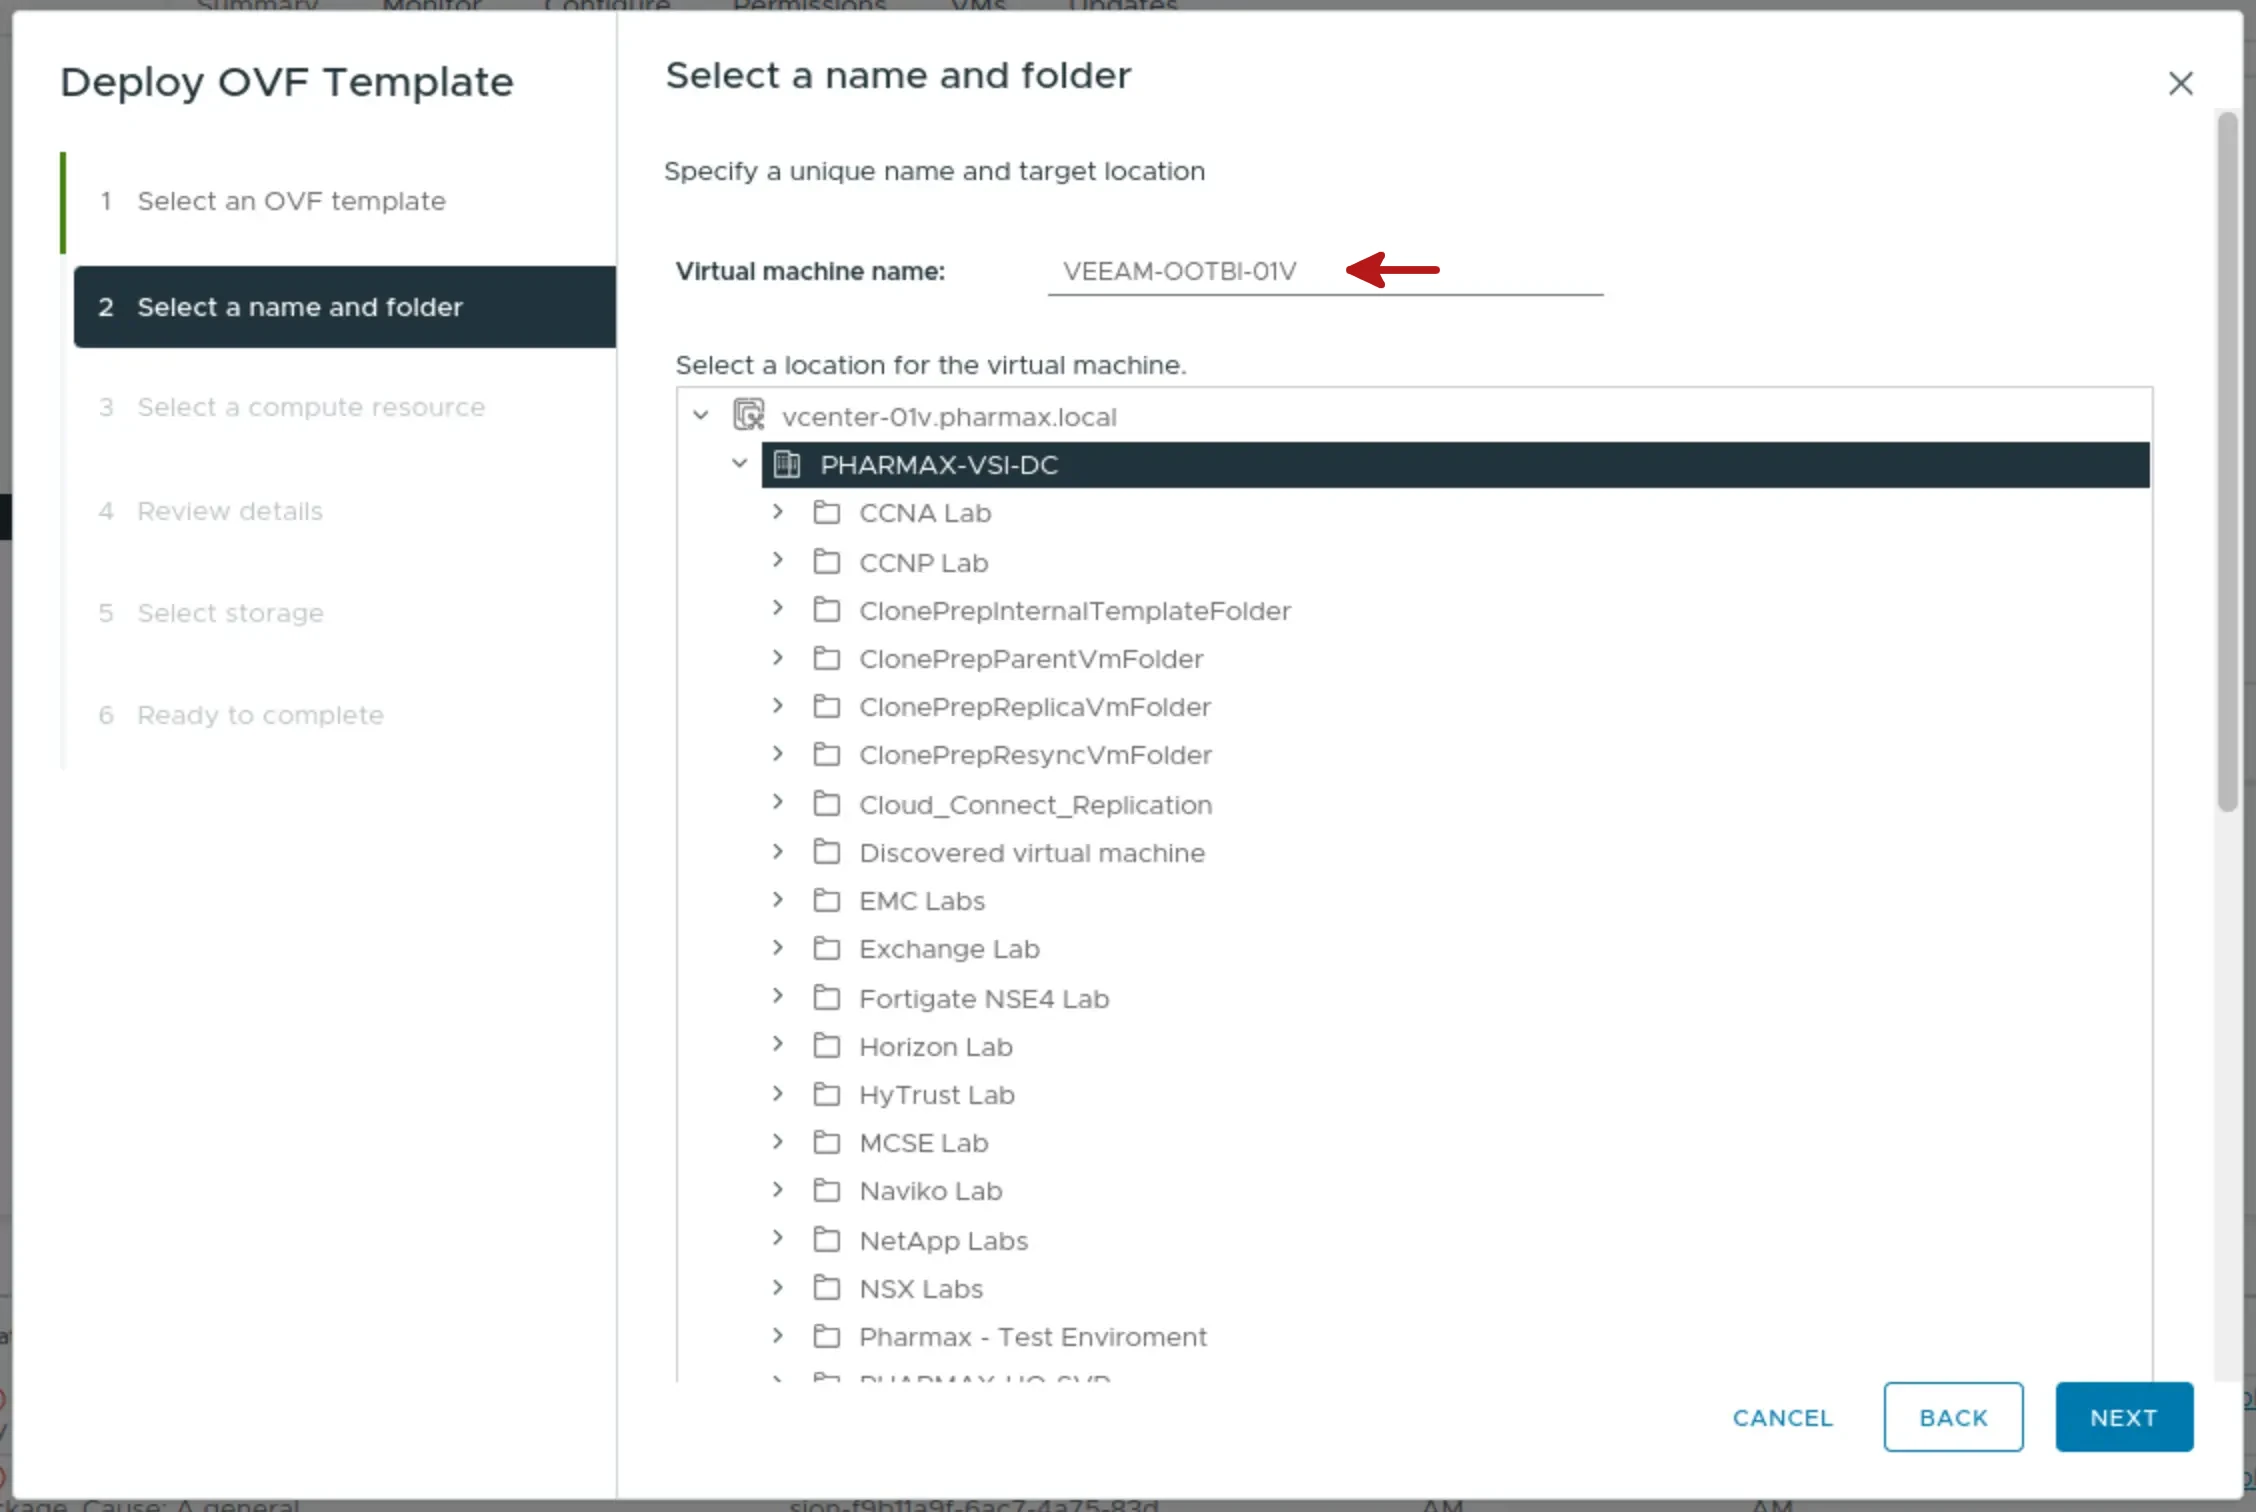
Step 3: Configure the Name and the folder location of the VM

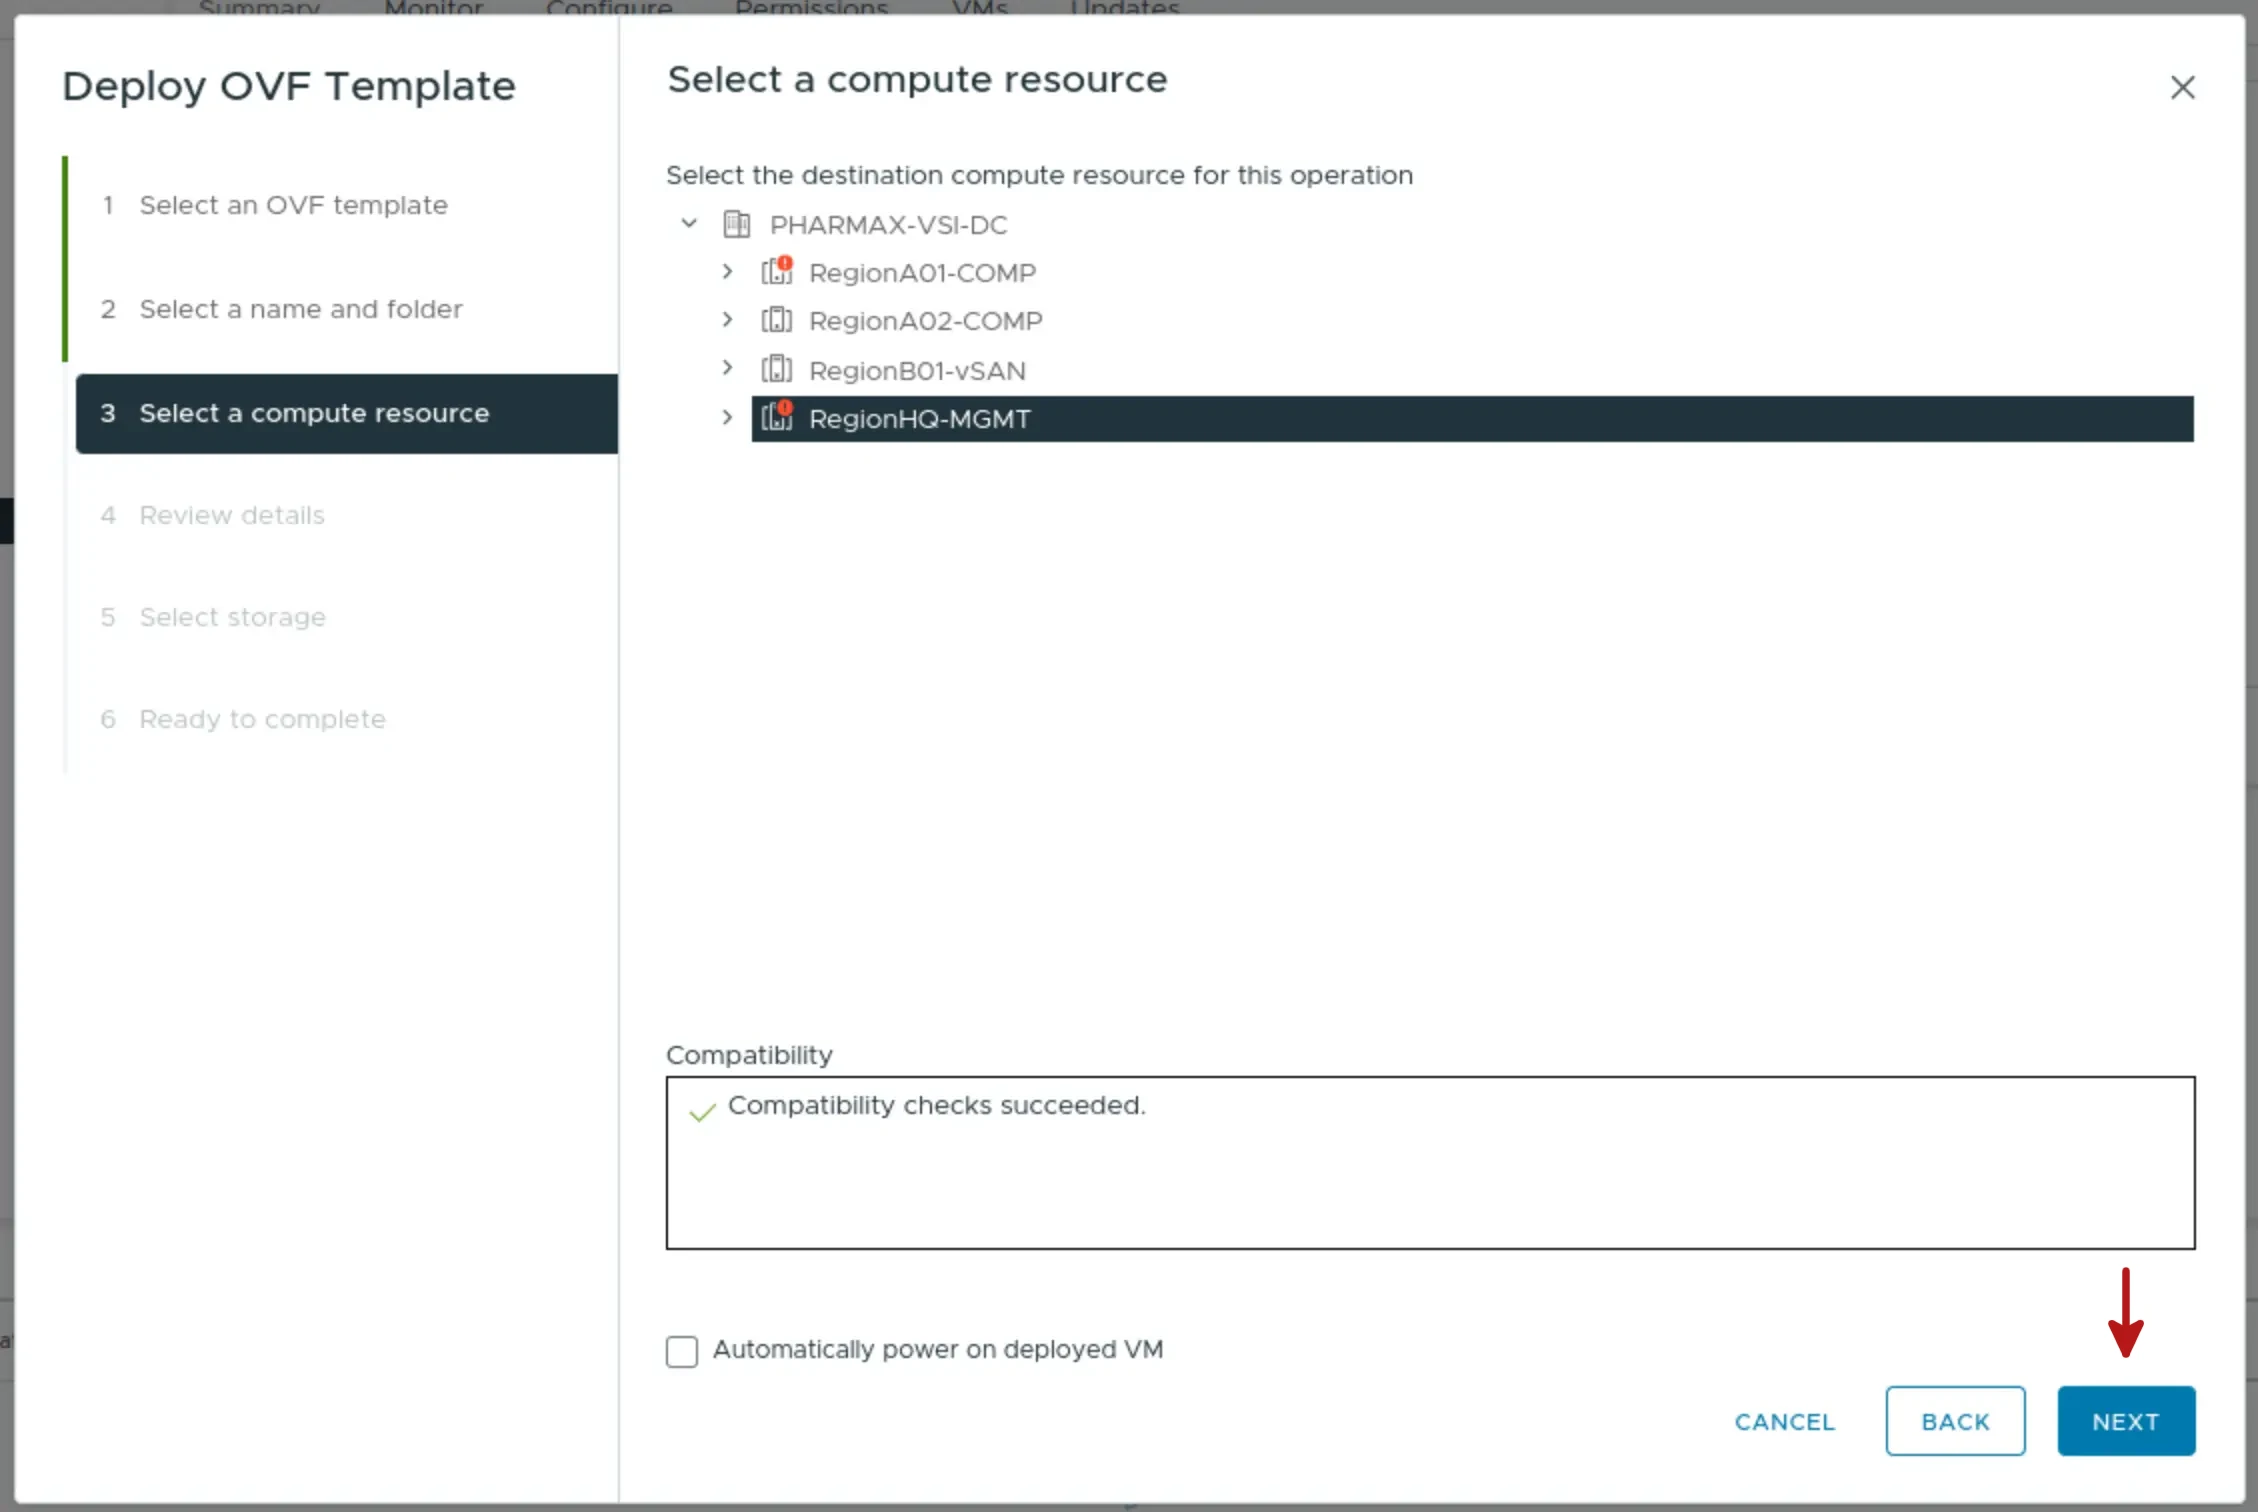
Step 4: vSphere DataCenter selection
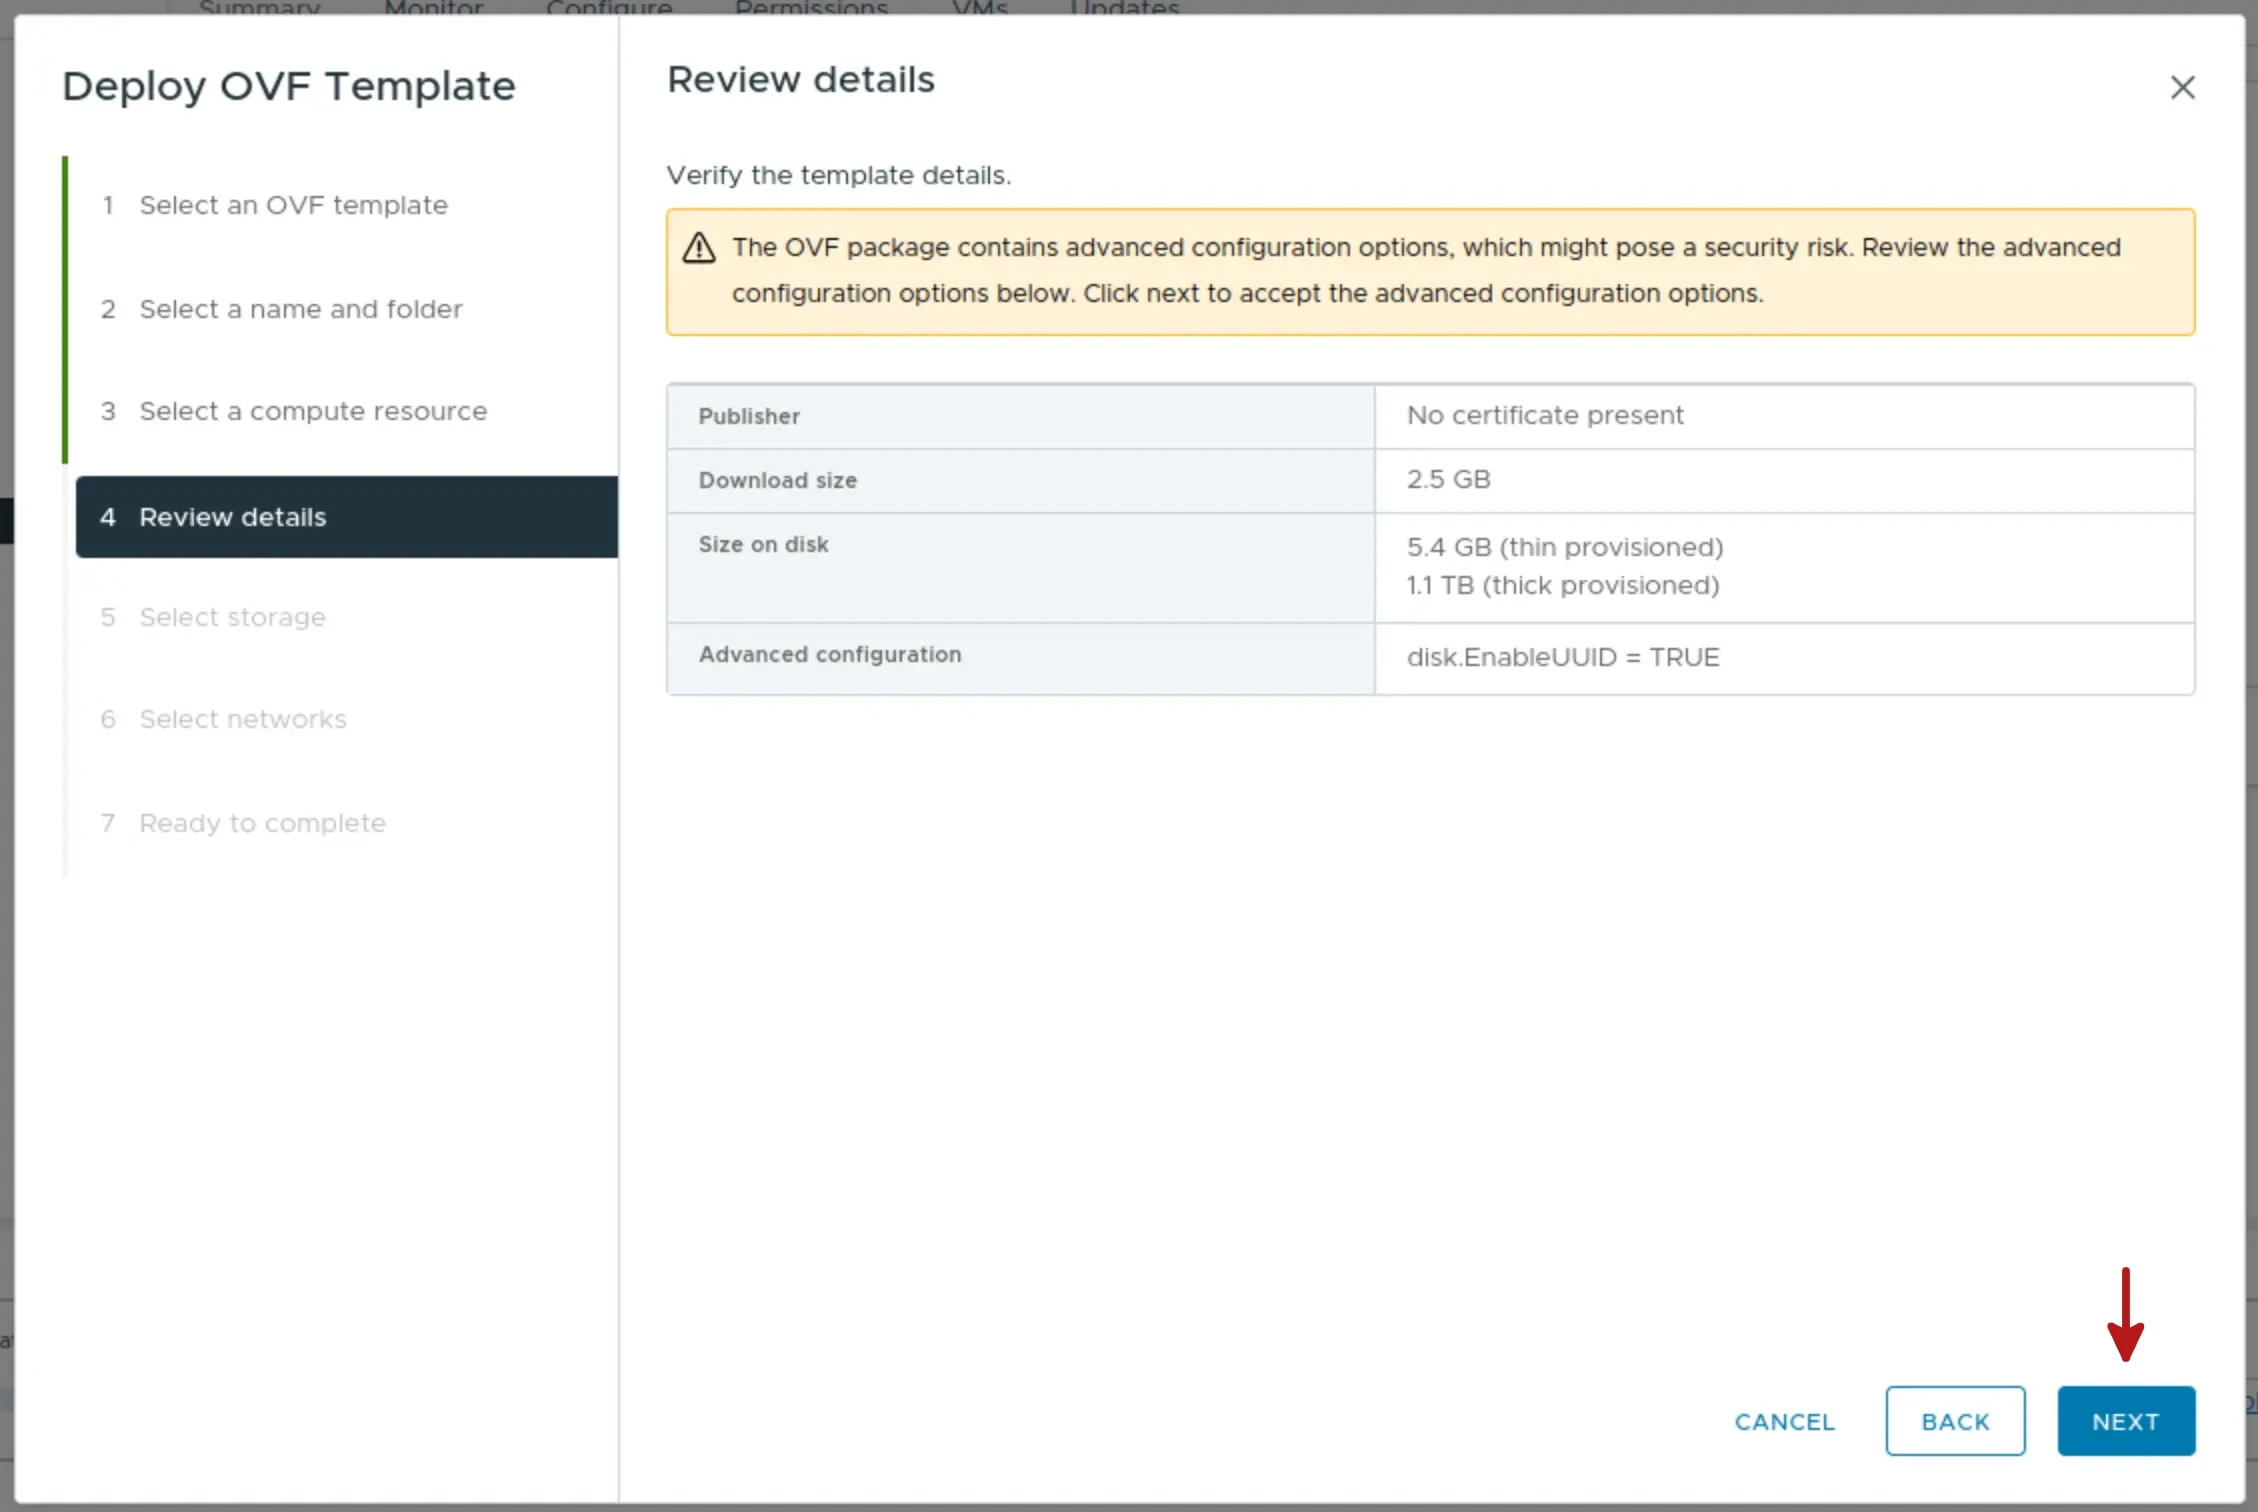
Step 5: Review details
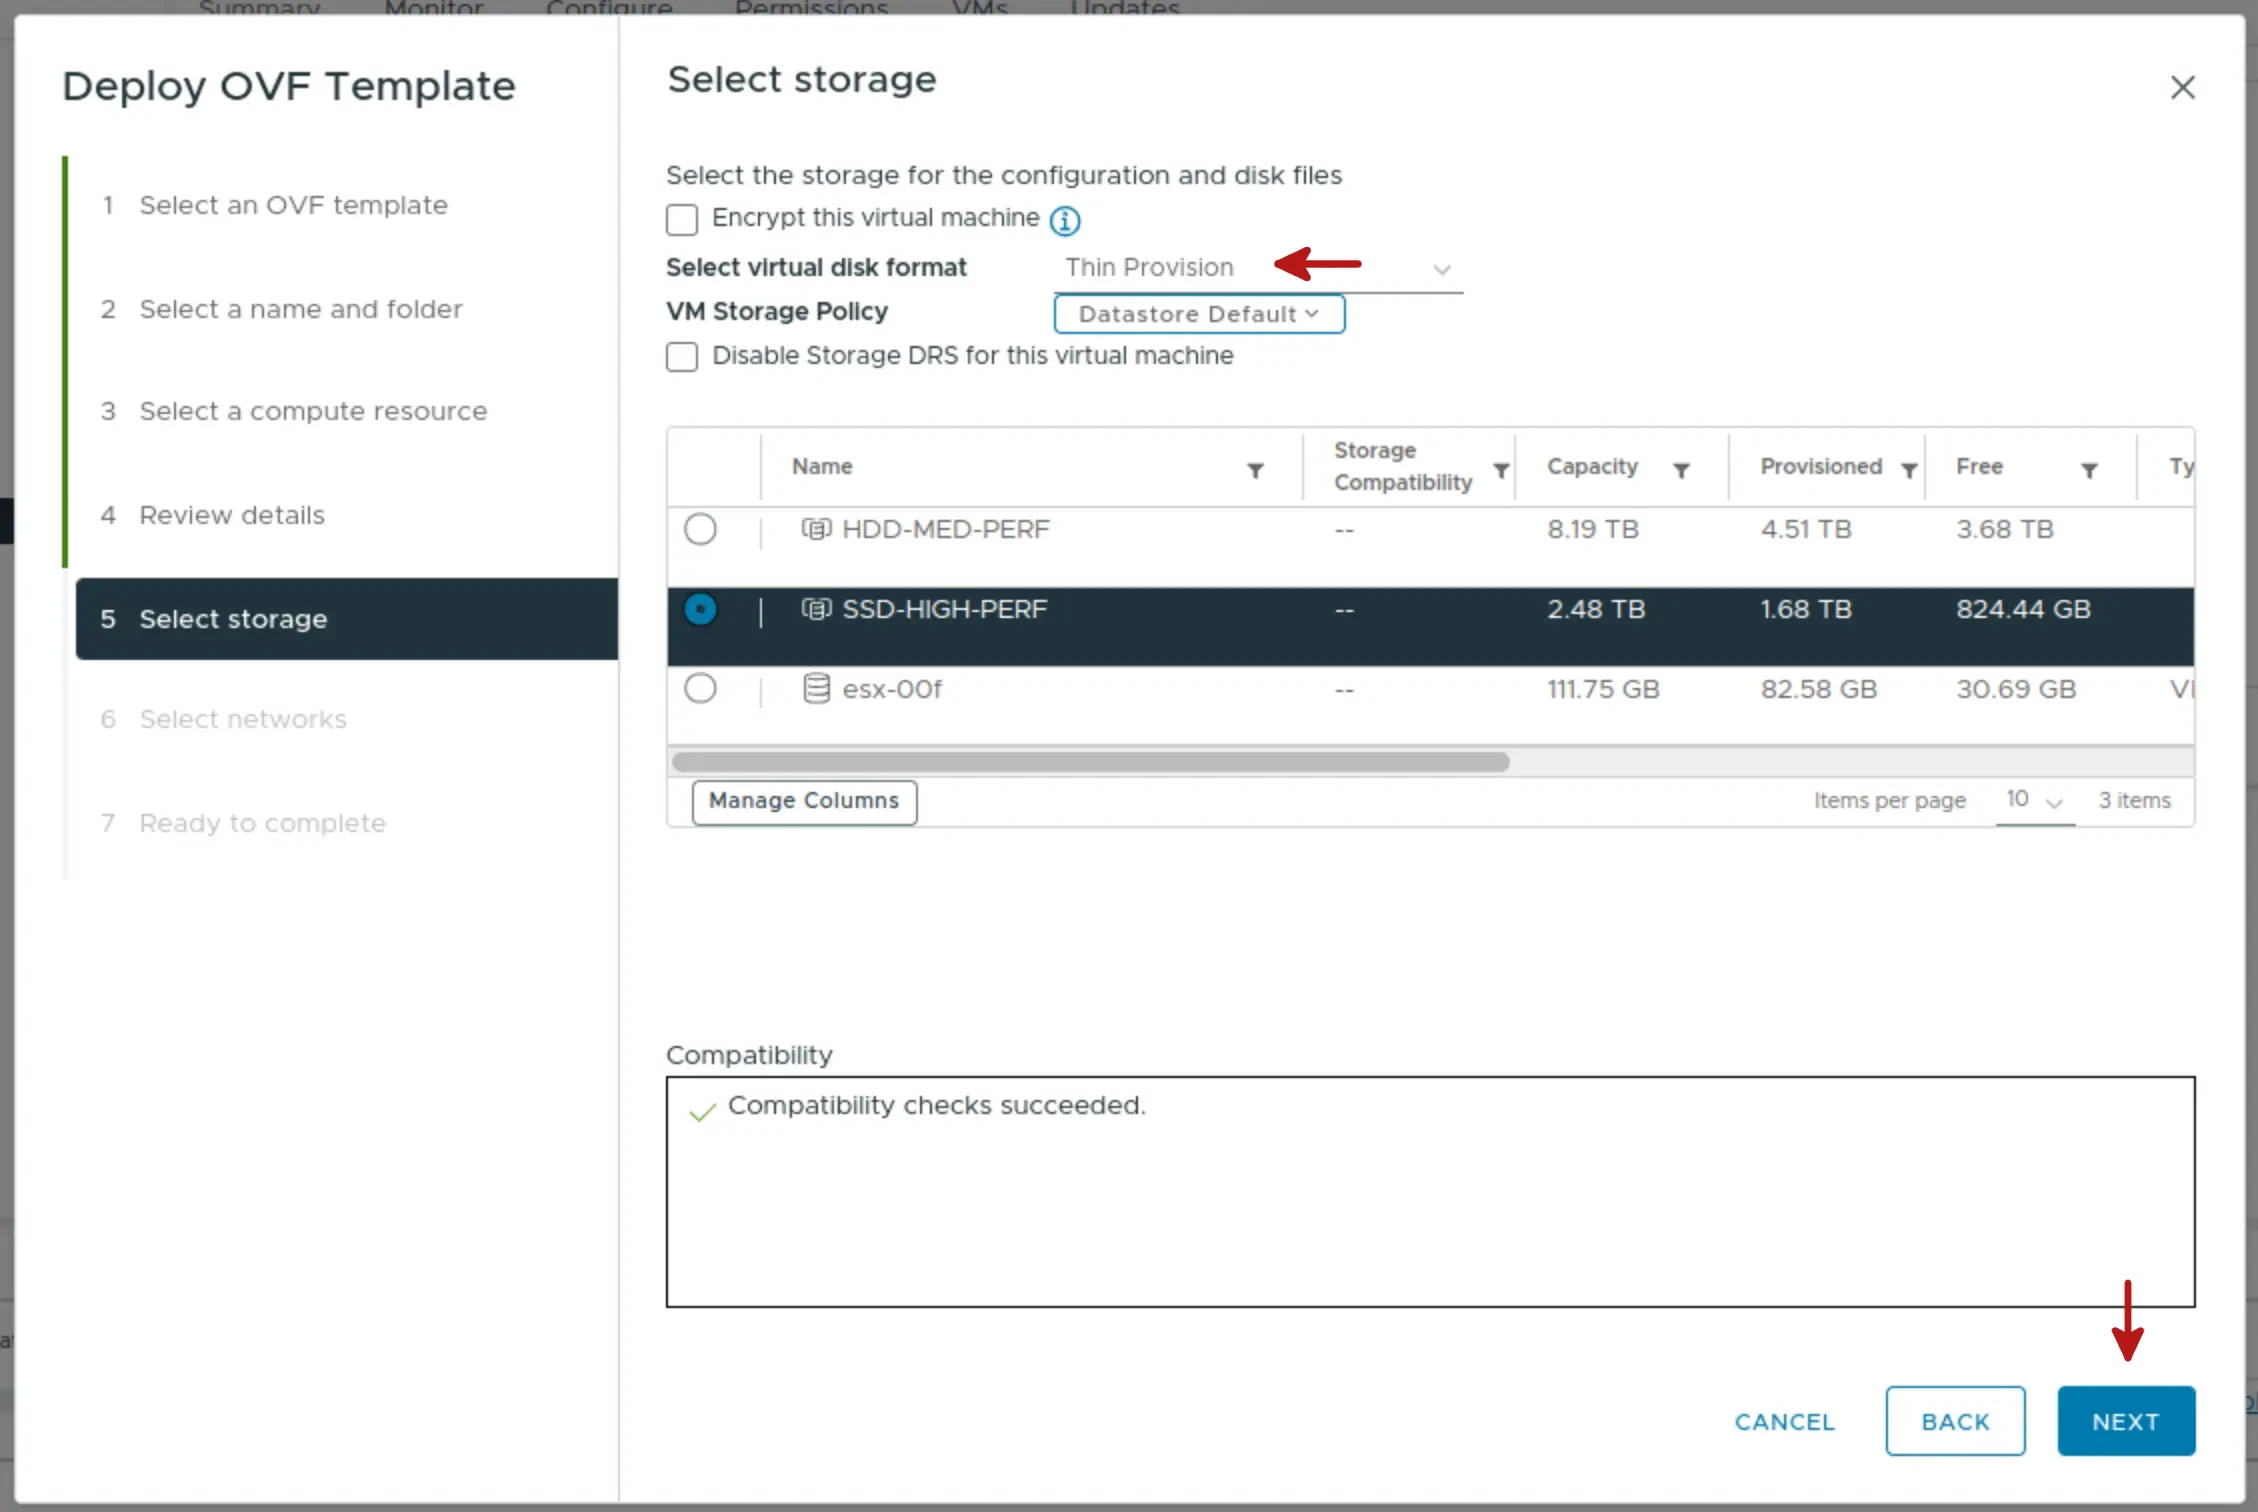
Step 6: Select the virtual disk type and the Datastore destination
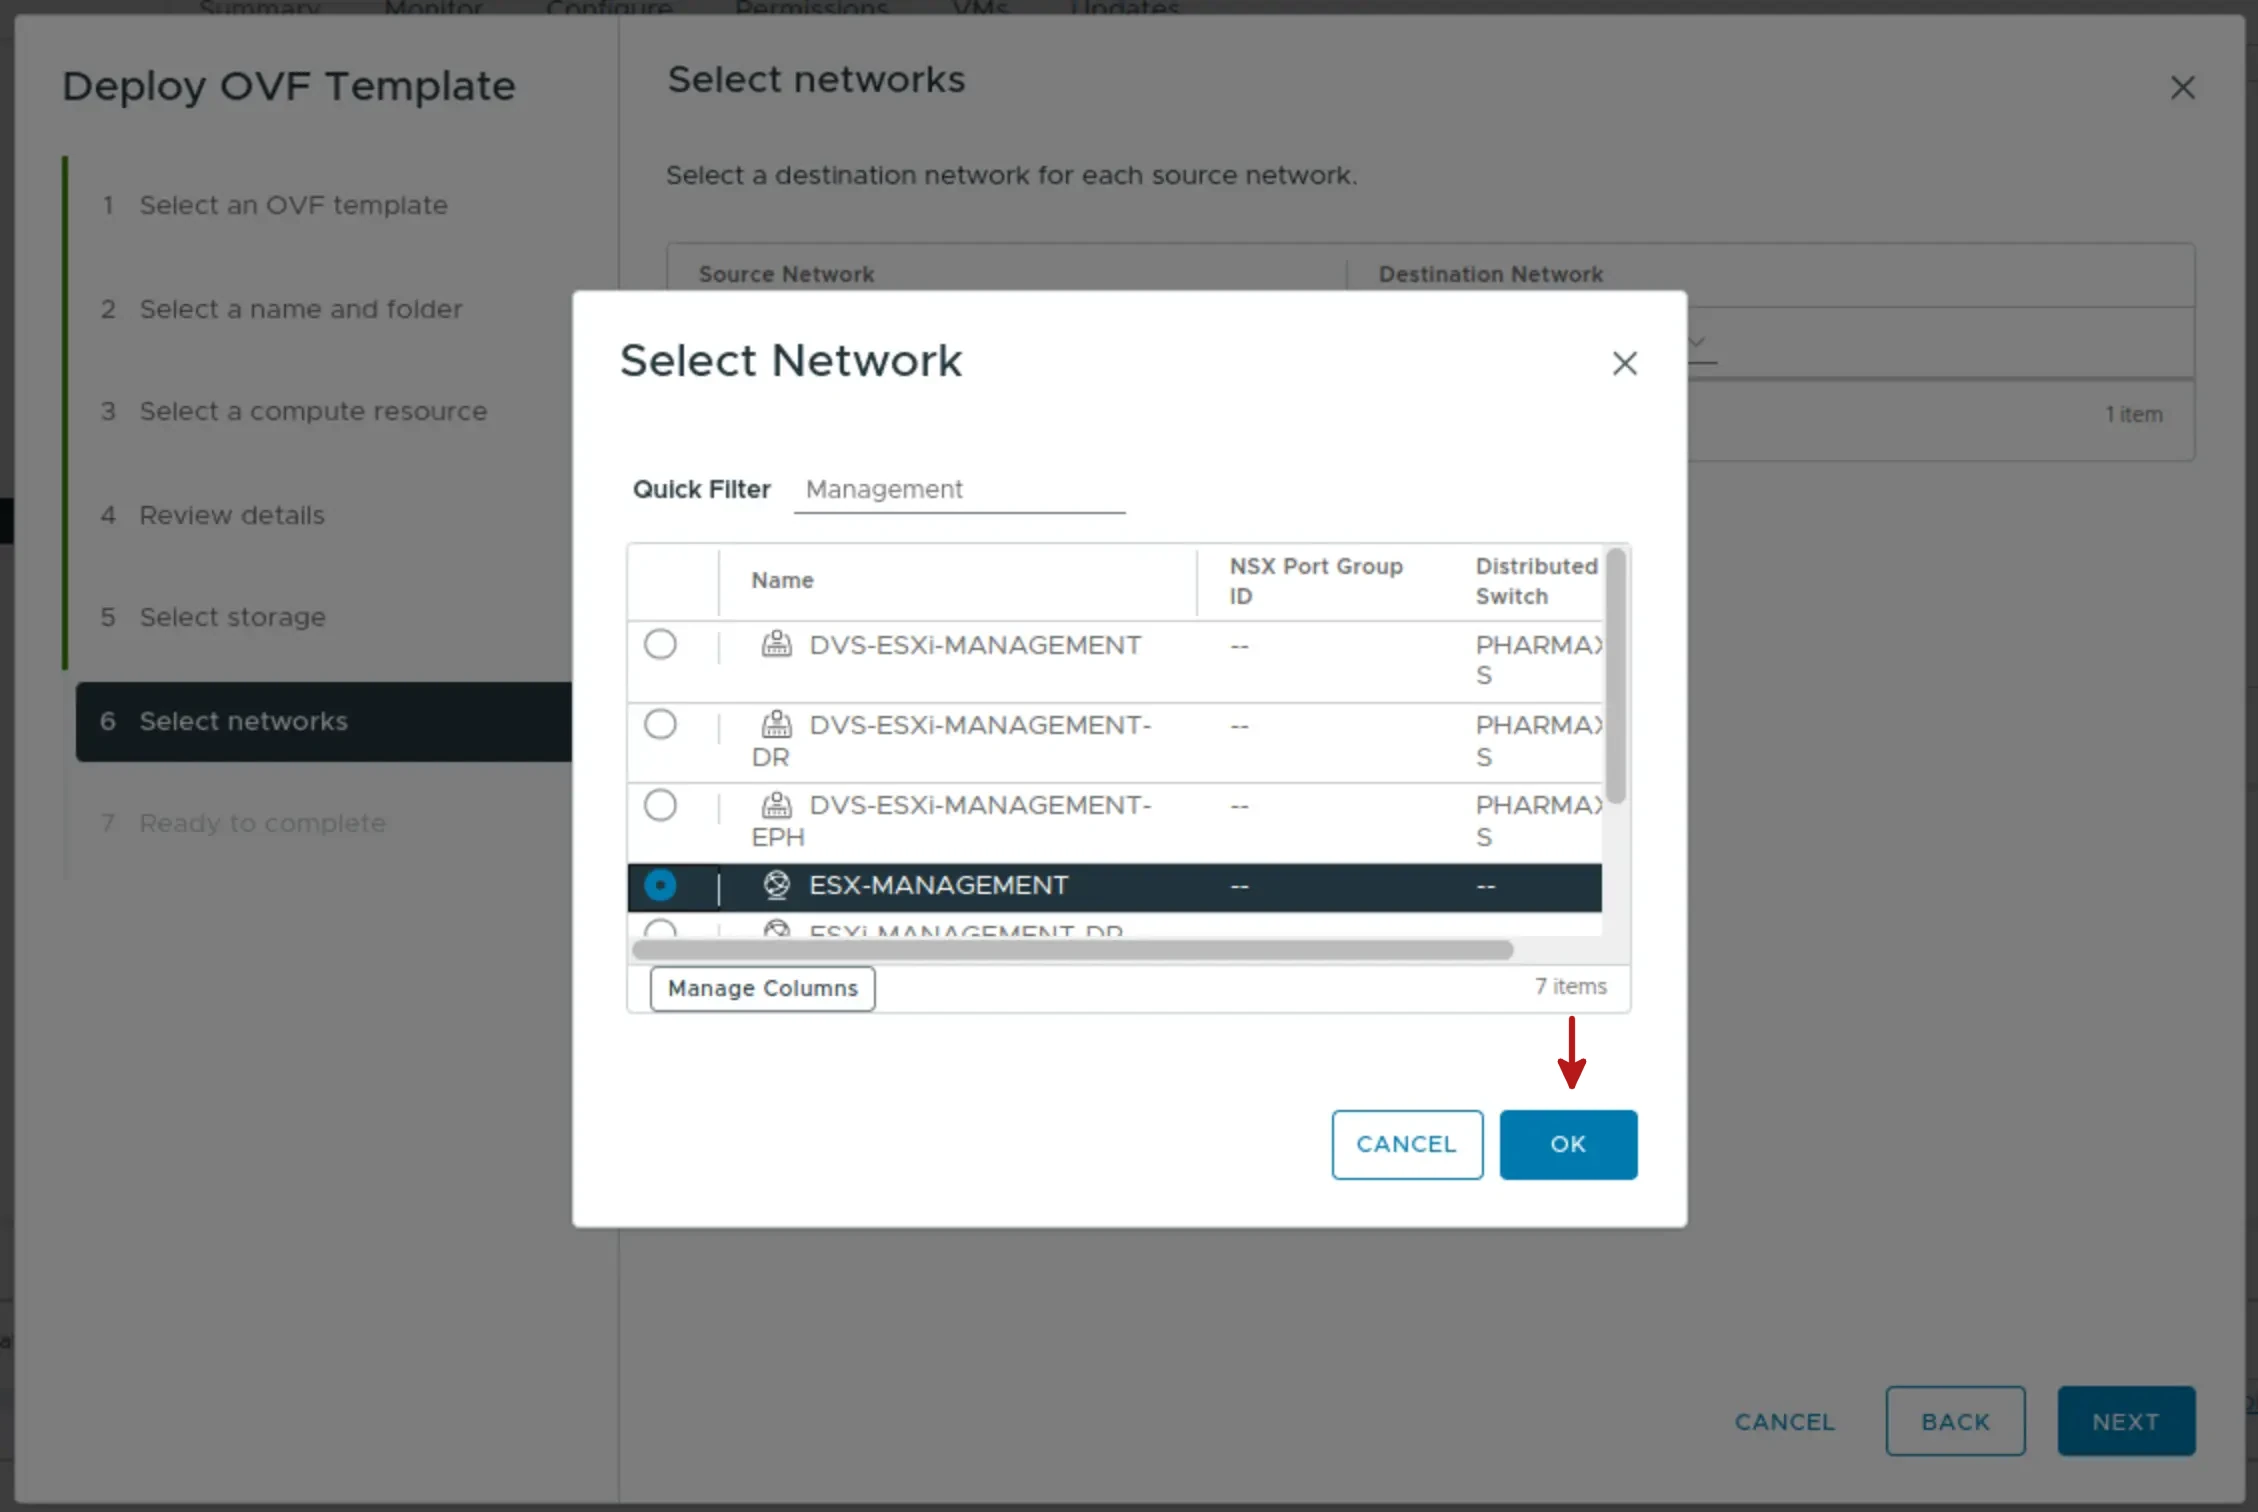
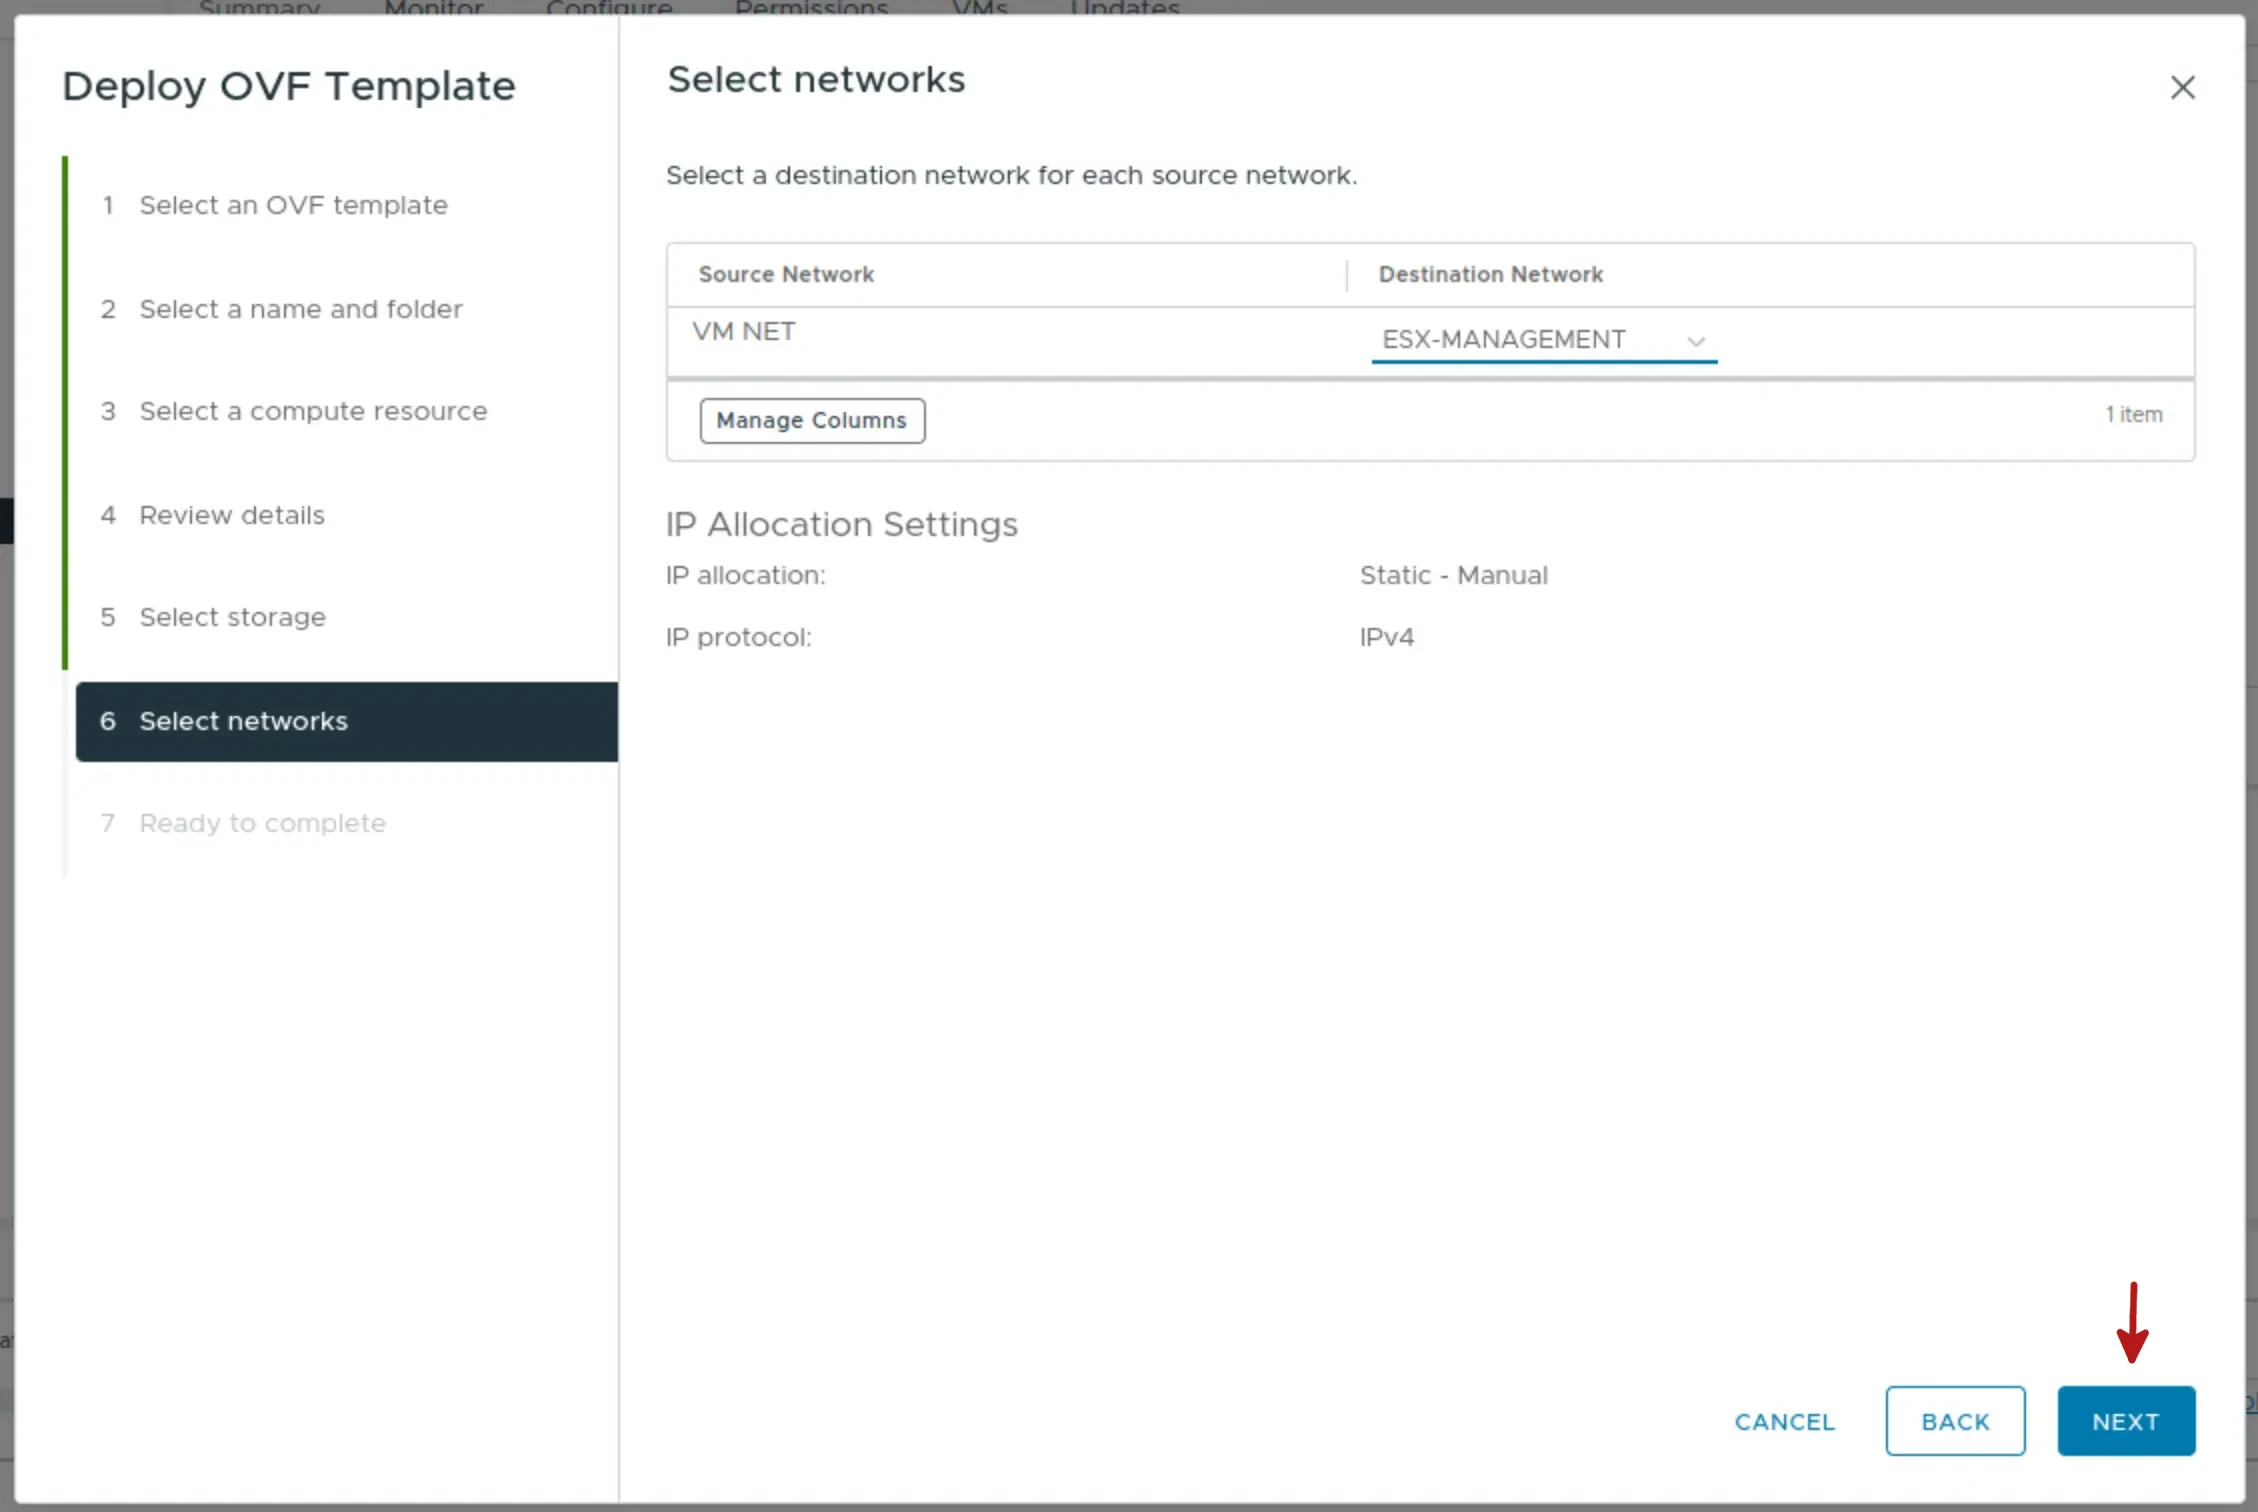
Step 7: Select the Network PortGroup where the VM will be connected
Step 8: Review the configuration
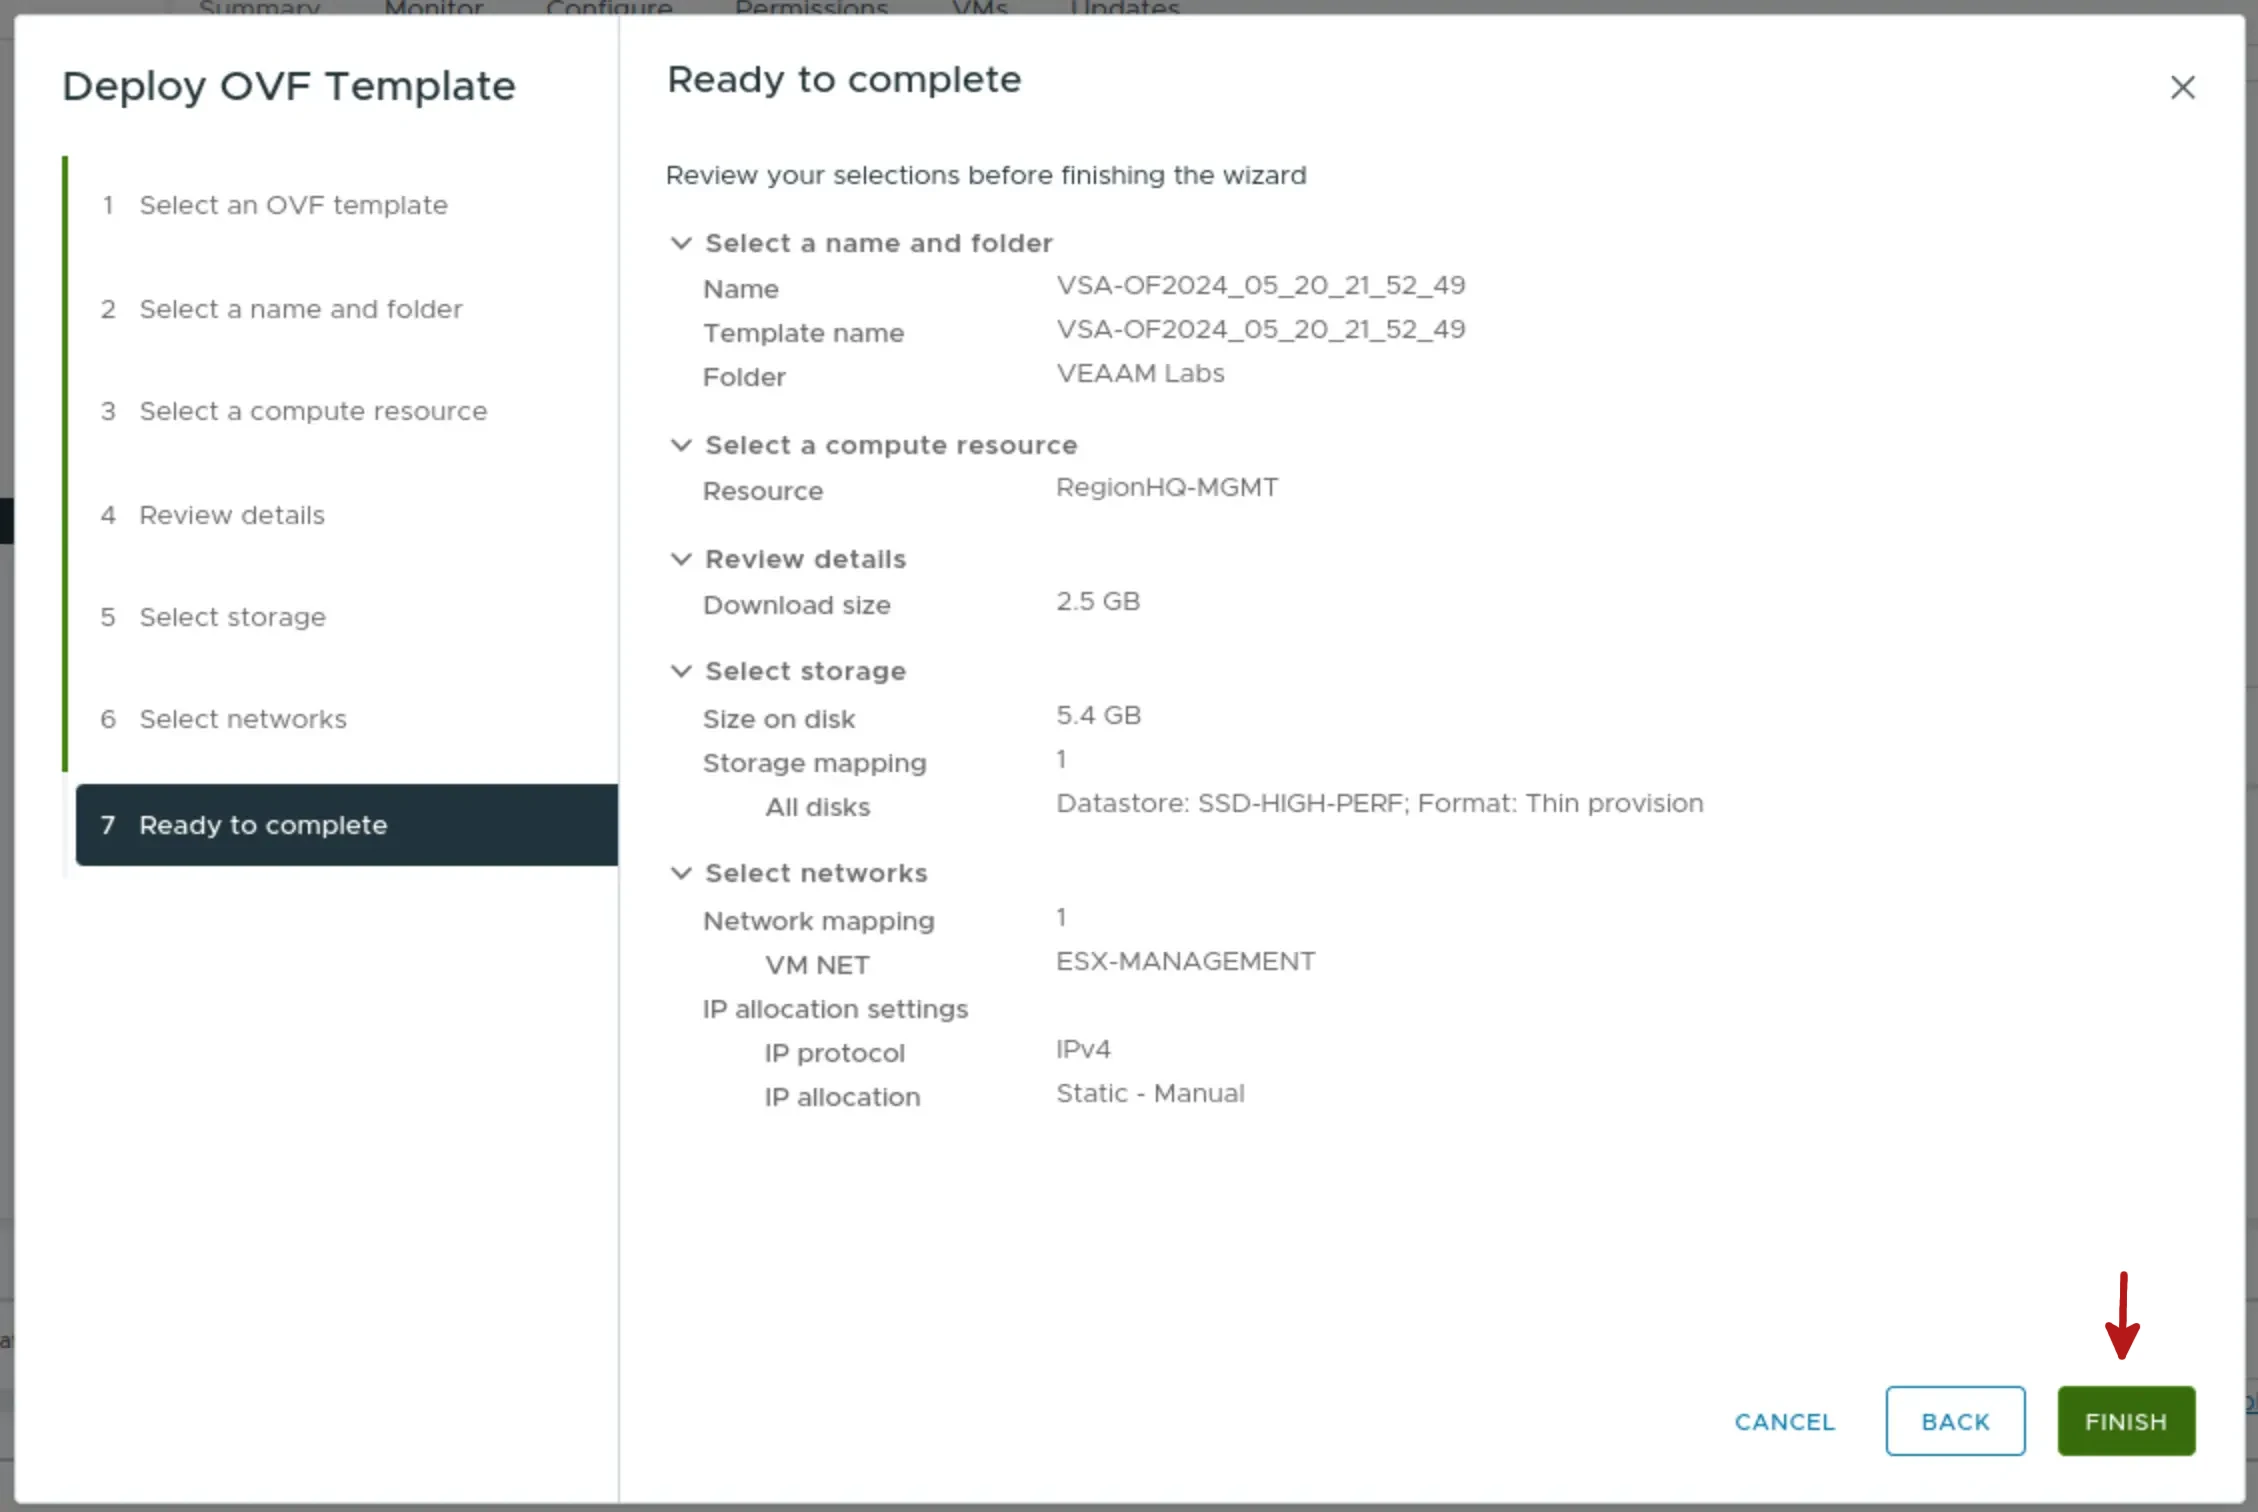
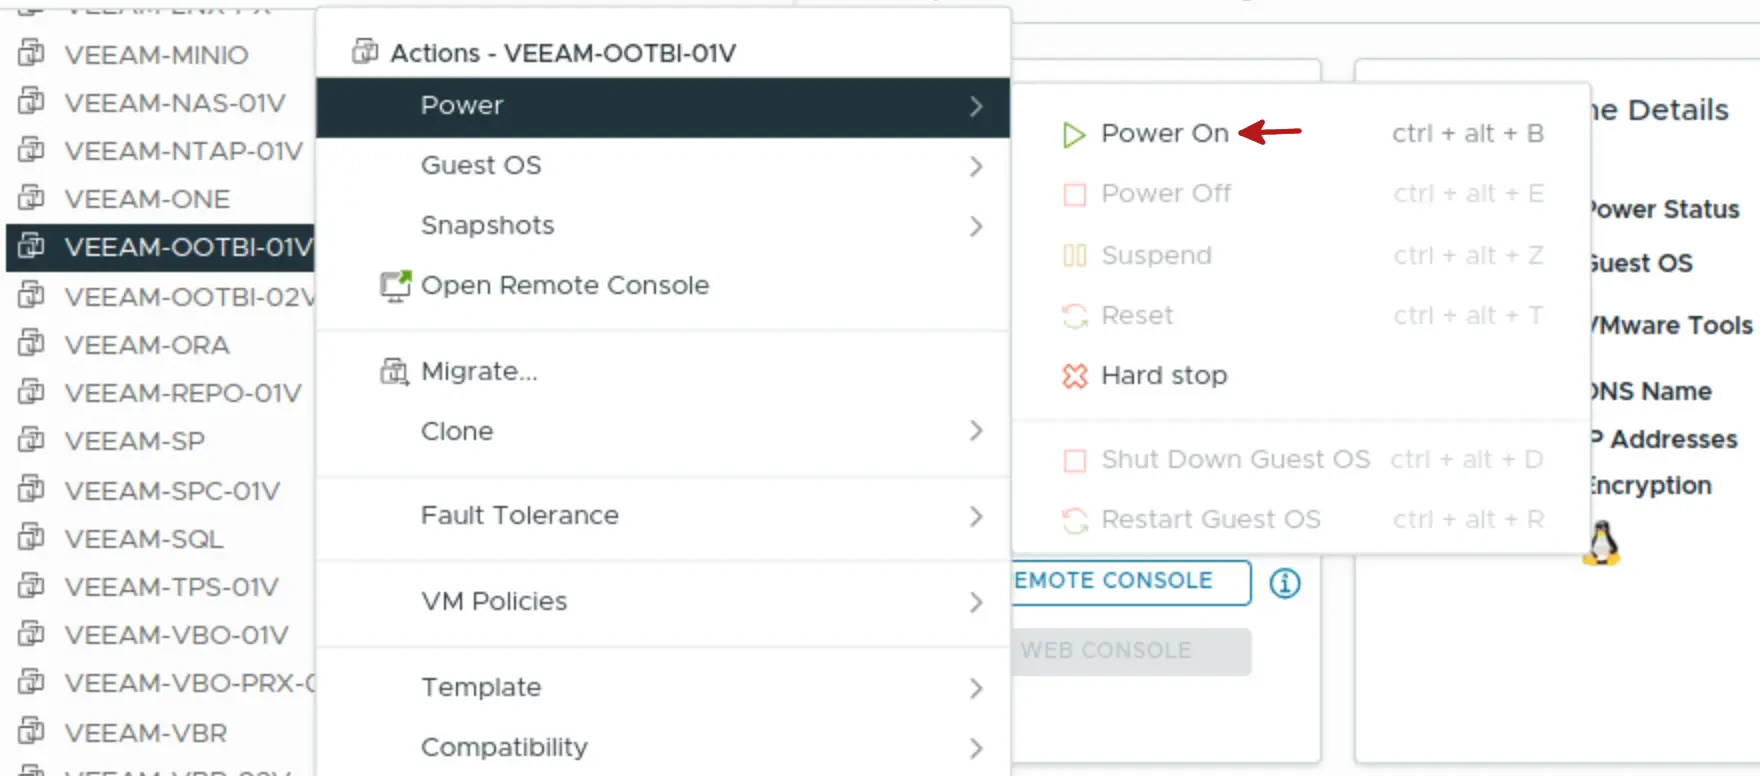
After finishing the VM creation process, proceed to power on the VM to perform the initial configuration.
OOTBI initial configuration
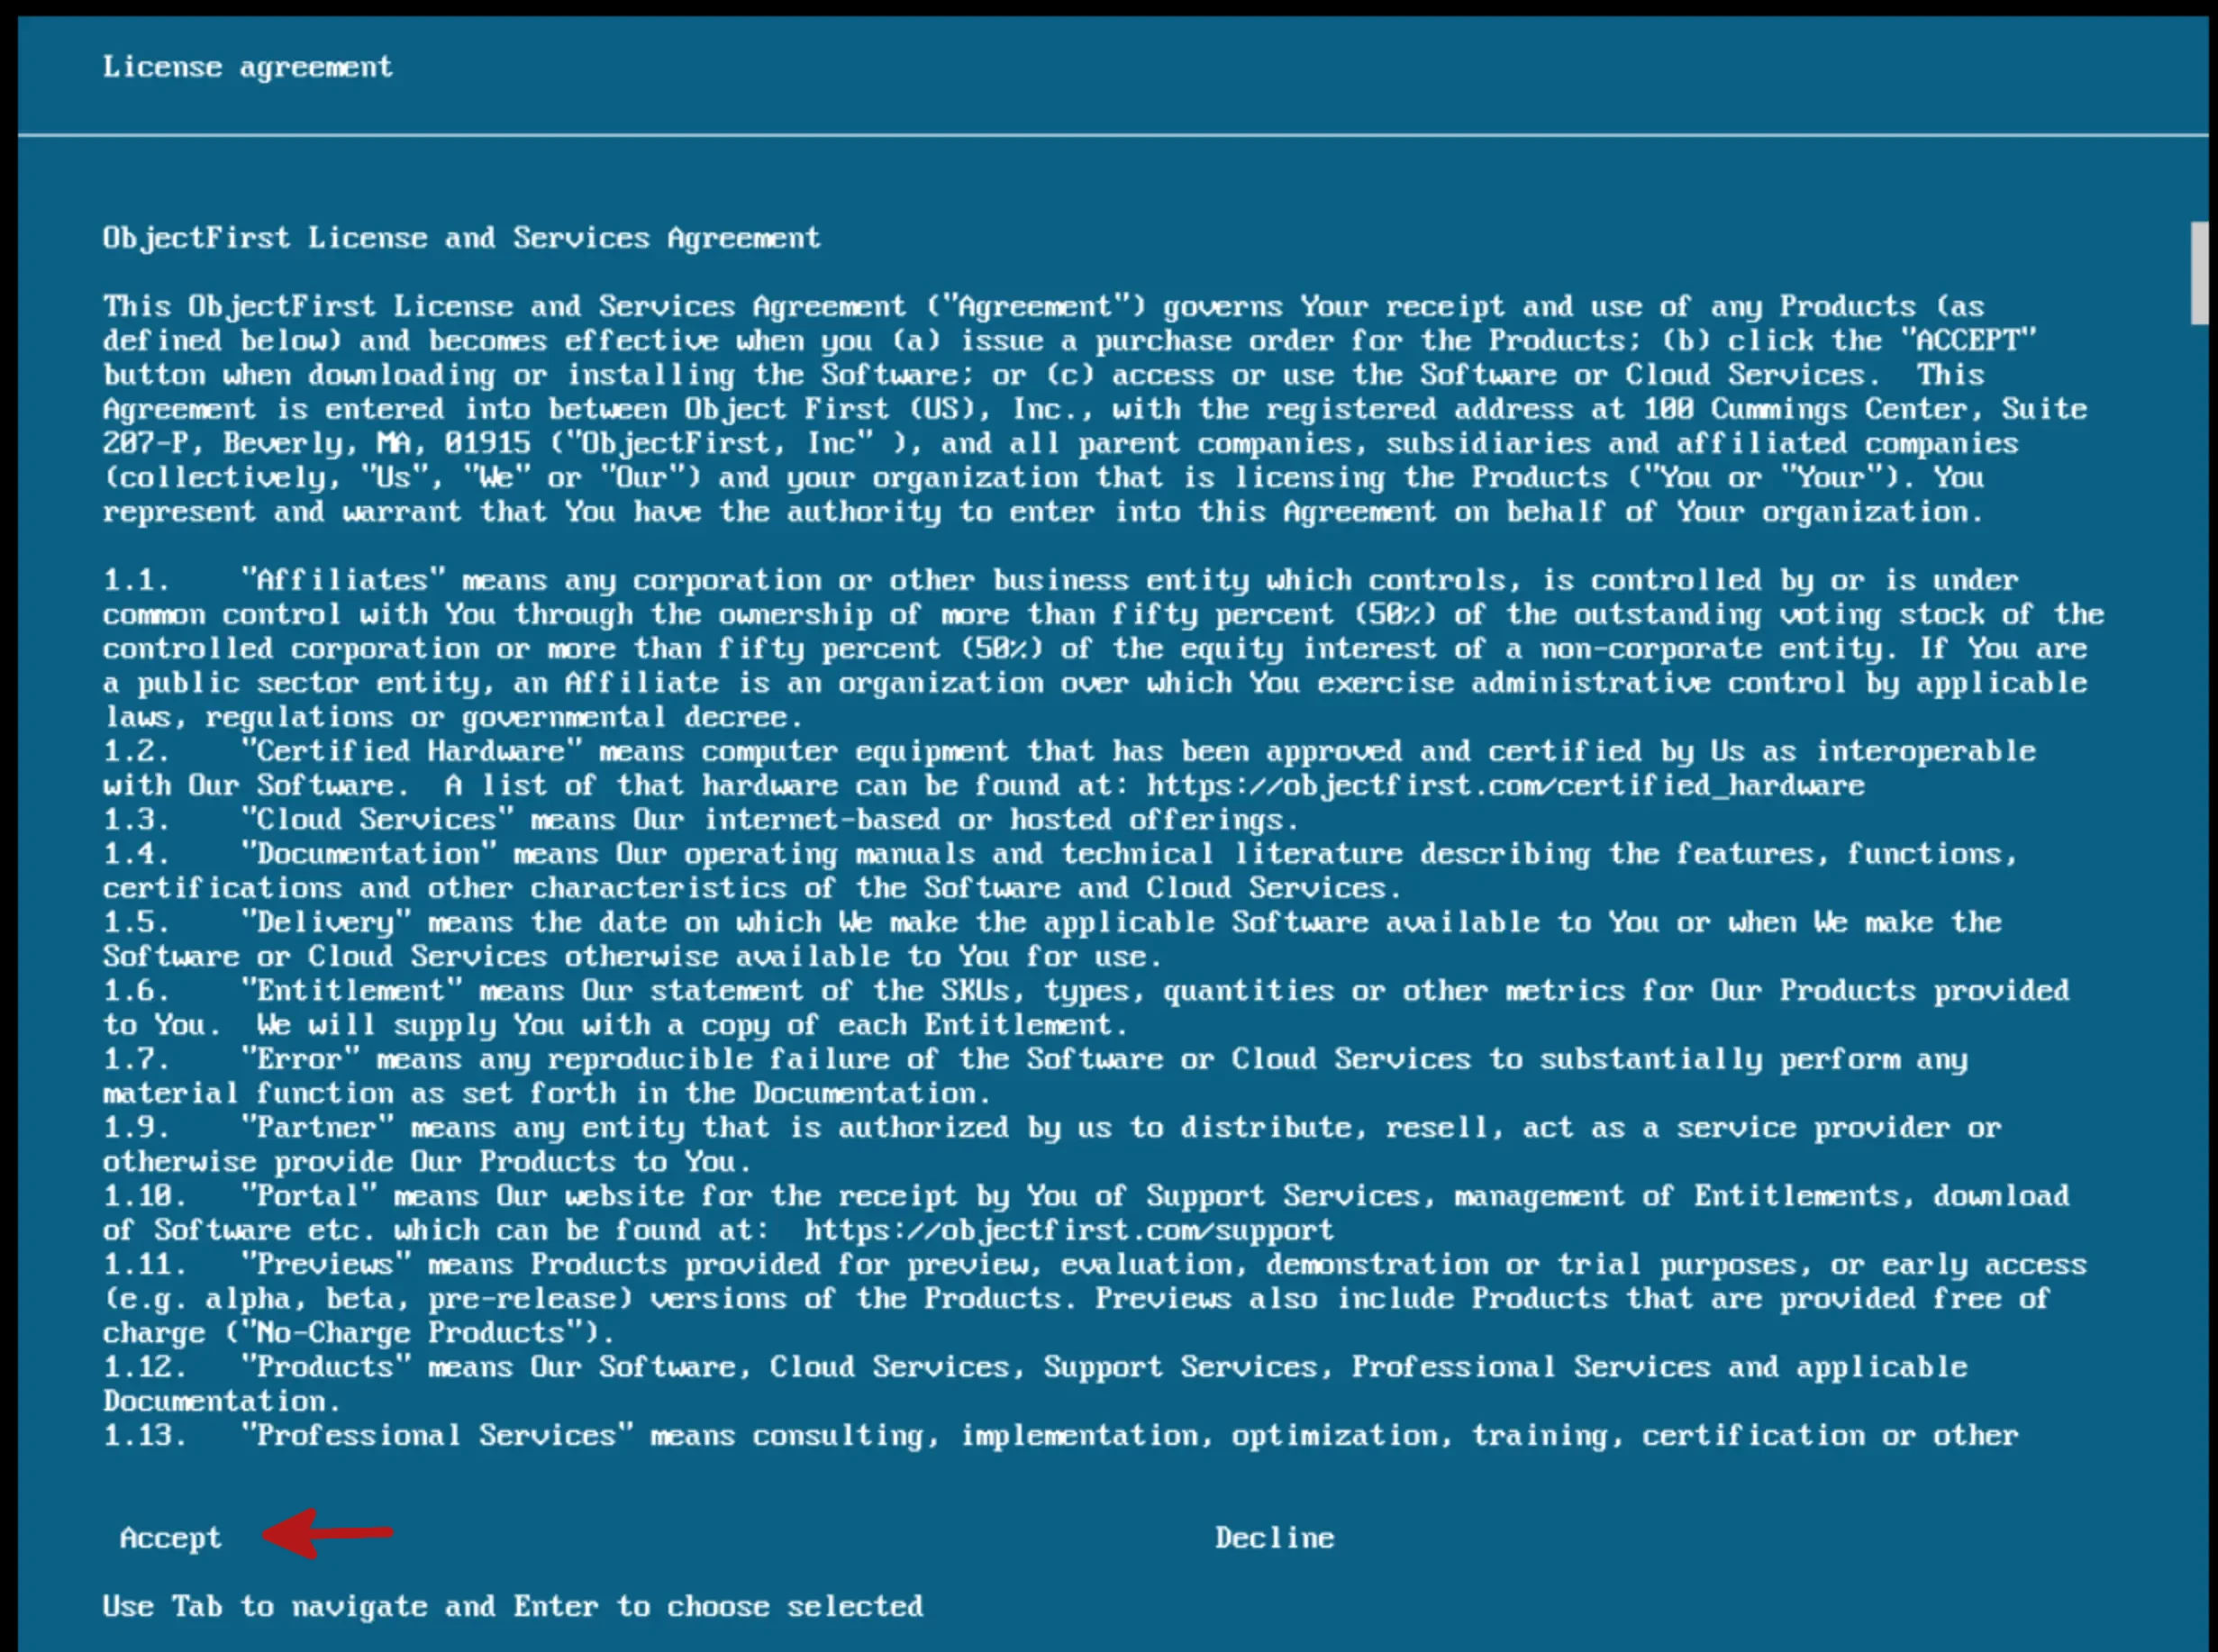
Here in this page you must accept the license to be able to continue…
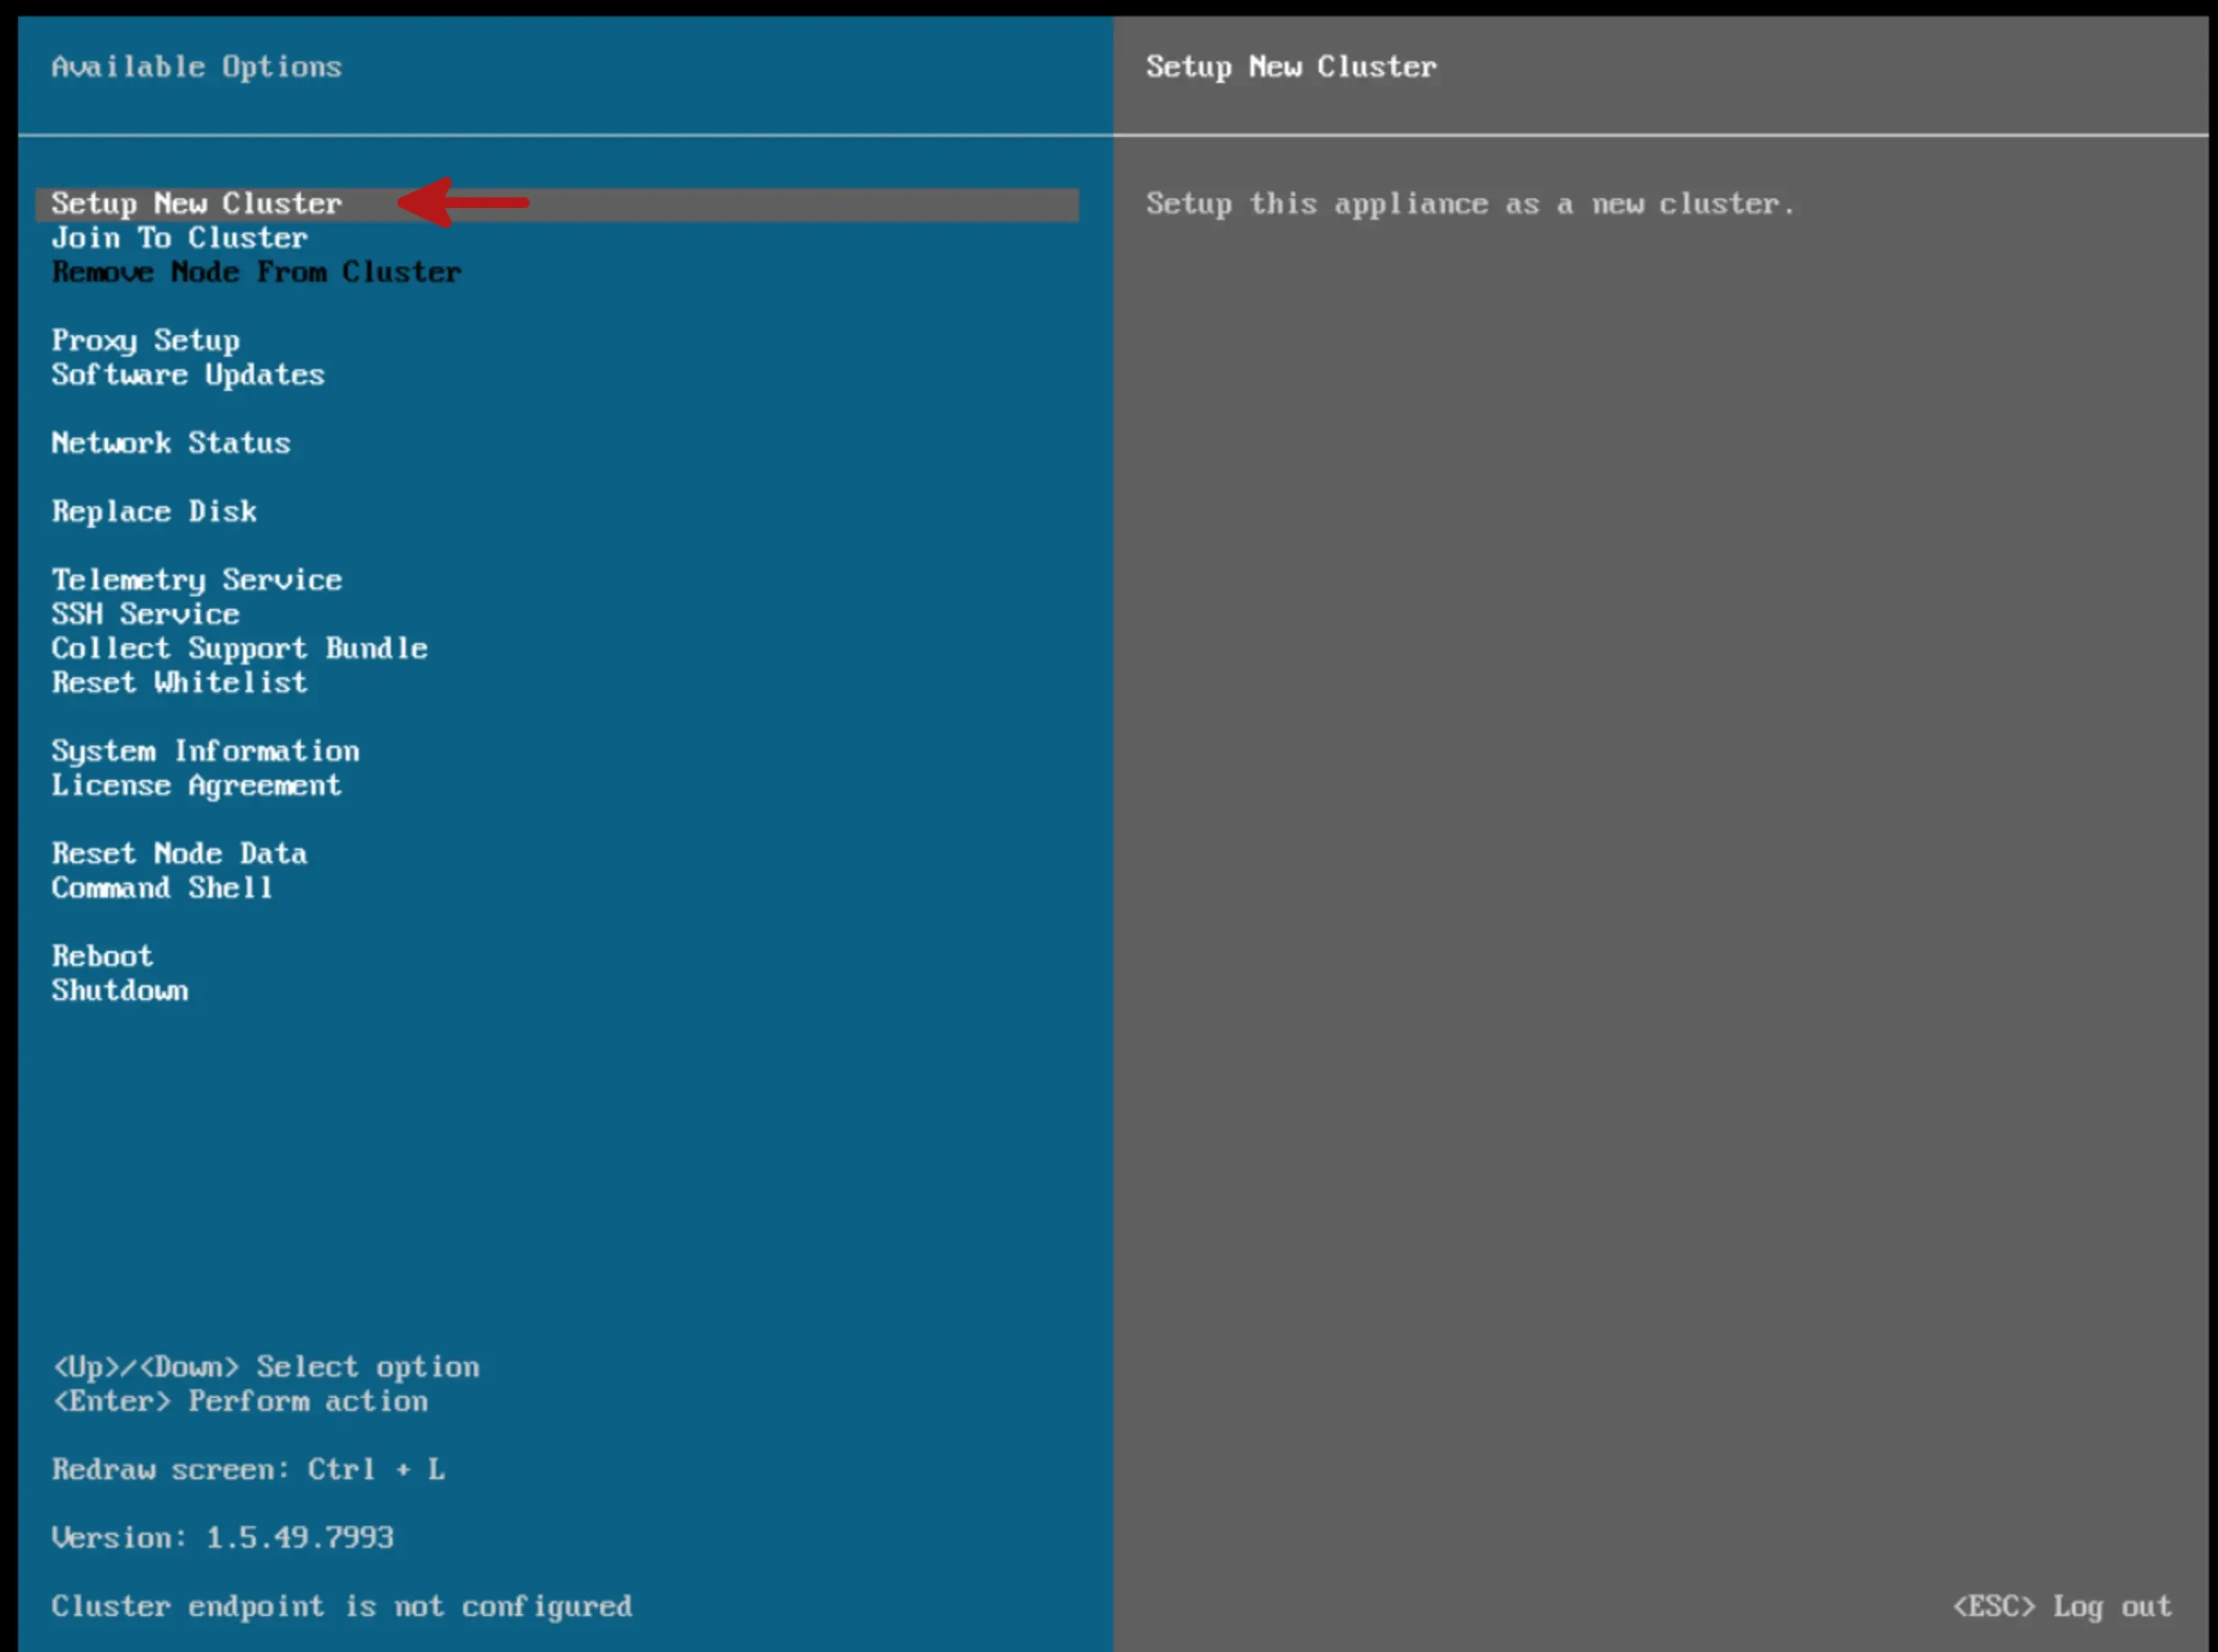
Next, proceed to create a new cluster.
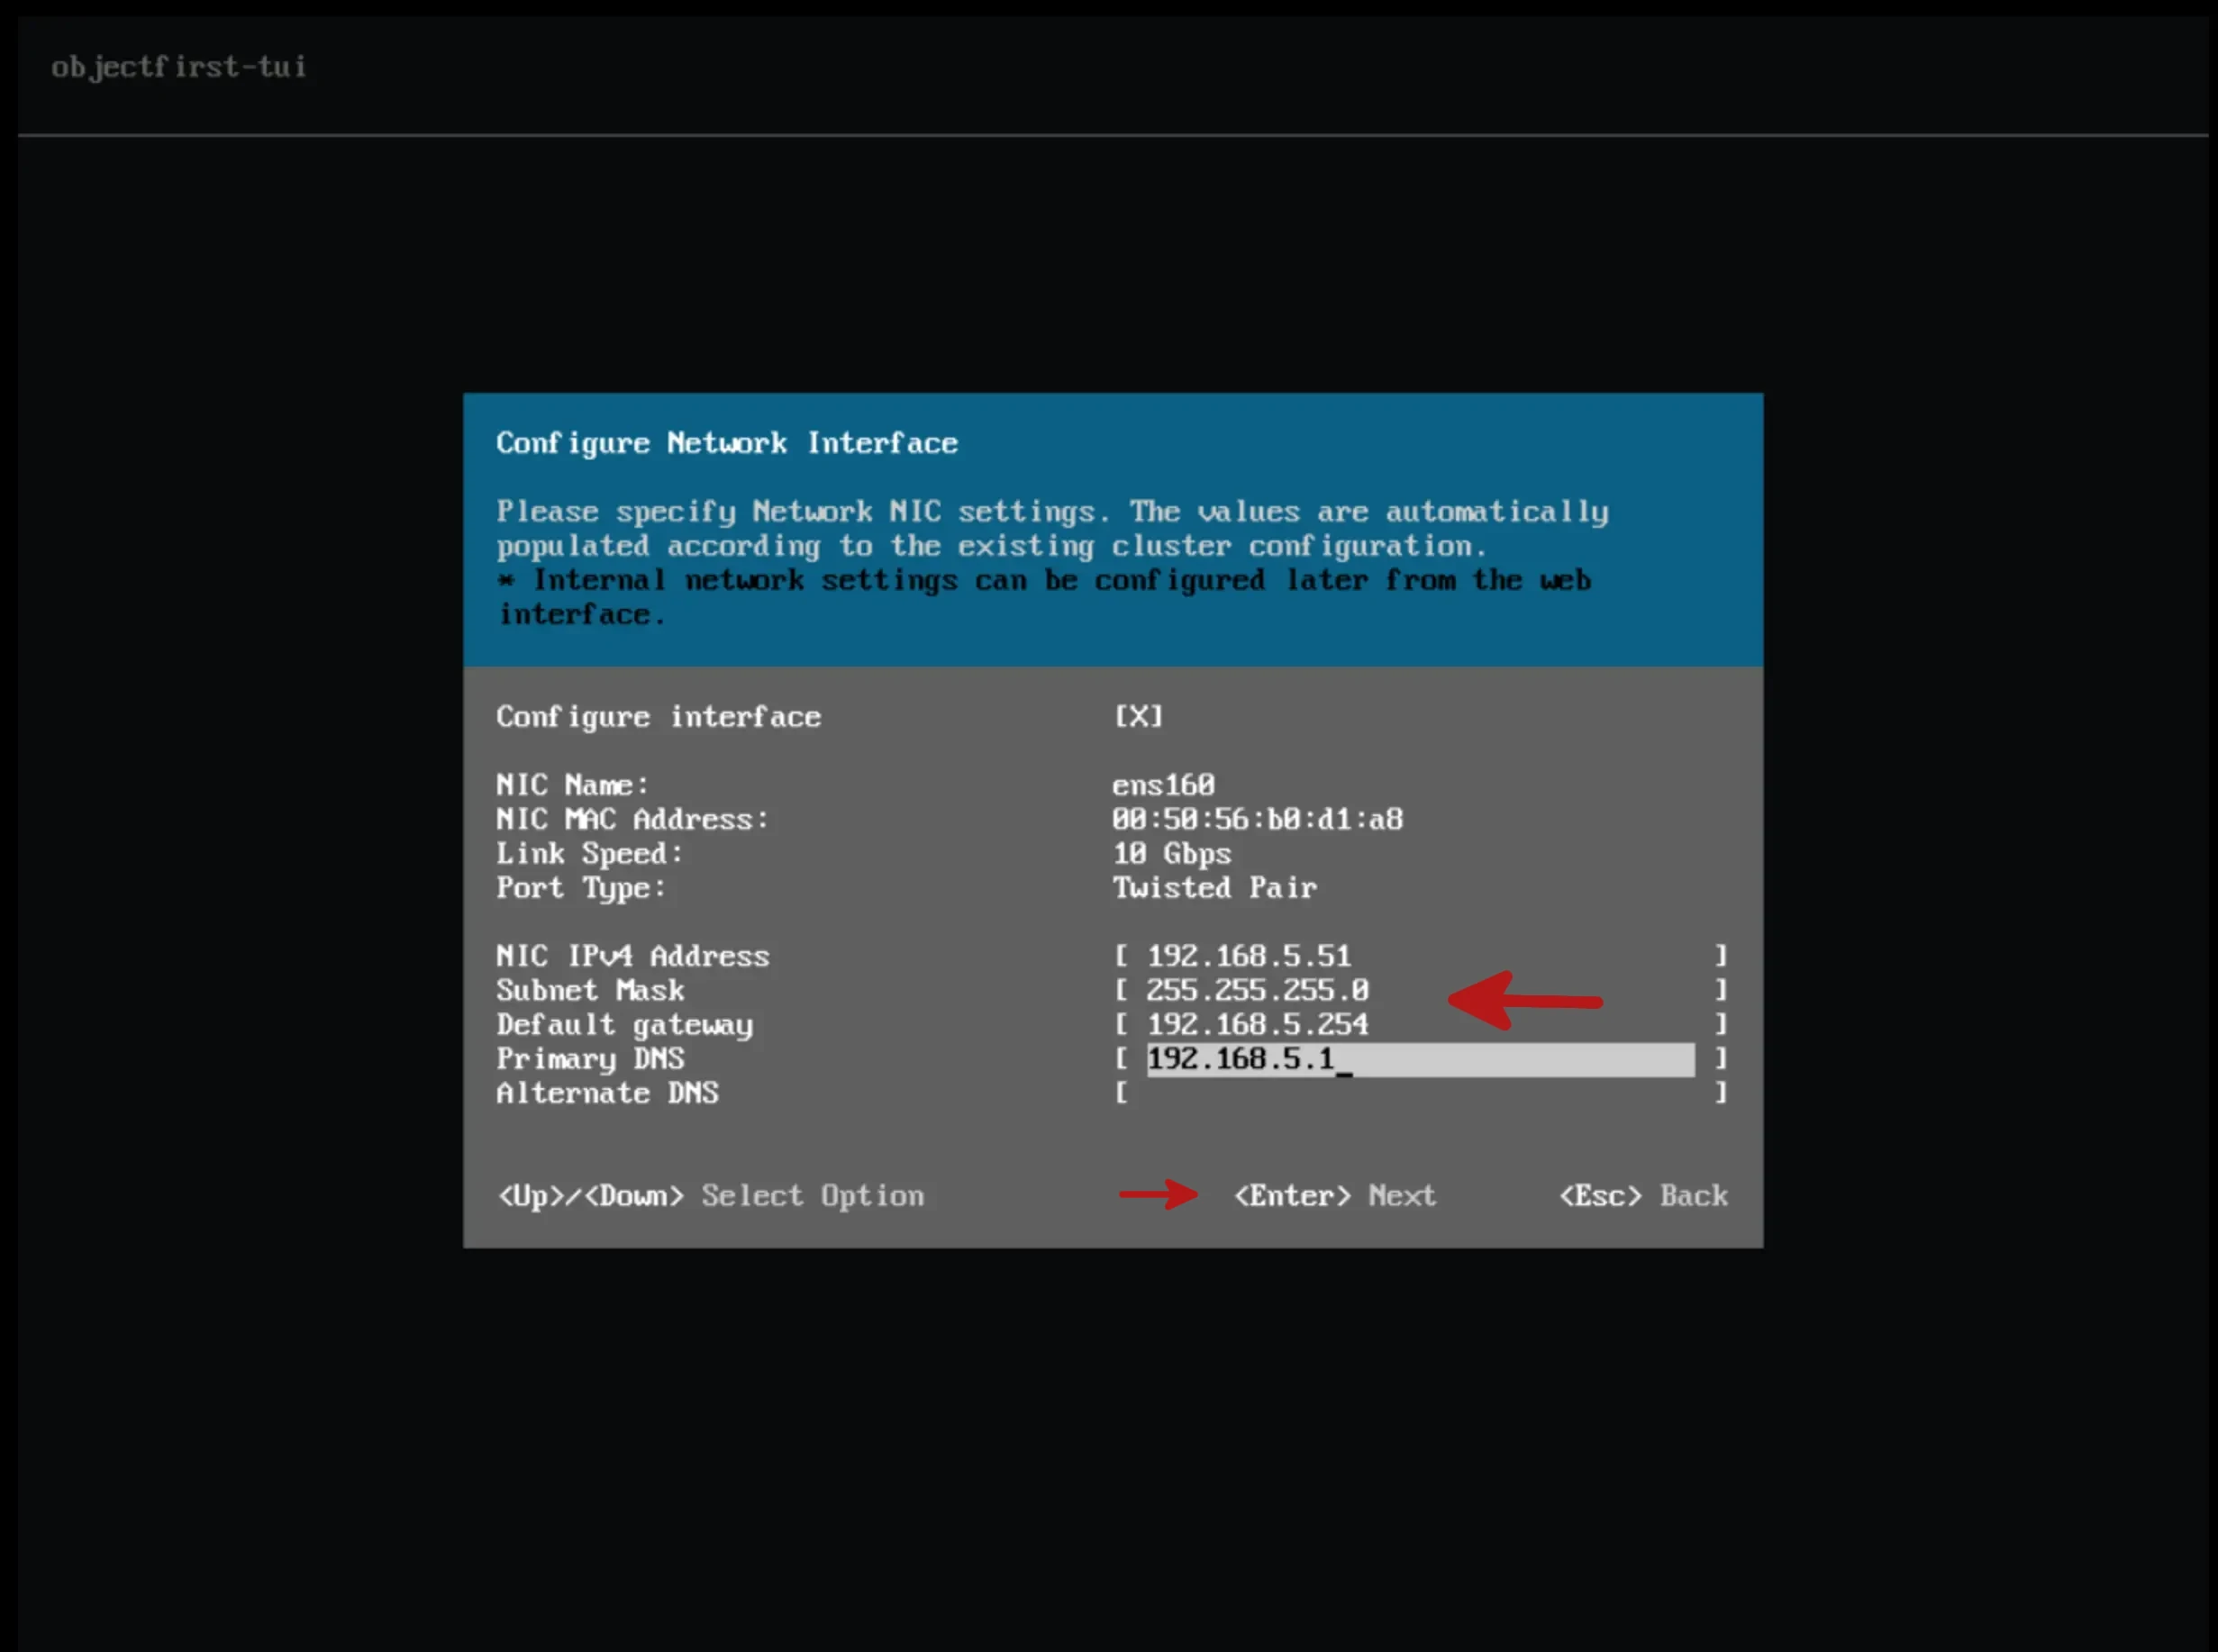
In this section the parameters for connecting the OOTBI to our network are configured.
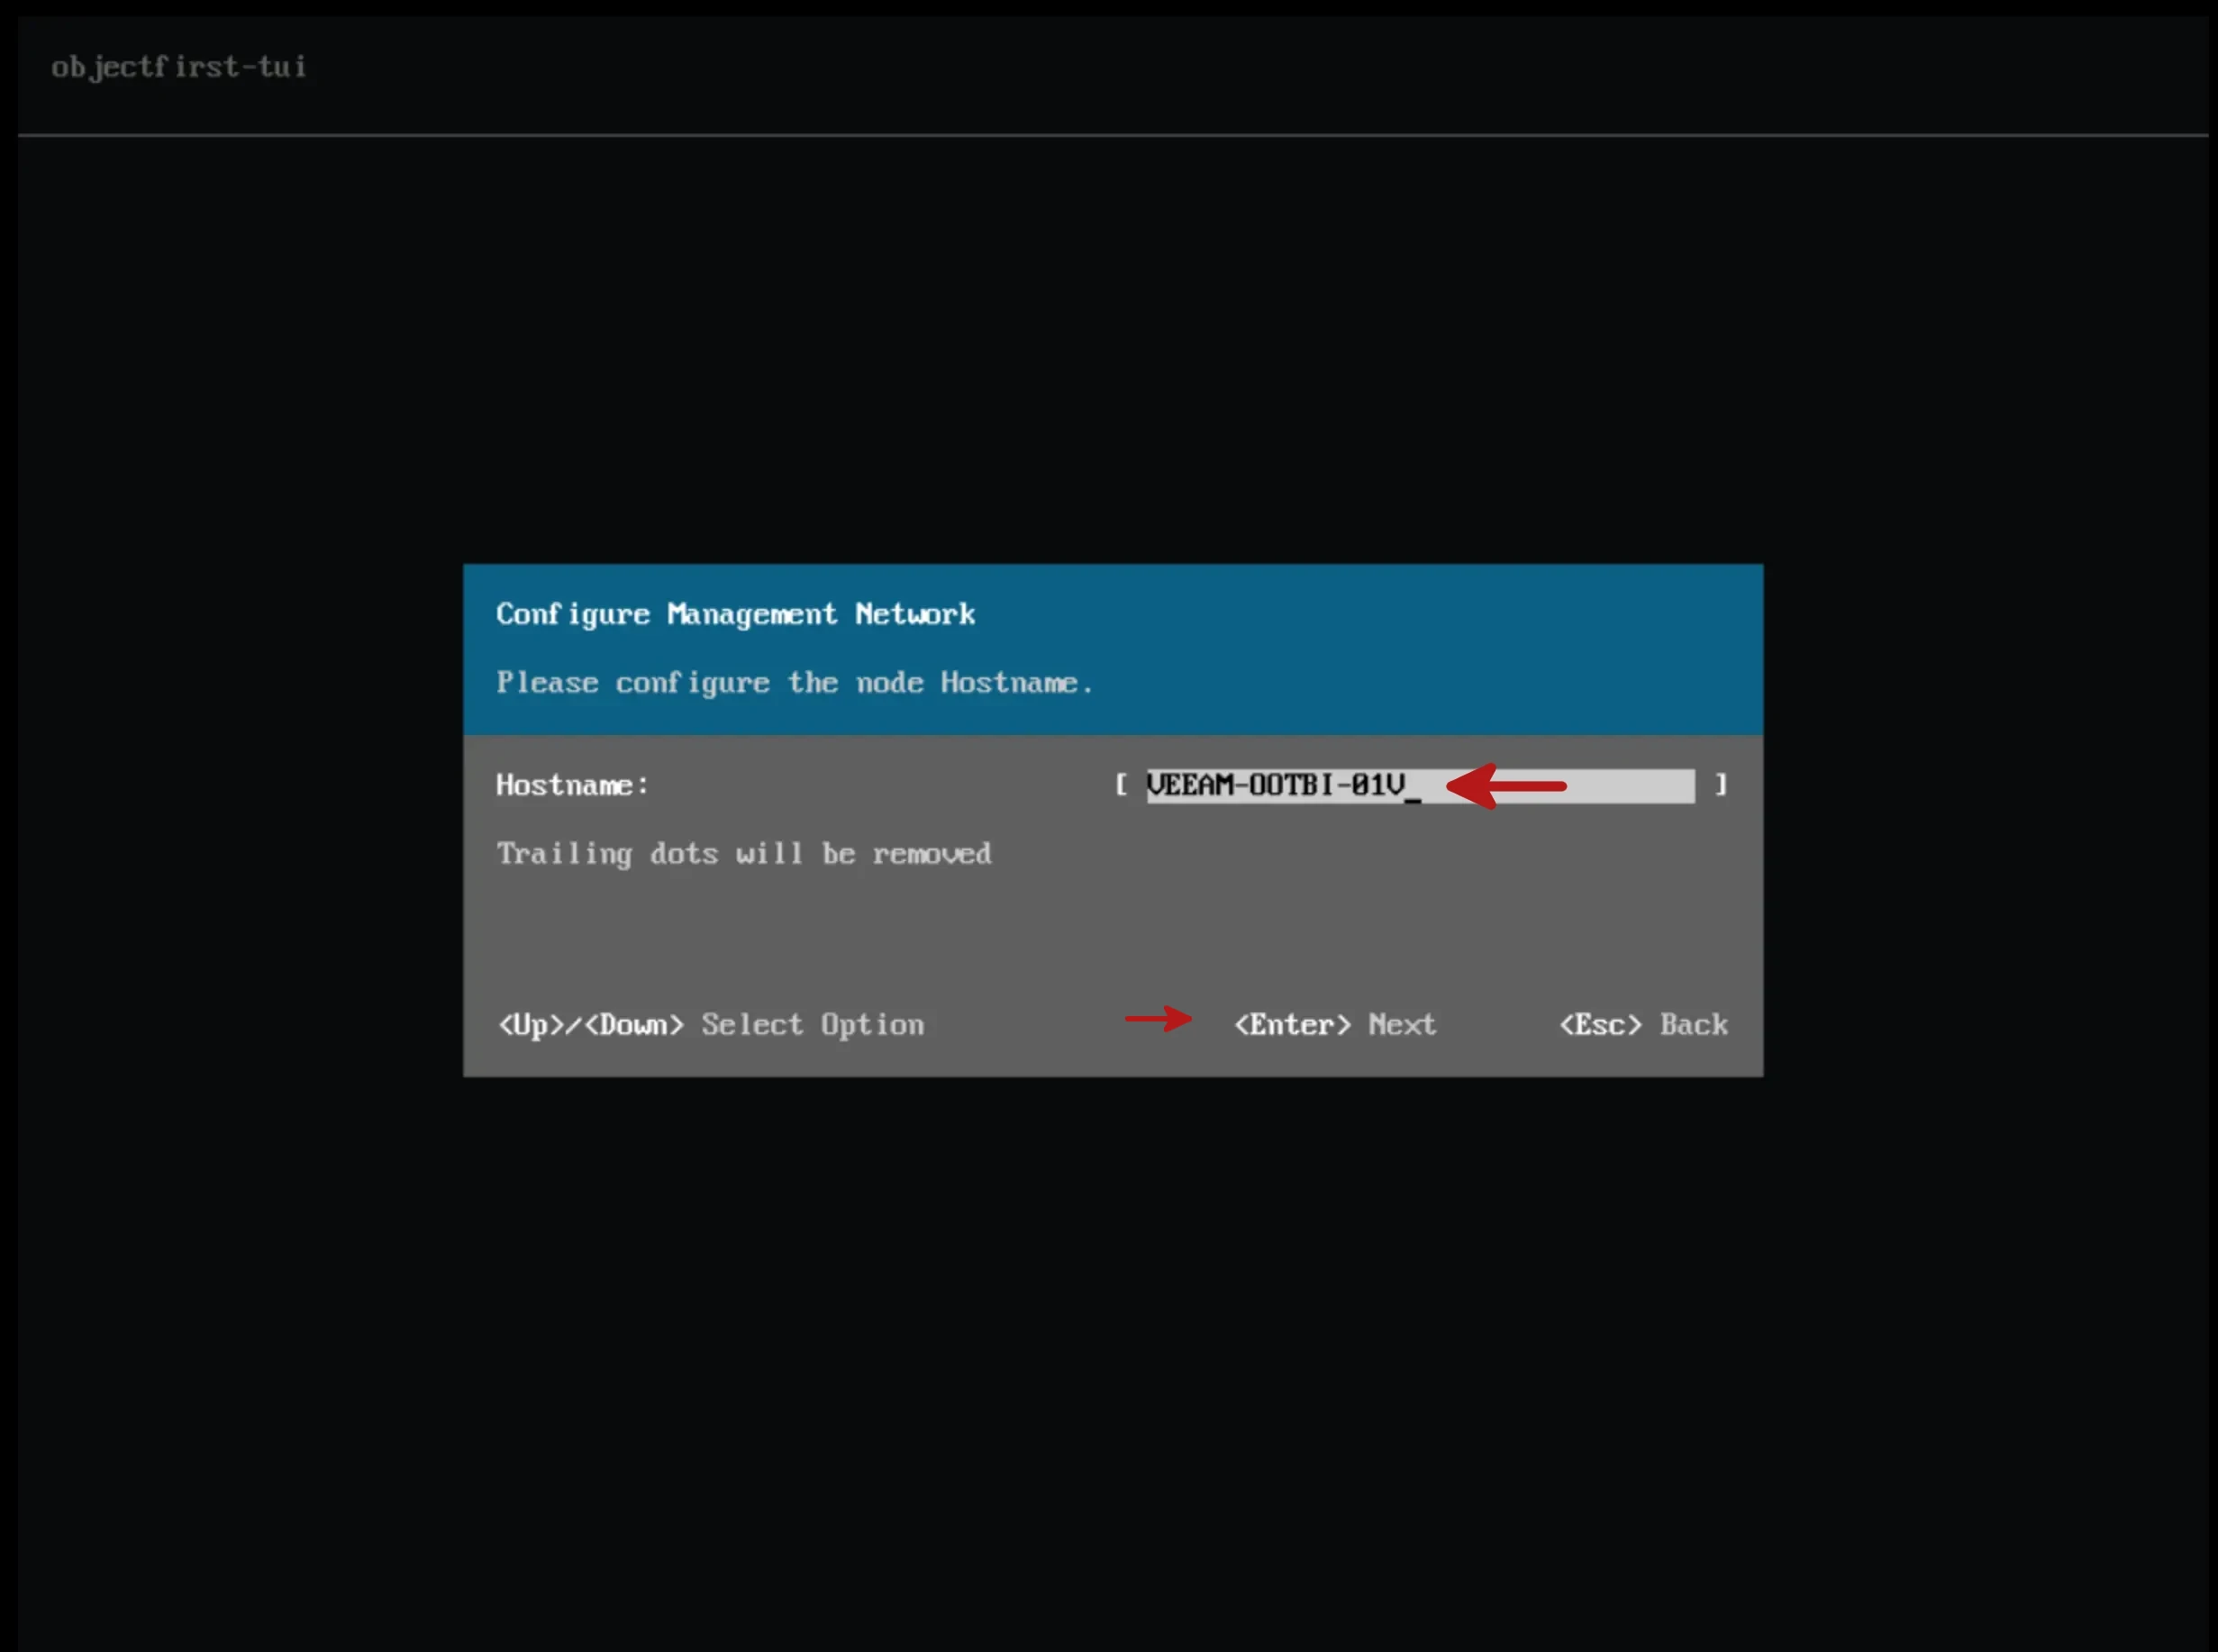
Proceed with the configuration of the HostName of the VM.
In this dialog the cluster name and IP address can be specified.
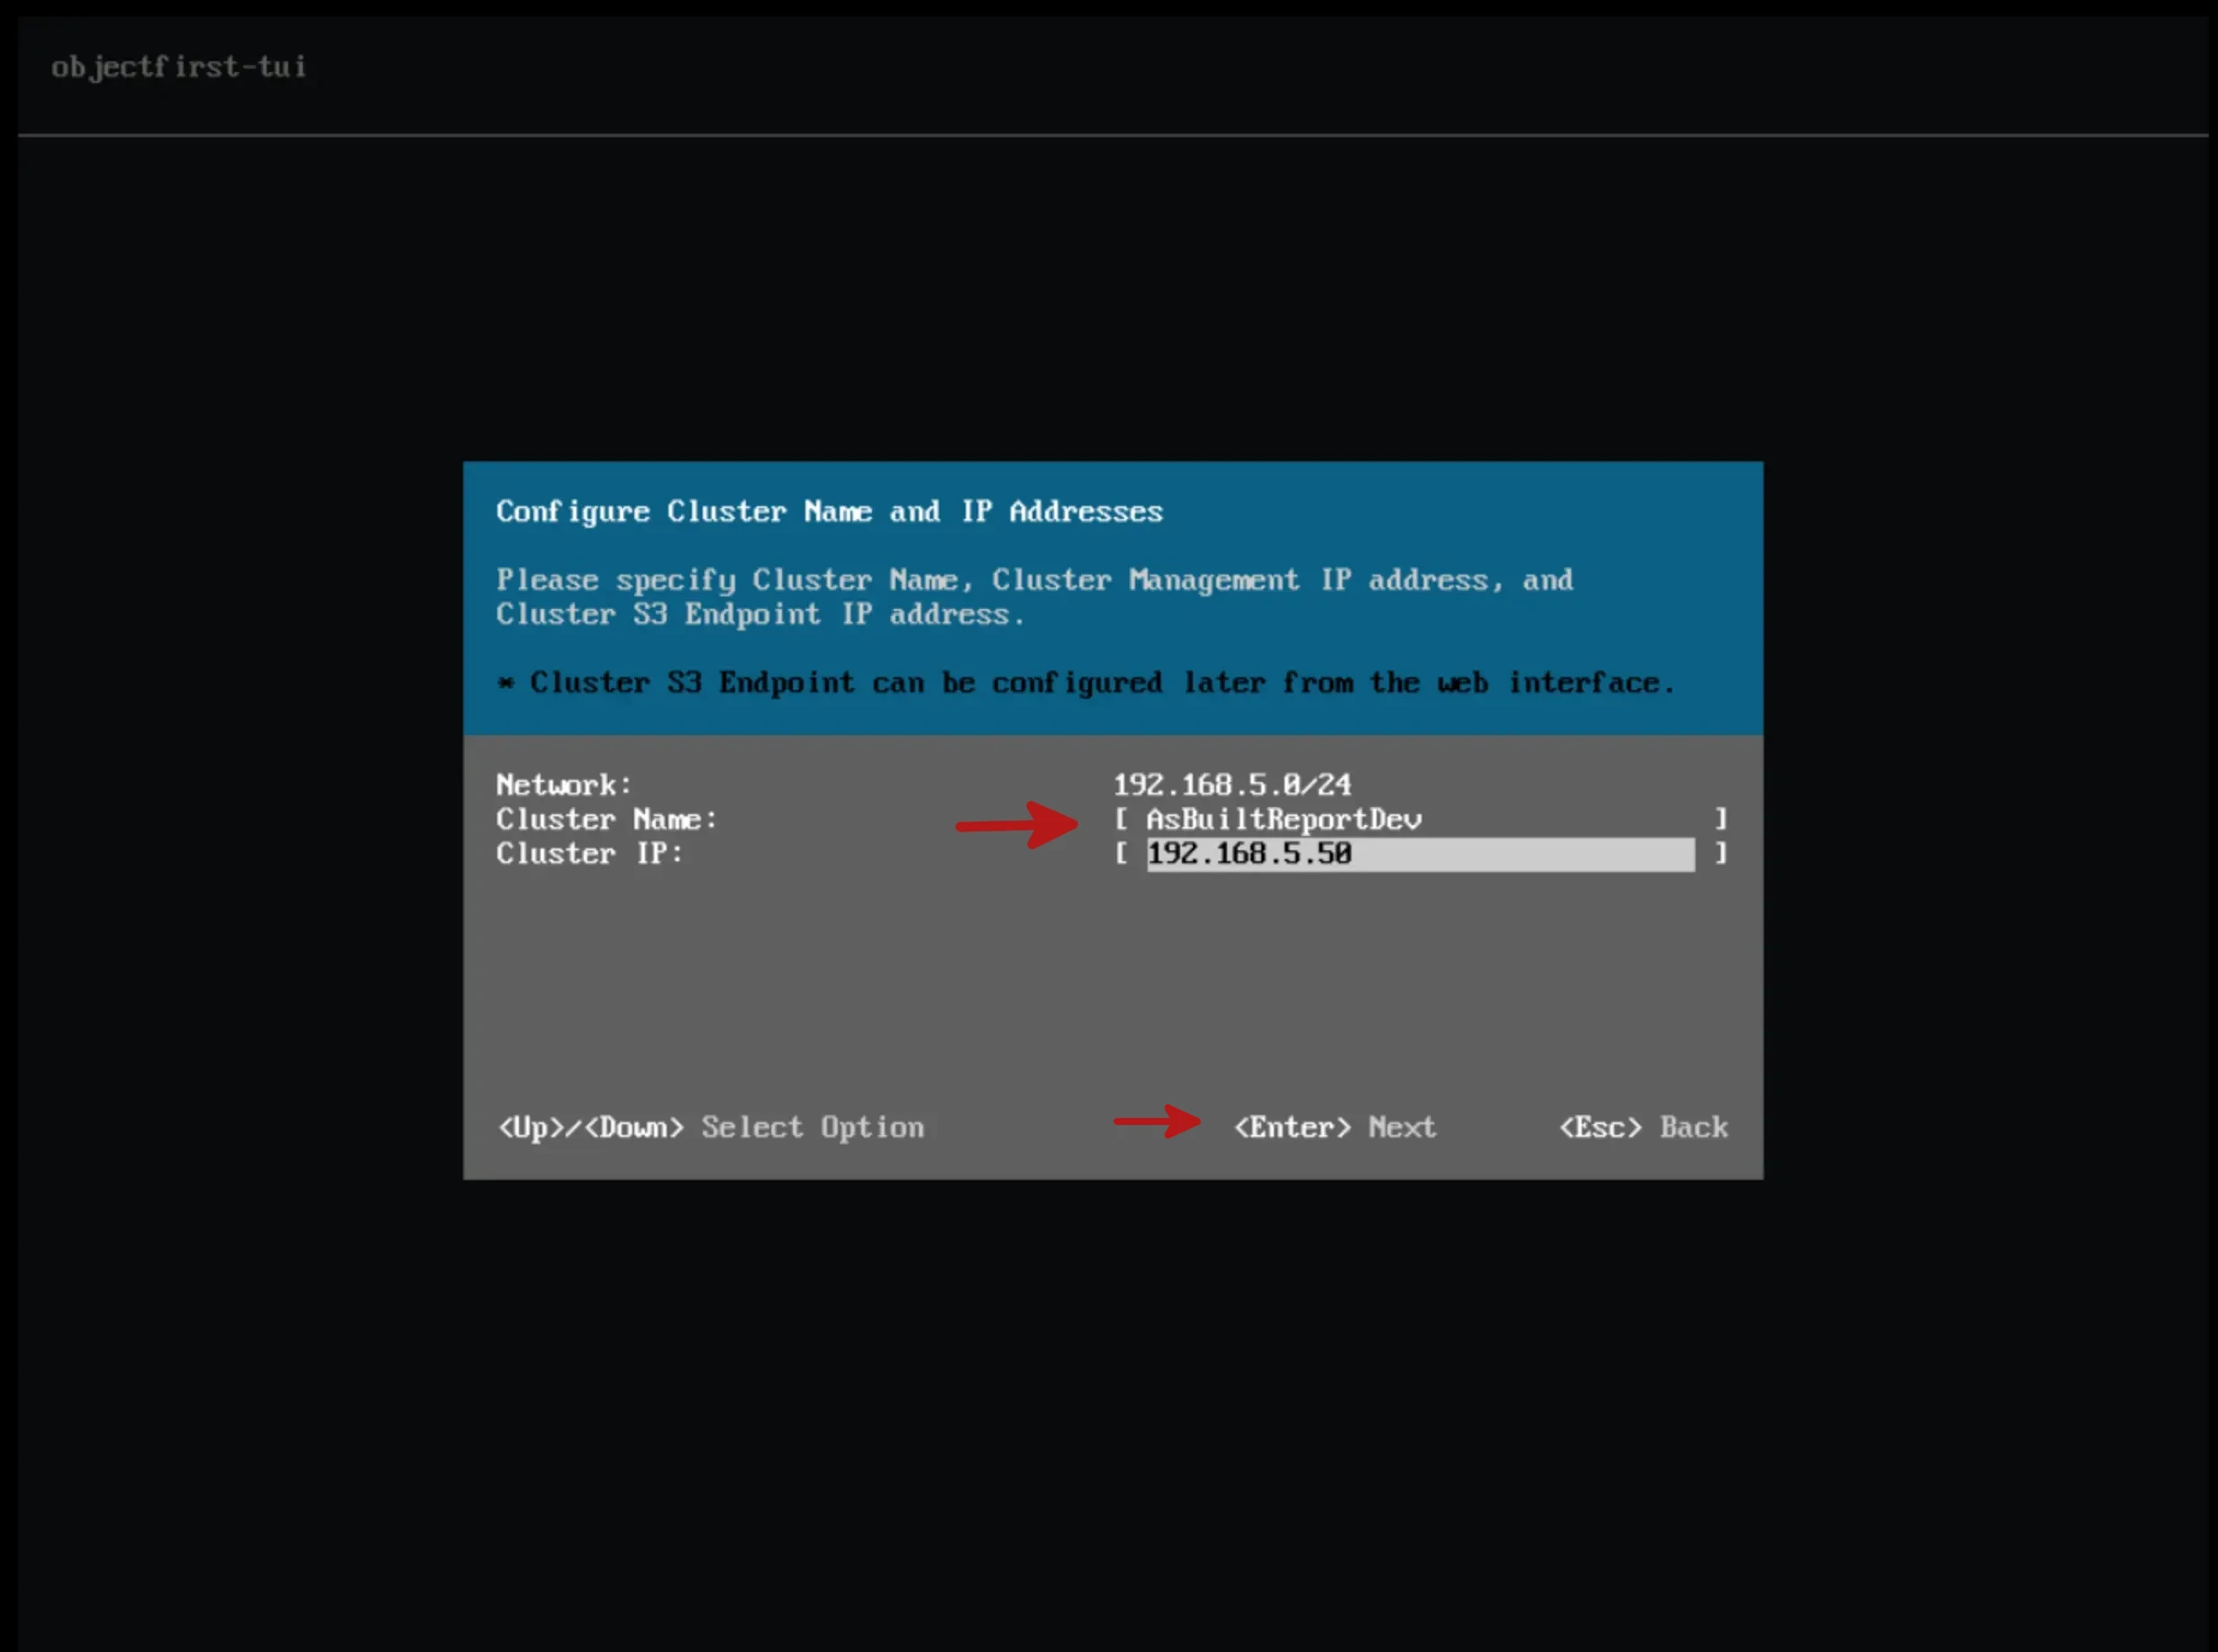
** Note: This IP address must be different from the one configured for the node.
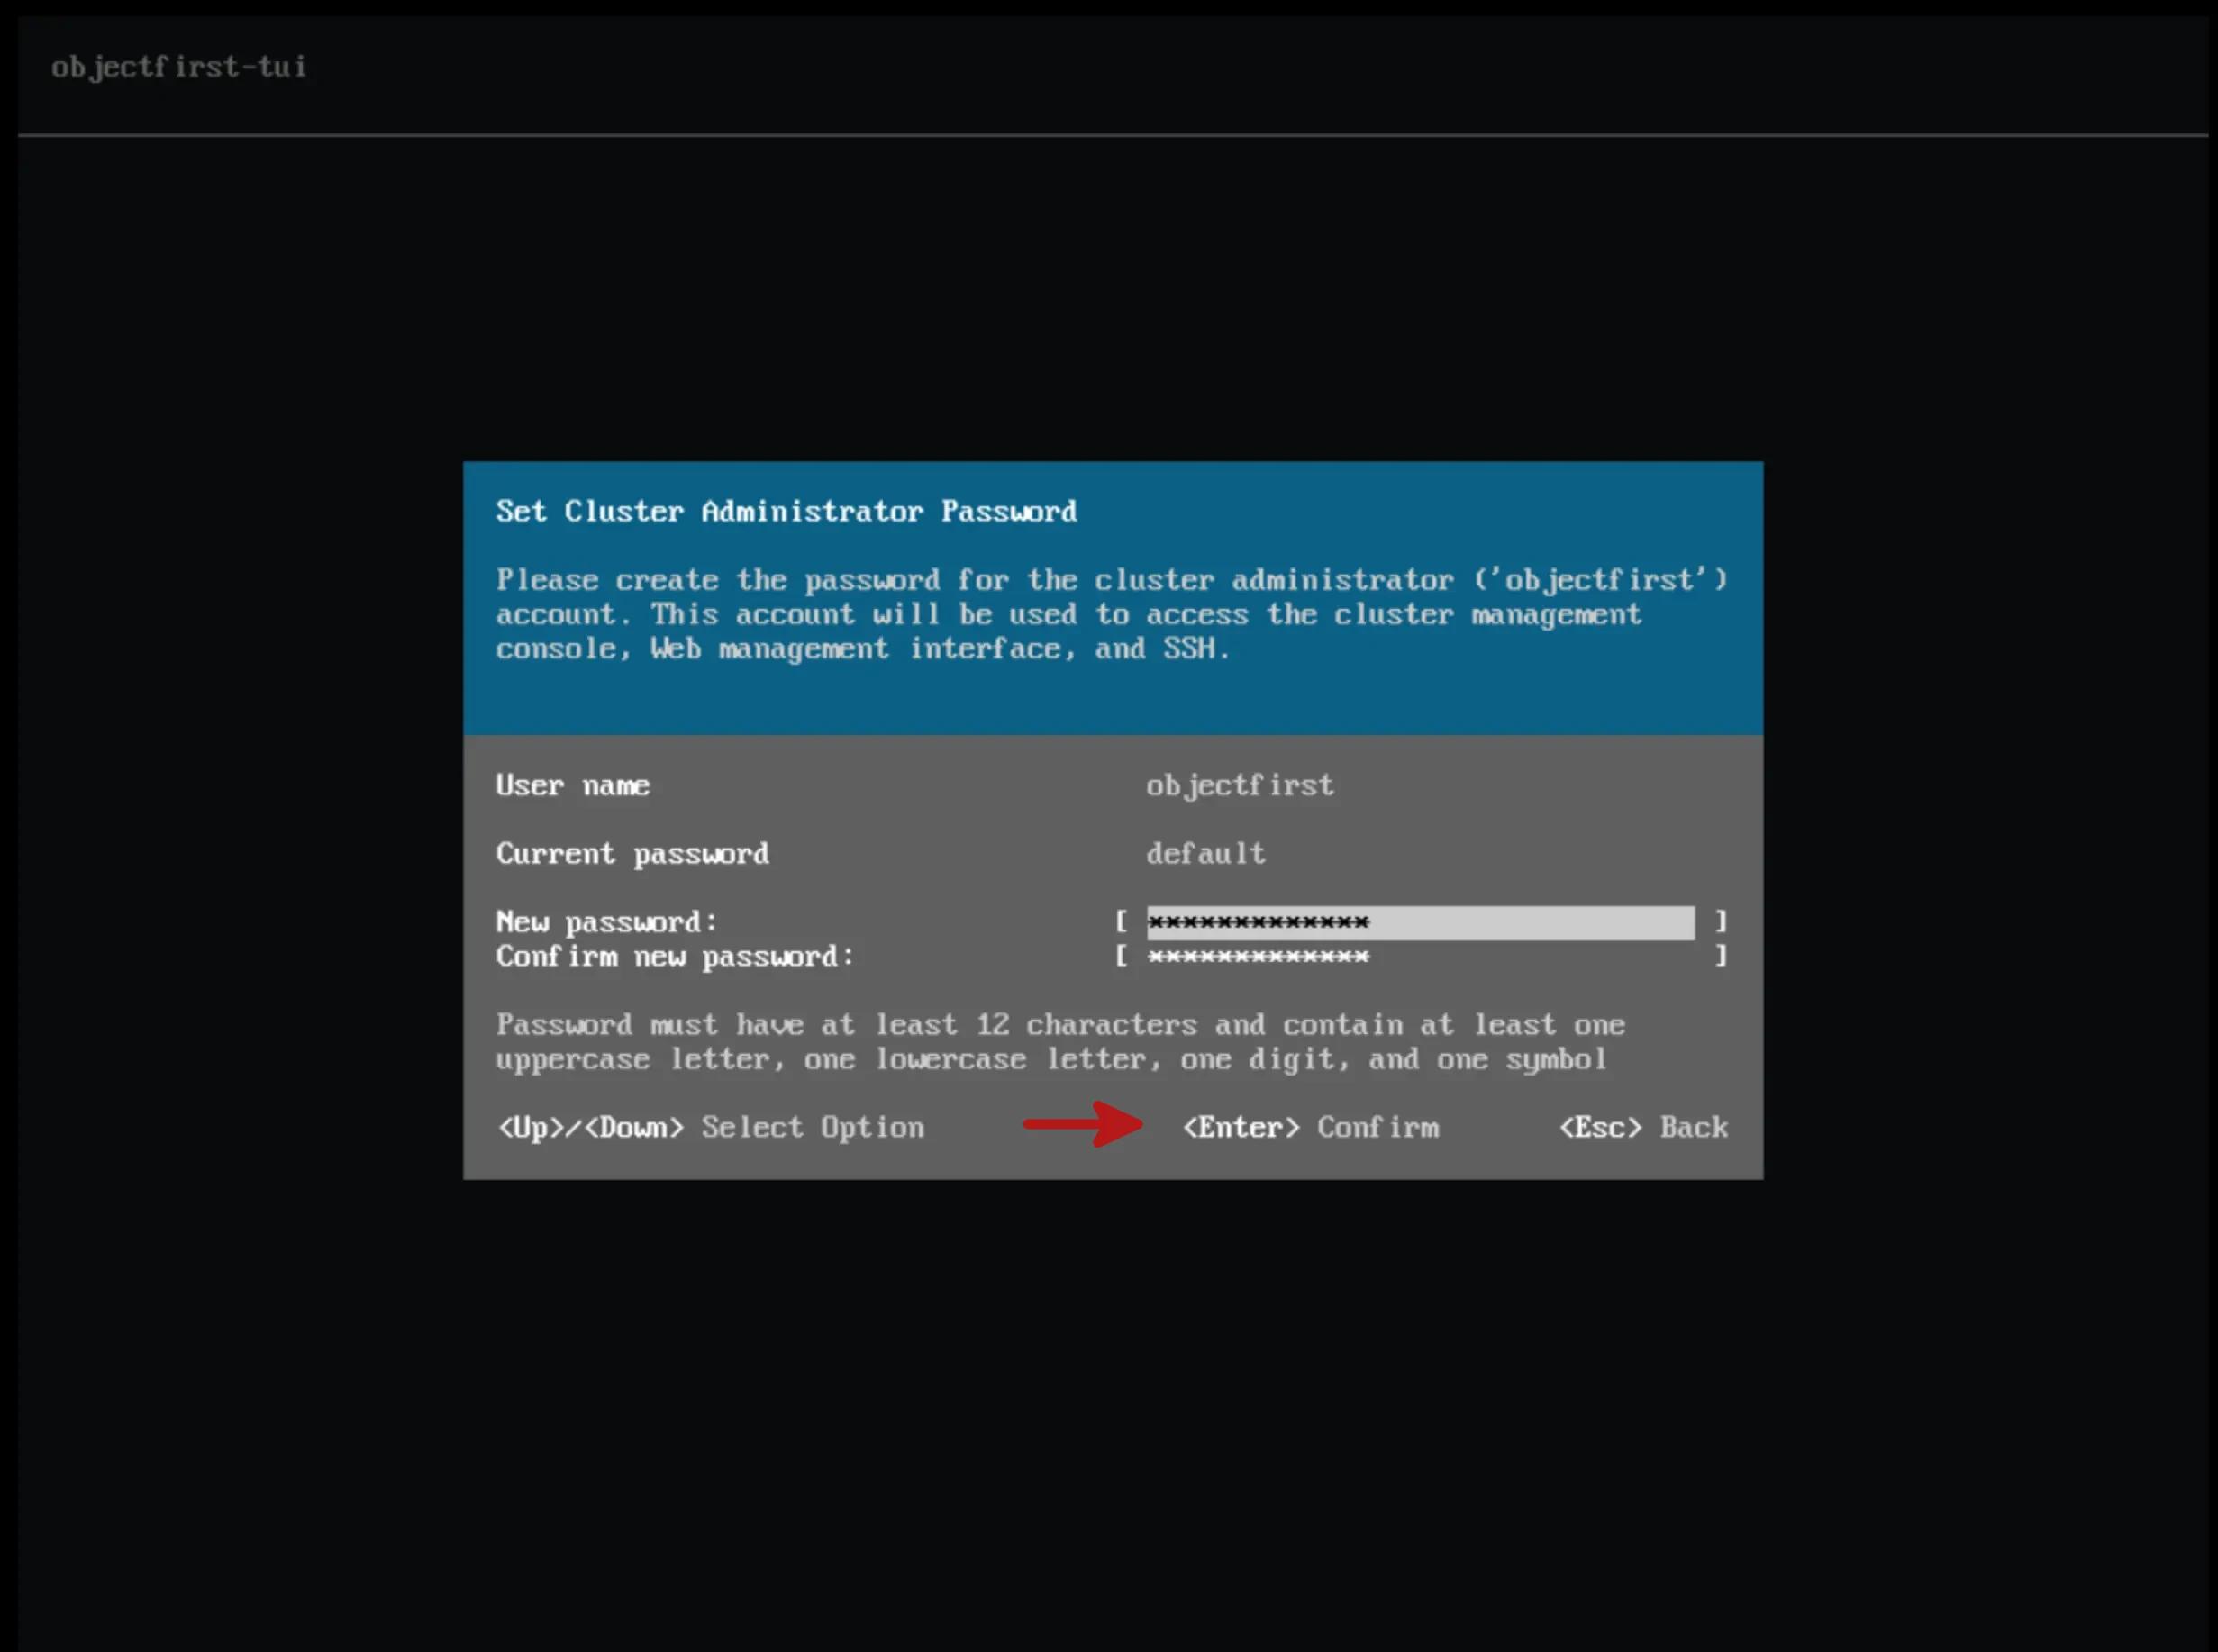
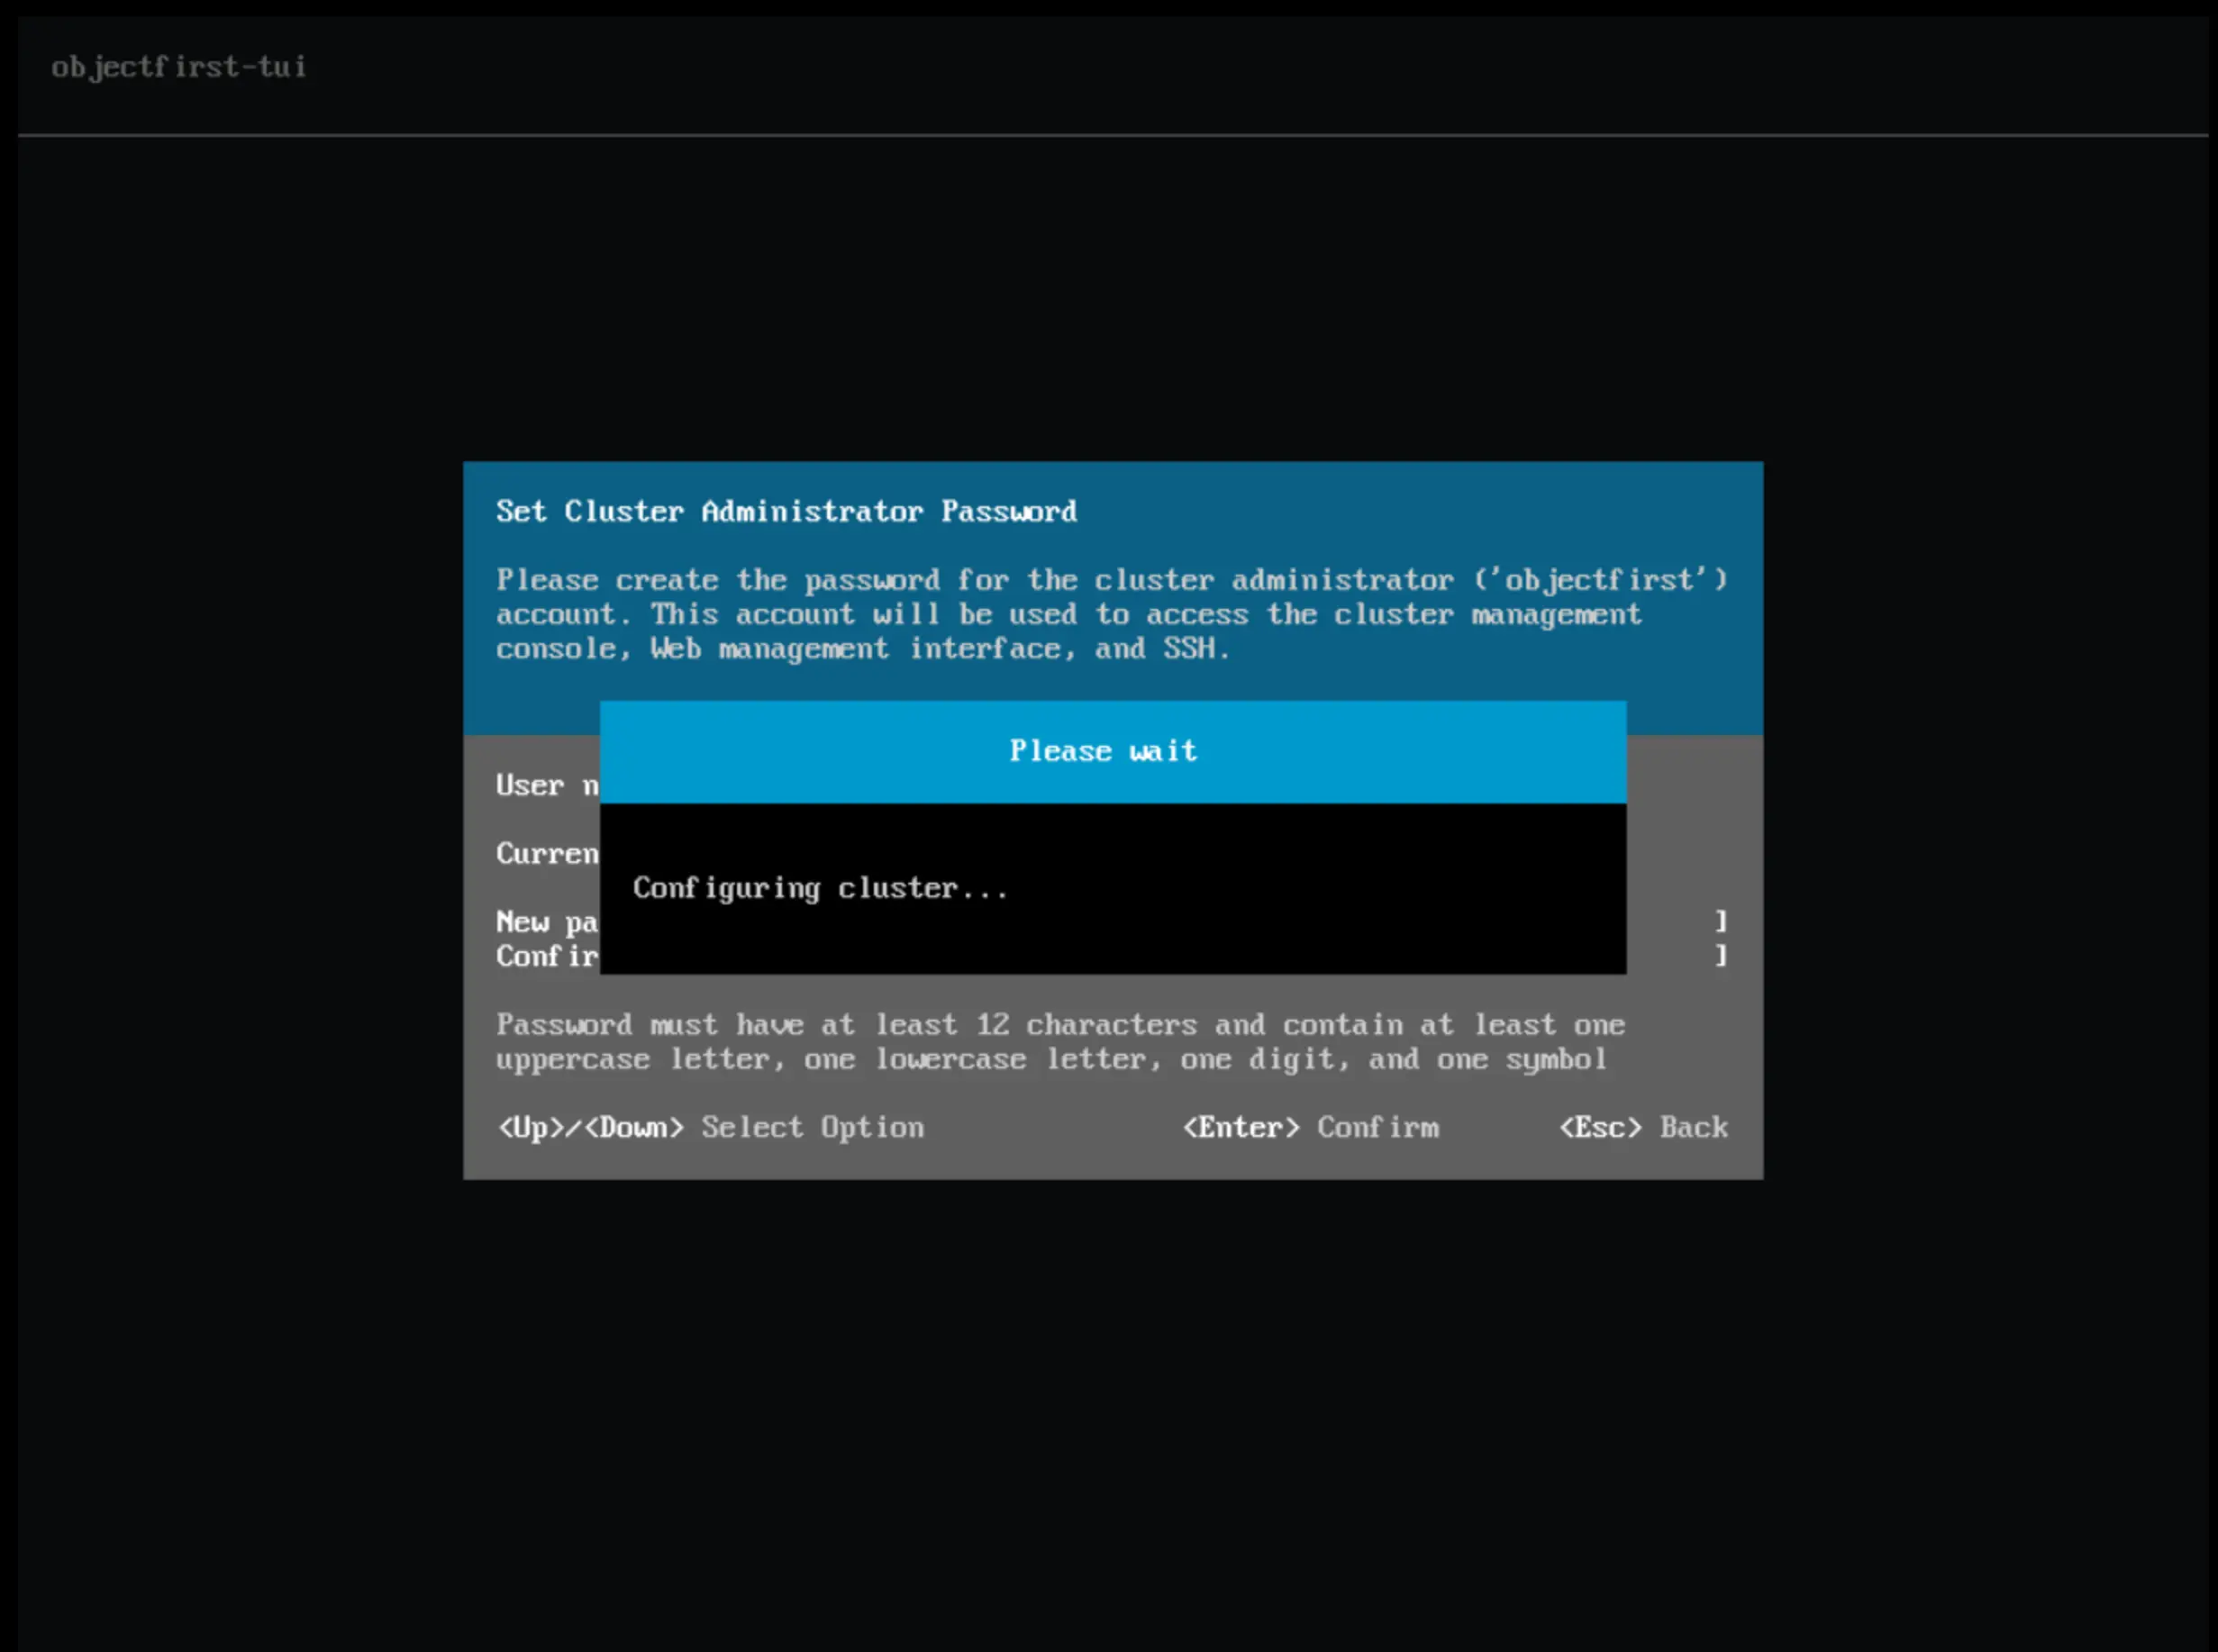
Then we go on to specify the password for the “default” account objectfirst.
After completing all these steps, the new cluster will be configured with the parameters you set.
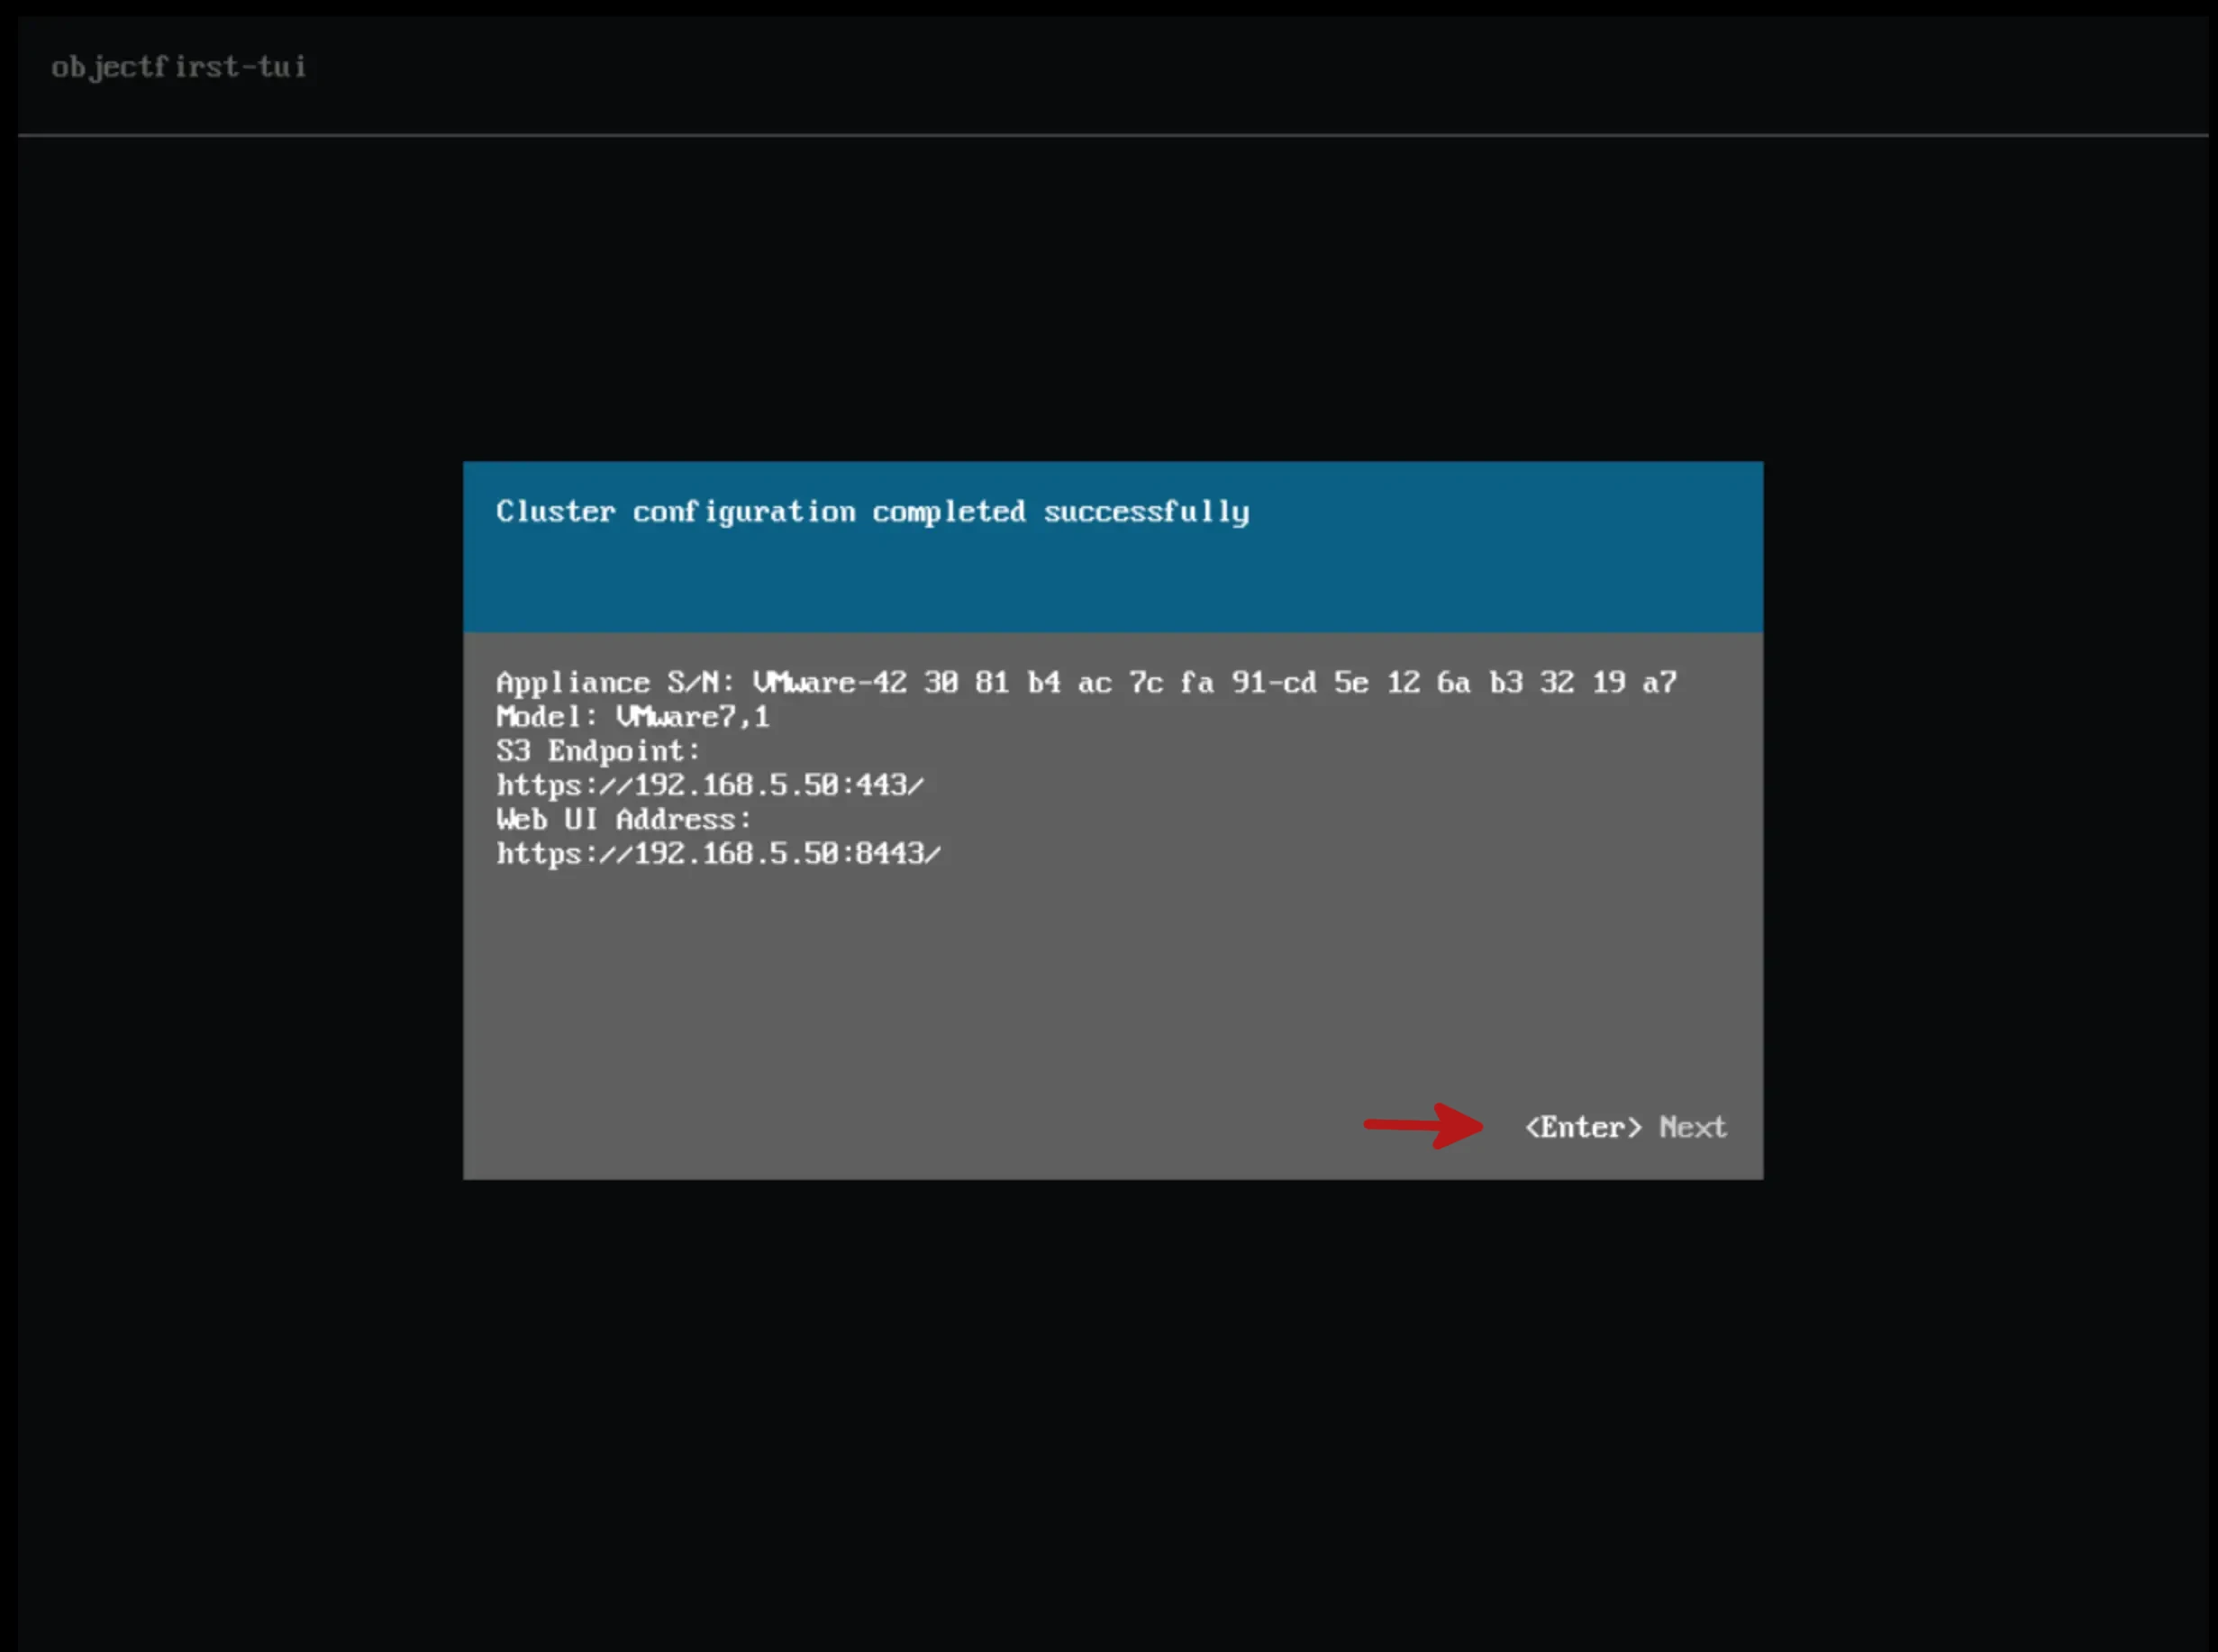
Finally, the cluster was successfully created! Yay.
On this next screen it allows you to choose whether Telemetry is enabled or not.
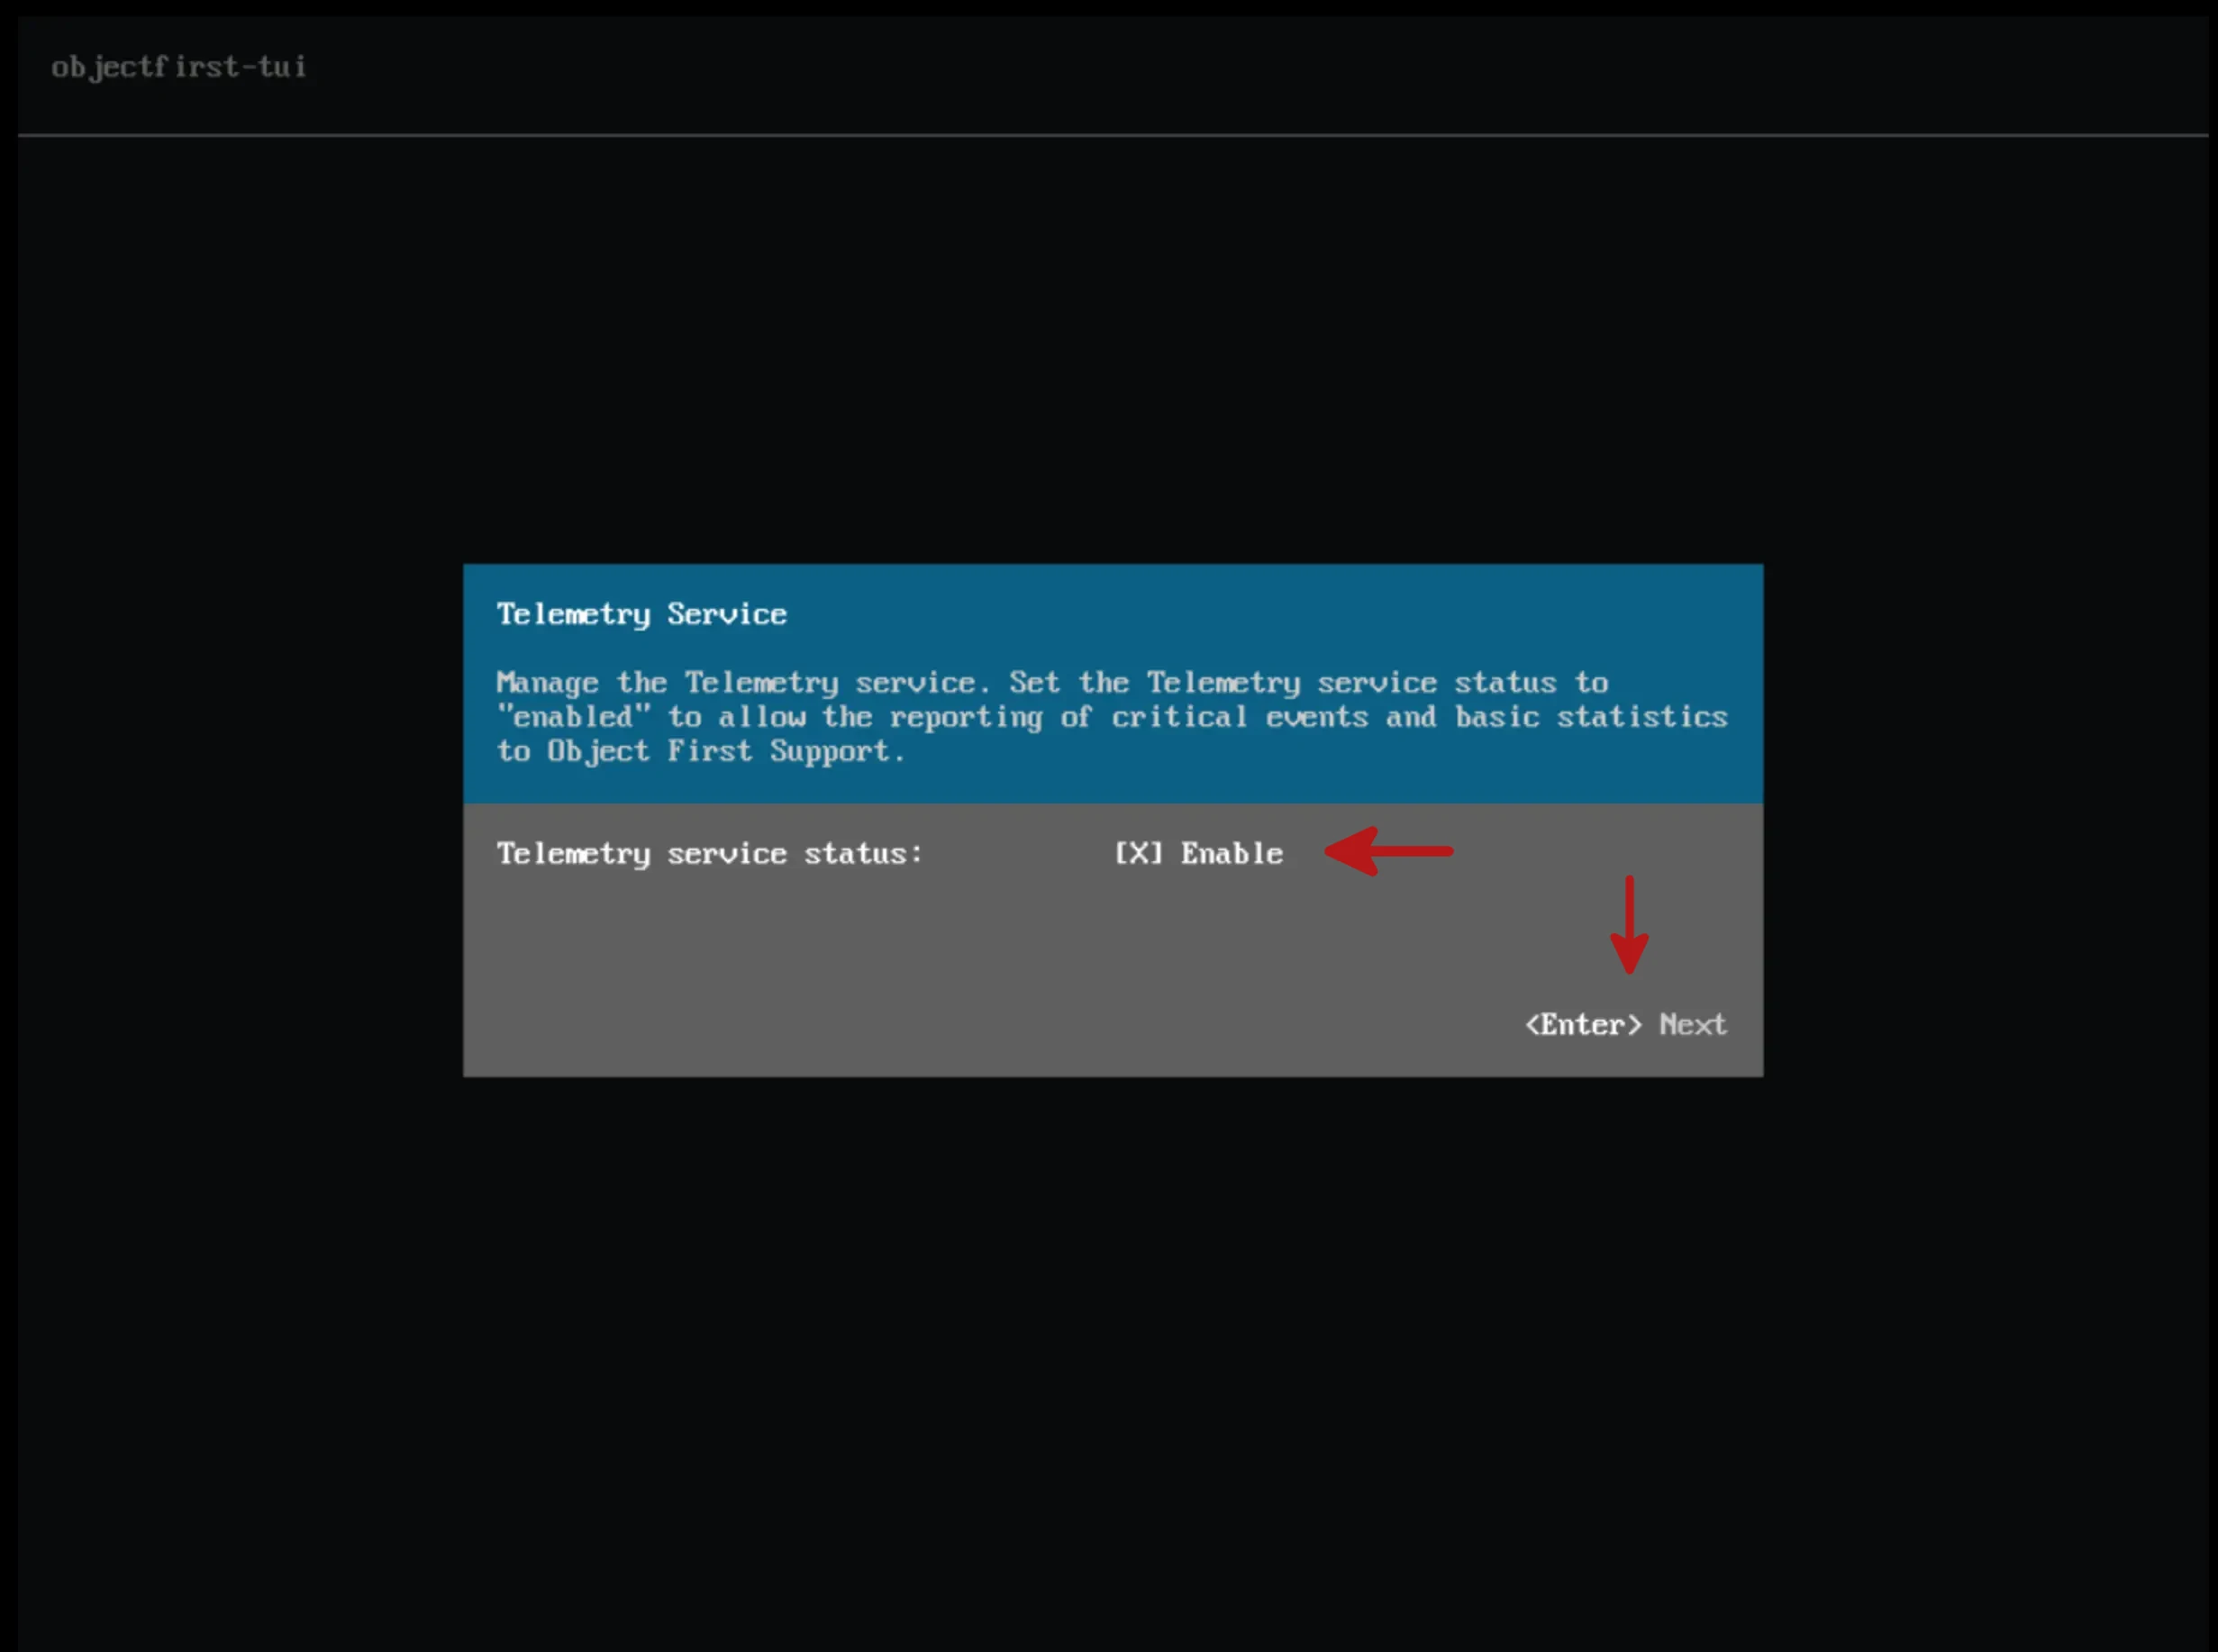
** Note: These parameters can be set later through the Web portal.
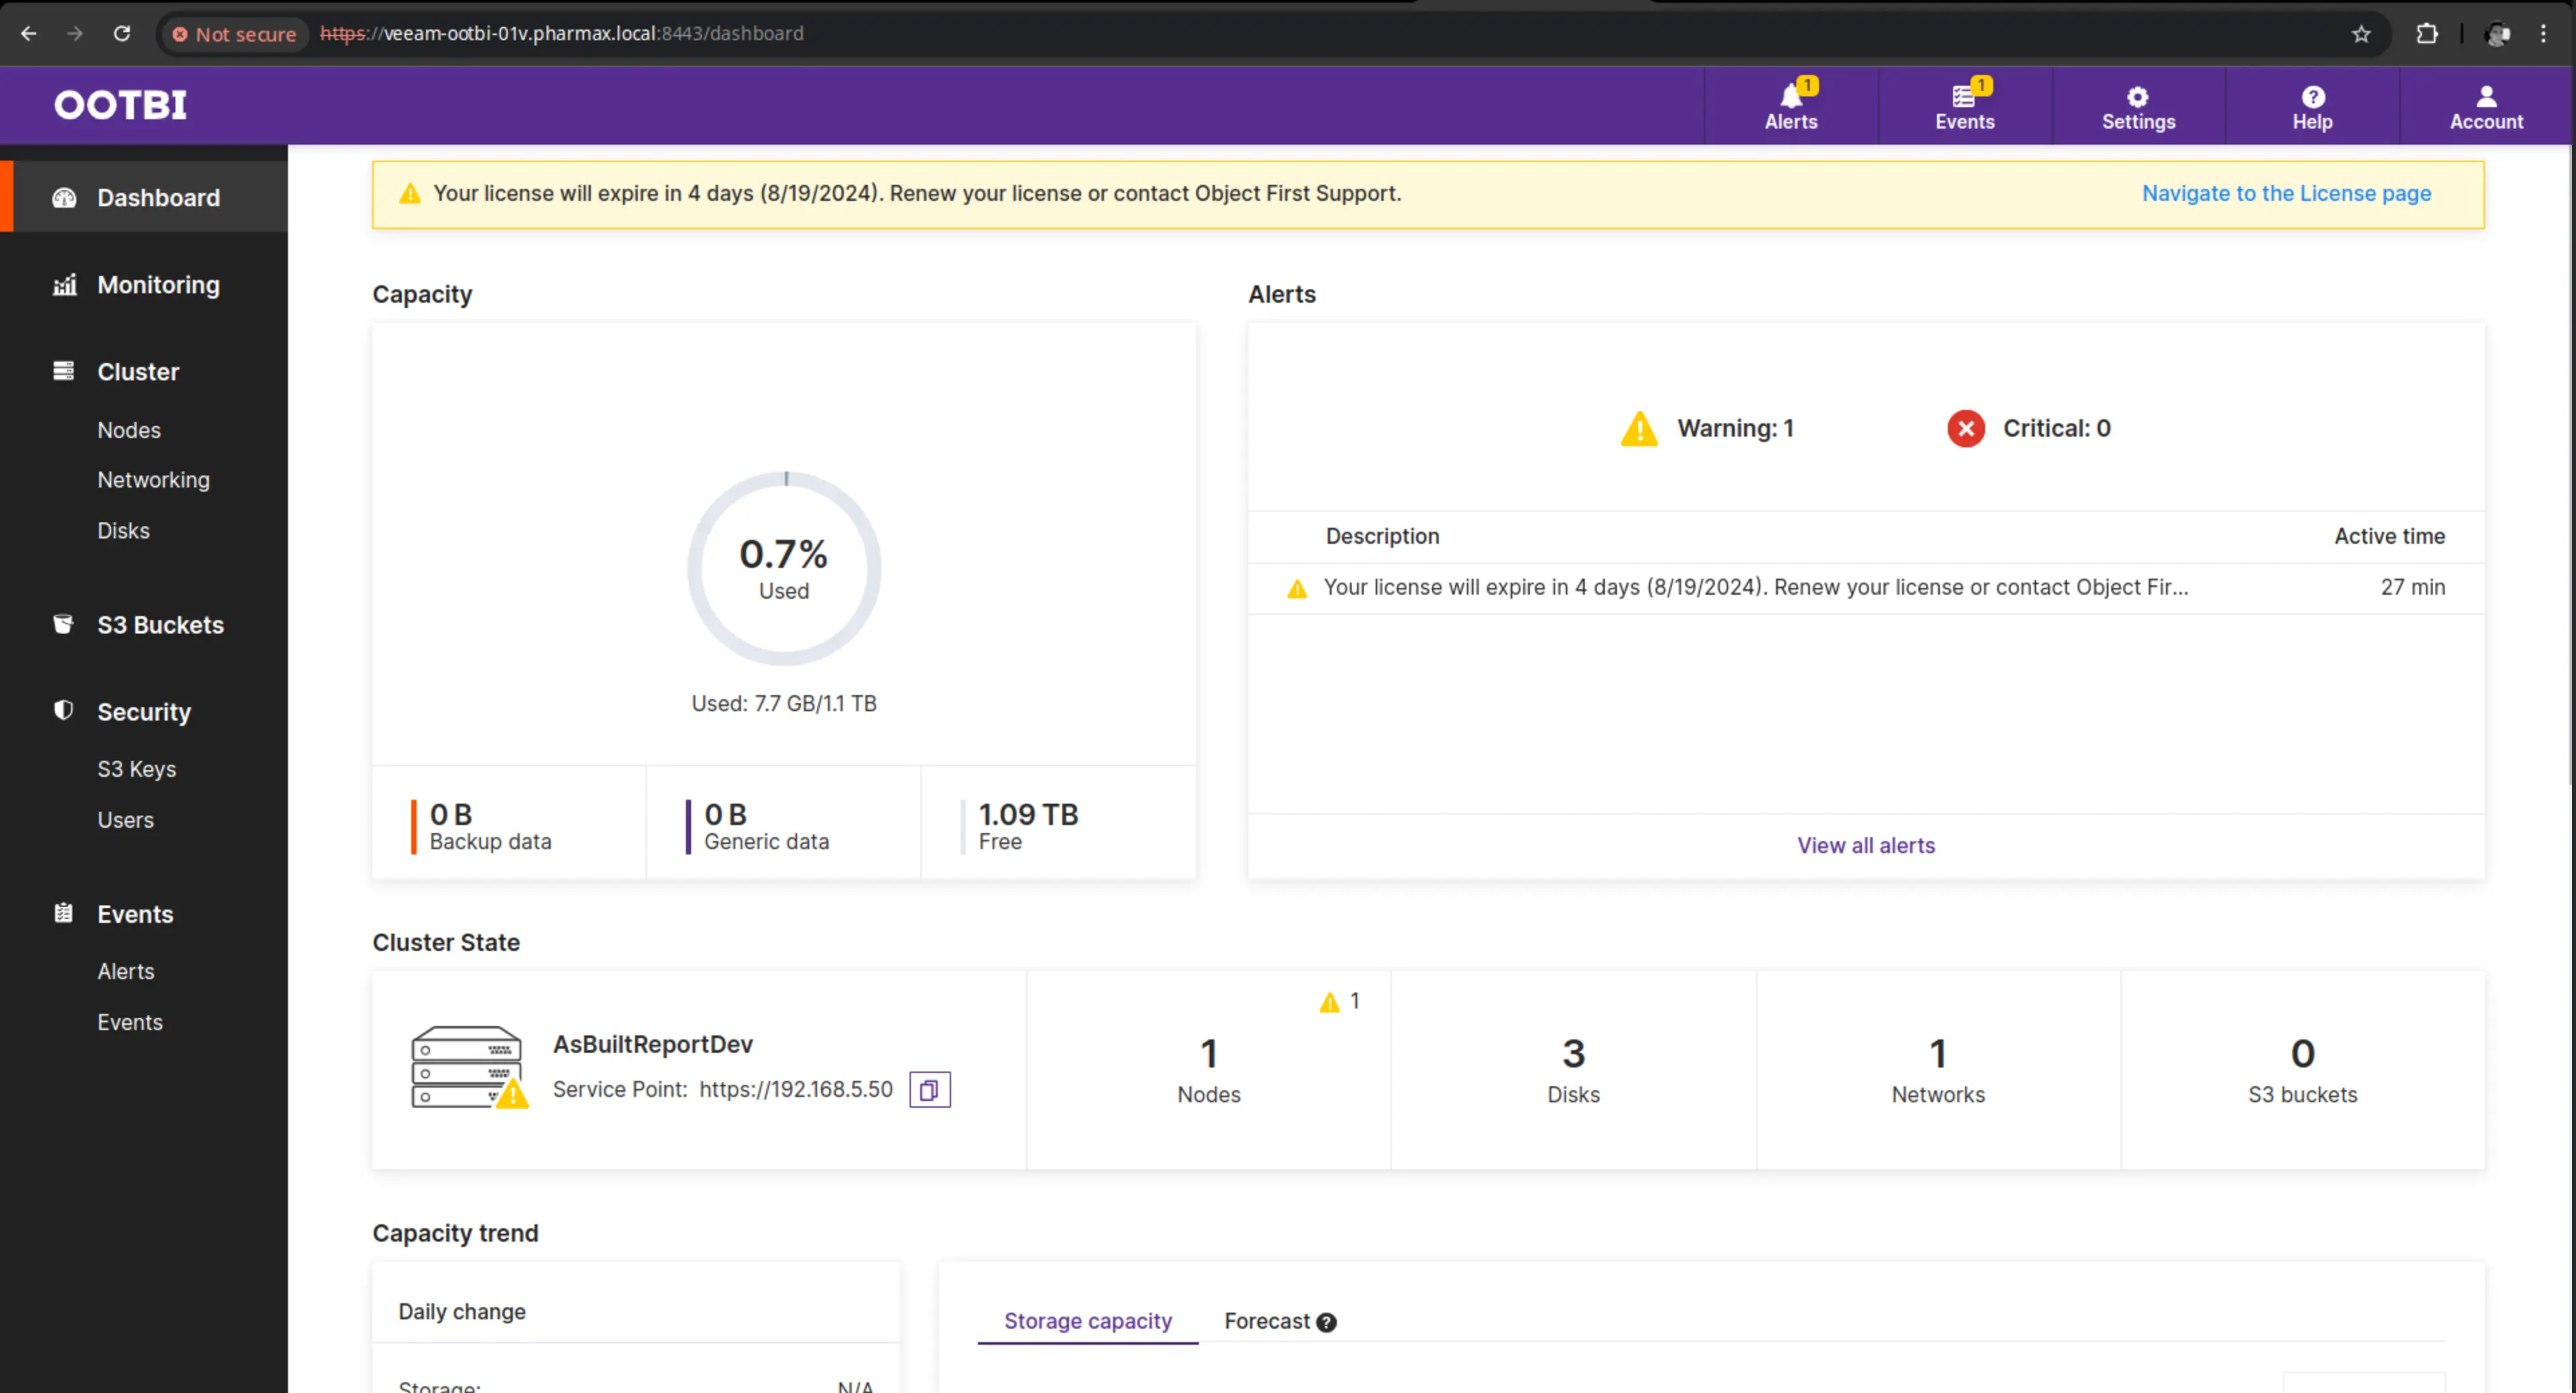
In this screen the version and the IP address of the VM can be seen. With this information the OOTBI management Web Portal can be accessed.
Finally, I will show you how to access the Object First OOTBI management portal. To access the portal it is required to use the objectfirst user and the password that we established in the cluster configuration.
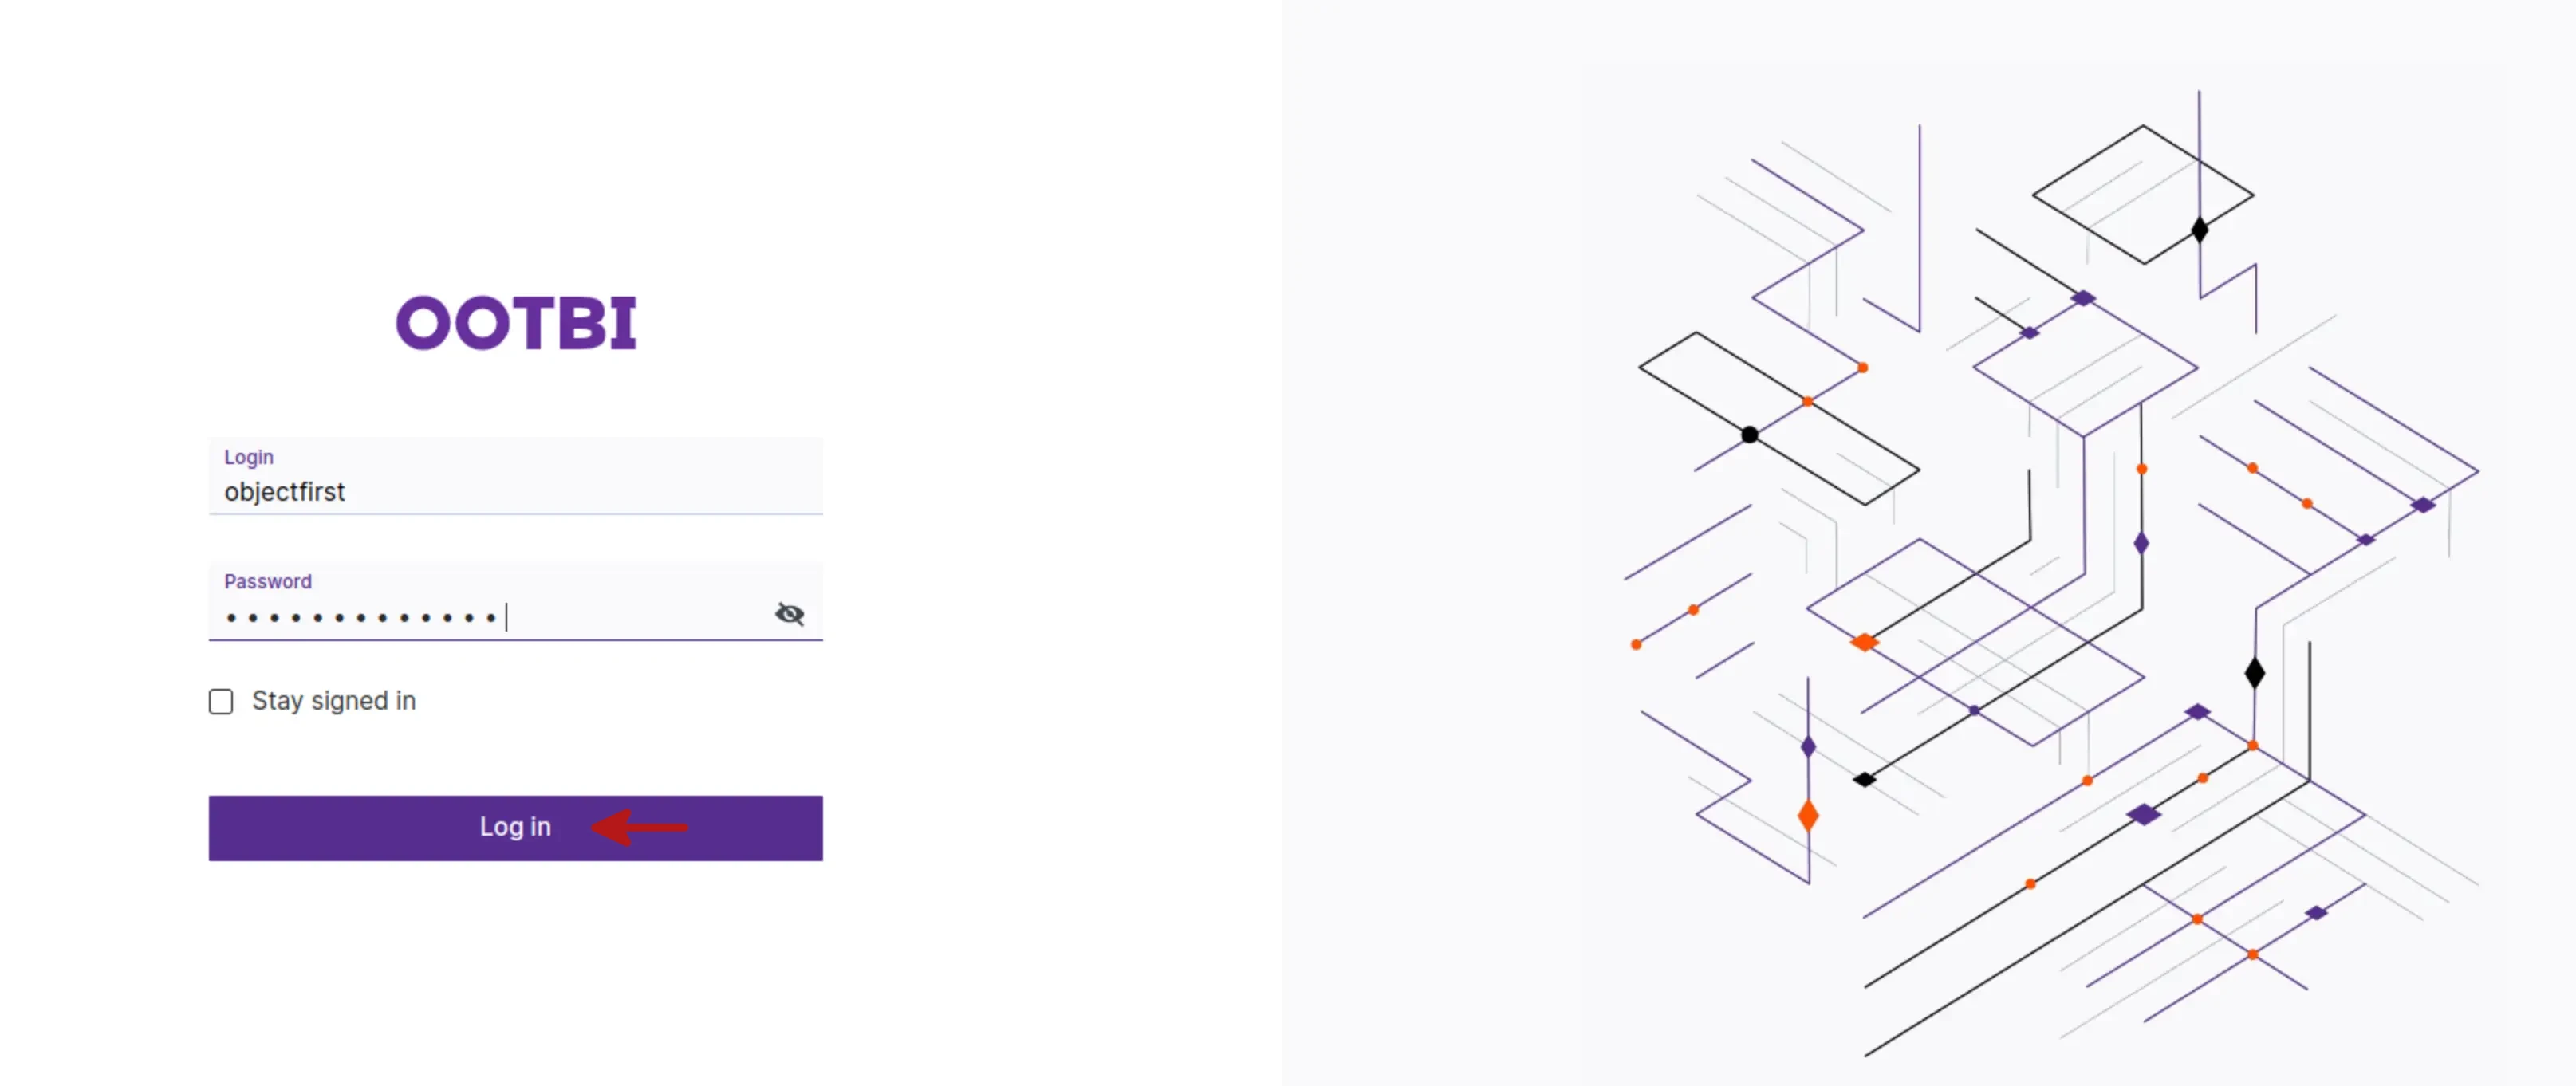
Below is the Management portal!
That’s all folks
In this lab I installed and configured the Object First OOTBI virtual appliance that allows Veeam administrators to use this appliance as an S3-like repository. I hope you liked this lab. If you have any doubts or questions about this lab, leave them in the comments.
Hasta la Próxima!

